52 Week Mini Art Card/Tag Challenge

Showing posts with label Clarity Stamp Stencil. Show all posts

Tuesday, 21 February 2023

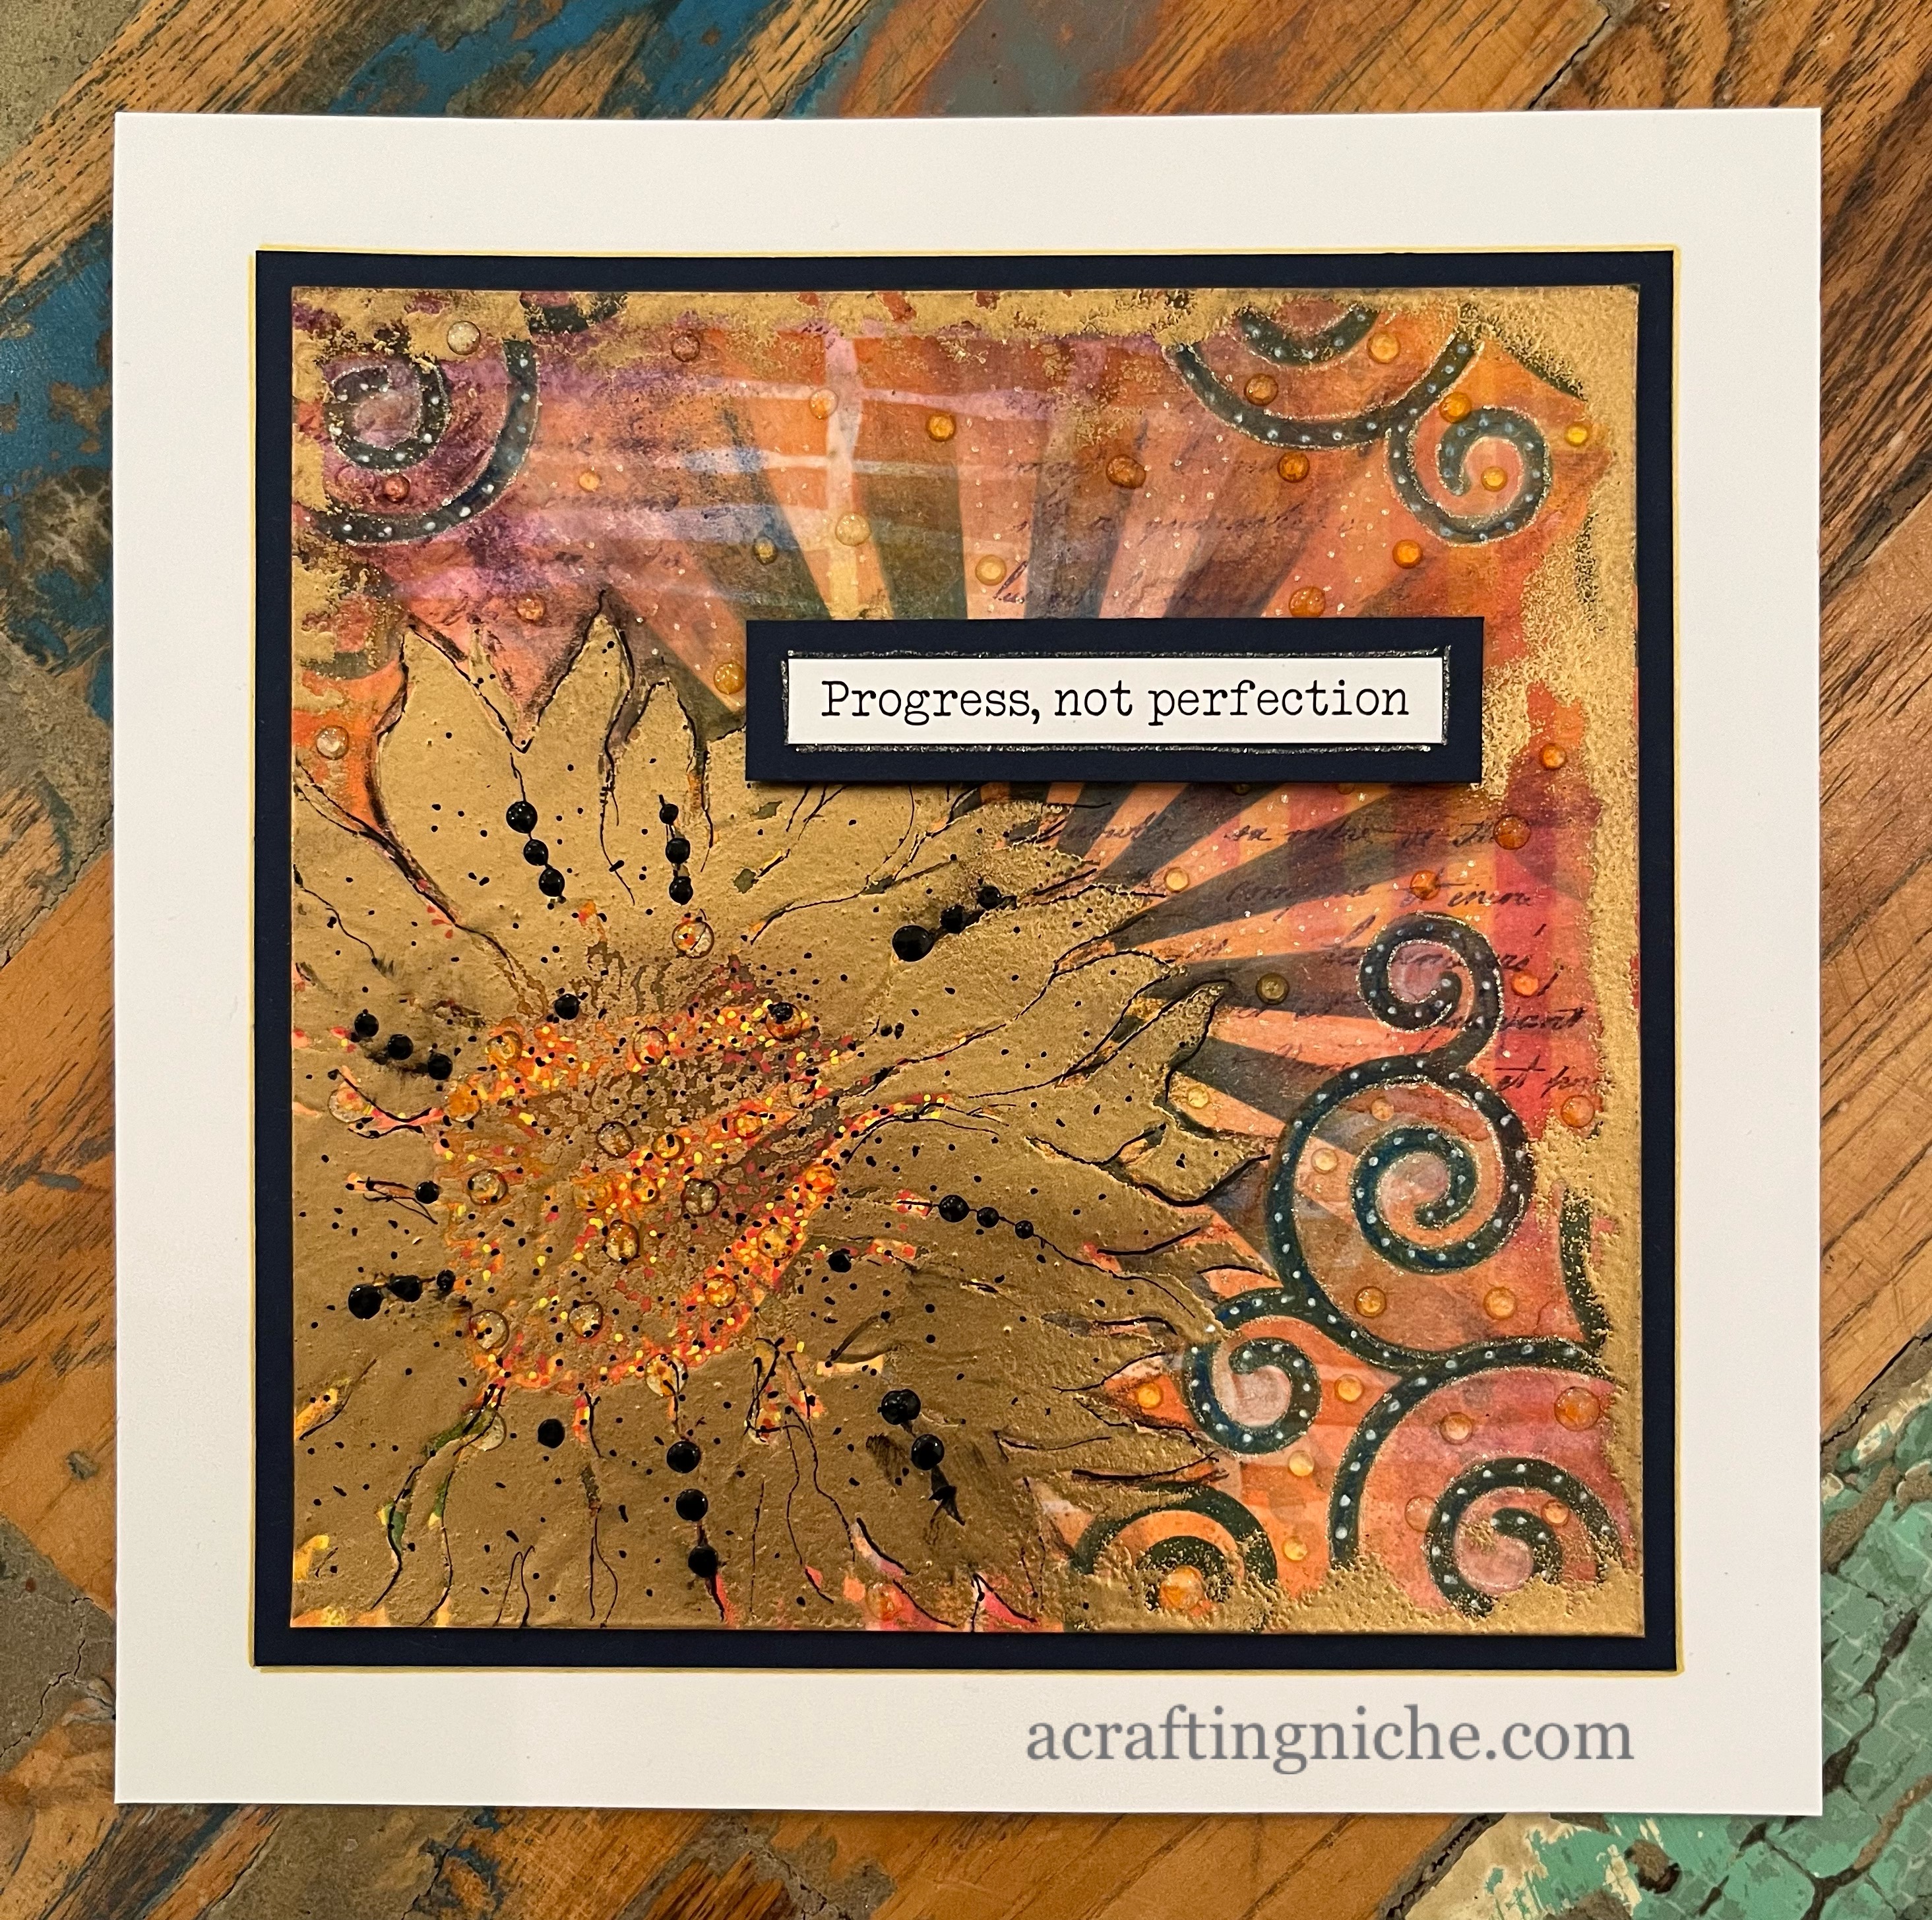
An inky Clarity stencil play session


I was recently reminded that I have a few Clarity Stencils which have not seen the light of day for at least a couple of years.  As I have been away for a few days, I was keen to get inky again, making this card.   The still photo doesn't really do it justice, so I've taken a little video too.


Because some of my Clarity crafting stuff has been around for a while, I didn't write the name of the stencils on the packs, so that will be a little job for tomorrow, so for now, you'll just have to enjoy the card without description.

Tuesday, 1 December 2020

Day 3 - 24 Day Christmas Tag Challenge with Karen Telfer


It's Day 3 of the 24 Day Christmas Tag Challenge with Karen Telfer.  

Here's is my interpretation.  I didn't have the plaid stencil Karen used or anything similar so I have improvised, using a Clarity stripe stencil, positioned in two different directions.  For my tag I have used "Picked Raspberry" and "Mowed Lawn" Distress Oxide inks.  I swapped out the "Festive Berries" for the "Picked Raspberry" as I felt the red looked too dominant.

The sentiment is stamped in Versafine Clair "Nocturne" black ink.  The stamp is from an old magazine I've had for ages. I have no idea which mag though.

I decided to add some stars.  I used a stamp from a Visible Image stamp set called "Peace, Love & Hope".  I used Wow! clear embossing powder, then used their "Metallic Gold Rich Pale Super Fine" embossing powder, then heat set.

Sunday, 17 November 2019

Week 47 - 52 Week Mini Art Card / Tag Challenge 2019


The prompt for Week 47 is "Bright".  My reasoning behind this prompt is that this week the weather has been so grey and grim, that I found myself wanting to create something with pretty, bright colours.

I started by using "Peacock Feathers" shade of Distress Oxide Ink through a Clarity Stamp Stencil called "Orbit".

Using Versafine Clair "Nocturn" black Ink, I stamped the Visible Image flowers and circle detail.  These stamps are part of their "Creative Chaos" clear stamp set.  I used some additional circles from another of their sets called "Shape It Up".

I stamped the flower heads again, this time on white card, which I painted with a pink shade of Distress Oxide Ink called "Picked Raspberry".  I then fussy cut the flower heads and adhered over the ones already on the tag.

Finally, I stamped the Always Cool words, using some magnetic word stamps by Rubbadubbadoo.  I added additional white cirles to the tag using a Signo Pen.


Sunday, 30 June 2019

Week 27 - 52 Week Mini Art Card / Tag Challenge 2019


The prompt for Week 27 is "Purple".

To create the coloured background of the tag, I used a Distress Oxide Spray called "Picked Raspberry for the top part of the tag.  On the lower area, I sprayed a Dylusion Ink Spray called "Crushed Grape".

I spritzed a Clarity stencil called "Orbit" with water and then flipped it on top of the tag.  The area where the stencil met the tag makes a bleached effect giving a different shade of colour which adds interest to the base.

Using Versafine Clair Ink in the shade of "Fantasia" I stamped the hands and sentiments, all part of a Visible Image stamp set called "You Are Not Alone".

Using a Distress Oxide ink in the shade of "Wilted violet" through a small diamond stencil, I created a relief pattern.

Using the Versafine Clair "Fantasia" ink again, I added the detail around the edge using a stamp from another Visible Image stamp set called "Ahead Of Our Time" and "Somewhere In Time".

~~~

Click here for more information about the challenge.

There is a Facebook Group for this challenge, where members can upload thier creations to the weekly prompt albums and chat to others taking part.  You are welcome to join in, the more the merrier.  Sam x


Friday, 14 June 2019

Printing backgrounds using stencils


I've been playing with stencils and how to replicate the image in a different way.


I used Distress Oxide Inks in the shades of Mustard Seedm Spiced Marmalade and Picked Raspberry.  I used a stripe Clarity stencil for this tutorial.


I randomly inked the stencil, ensuring there was a decent coverage of ink across the stripes.  I then spritzed the stencil with water.


I then flipped the stencil on a piece of cardstock.  Using a piece of kitchen paper, I gave a little pressure to ensure there was contact between the stencil and the paper.  The kitchen roll absorbs and surface ink that squishes out of the side.


Lift the stencil to reveal the coloured stripes.  You will notice that there is still quite a lot of ink left on the stencil, so I spritzed it again and repeated the process a further two times.


These are the three takes from the one inking of the stencil.


I inked the stencil again using the same colours and had a further play, I turned the card around creating a coloured grid background which I quite like.


I also tried the same technique using Distress Inks, but it wasn't as successful, I'm not sure why.  


However, I did like the look of the lower images, which was where I was cleaning the stencil with a wet wipe and it left a lovely coloured pattern.


I used Distress Inks on these tags too and the pattern is patchy, however they won't go to waste and will appear on a future project no doubt.


Tuesday, 4 June 2019

Forget Me Not "Unicorn Stencil" Card


Today I have played with a unicorn stencil by The Forget Me Not Kraft Kabin.

I started by spraying a piece of card with Dylusions Ink Spray in the following shades.  Crushed Grape, Vibrant Turquoise and Bubblegum Pink.

Once the background was dry, I masked off the card using the Unicorn stencil from The Forget Me Not Kraft Kabin and in the aperture, went around the outline of the unicorn head, using a Wow! Embossing Pen.  I then removed the mask and coated the outline of the head using Wow! White Twinkle Embossing Glitter.  I then set with a heat gun.

Using Versafine Clair "Fantasia" ink, I stampedthe Lavinia Stamps "Sacred Spells" script in two corners.  I used the same ink to ink the edges of the card.

I repeated theheat embossed process with the Lavinia Stamps sentiment "Sparkle", stamped with a Wow! Embossing clear ink pad and then used the same white twinkle glitter.

Using a Forget Me Not Kraft Kabin Stamp, I stamped the chain-link decorative edge, also using Versafine Clair "Fantasia" ink.

For the scroll work within the Unicorn head, I used a Clarity stencil with Versafine Clair "Fantasia" ink.

I then went around the inside edge and around all edges of the scrolls using a Sakura Gelly Roll pen to give it a subtle shimmer.

Finally, using a star stencil that I have had for years (I don't recall where it came from or who made it), I added the faint stars using Memento Luxe "Wedding Dress" ink.

Tuesday, 24 July 2018

Visible Image Butterfly Card


This card started off with several layers of different colours of Distress Oxides.  I then used Distress Inks through a Clarity Stamps Stencil.

I used a Visible Image butterfly stamp for the central image.  The sentiment was free with a Crafts Beautiful magazine (Dec 2017). Finally I added a few extra shimmery dots, which can not be seen in the photograph, using a Sakura Jelly Roll pen.

Saturday, 30 June 2018

Sunflower Sympathy Card


How do you make a sympathy card for the family of somebody who has been cruelly killed and taken from them at such a young age?  Words seem so insignificant. Our friends are in our thoughts constantly, we can not begin to understand what they are going through.  So shocking and so sad.

I used Distress Inks in four different shades through a Clarity Stamp Stencil.  I added further embellishments by using a gold metallic pen and a dark brown Promarker for accent touches.  The sentiment is from a Stampin' Up set called "Sheltering Tree" stamped in Versafine Ink.

Sunday, 17 June 2018

Week 25 - 52 Week Mini Art Card / Tag Challenge 2018


Everything is growing quickly in the garden at the moment so the Prompt for Week 25 is "Full Bloom"

For my tag, I used a Clarity Stamp stencil to create the sunflower, shading it with Distress Inks.  I then used Leaf Green coloured Brusho for the background.

Once everything was dry, I went around the outline of the petals in a black pen and one side of each petal with a metallic gold ink pen.  The background dots were also created in this way.

Looking at the finished tag, it actually reminds me of a silk painting.

~~~

If you would like to know more about the challenge, please click on the button to the right hand side of the "Home" button above where you will find a list of the previous prompts and also full information about the challenge.

The challenge does have a friendly Facebook group, which you are more than welcome to join. In the group you can see other group members weekly creations and chat to like minded crafty people.  I hope you'll pop over and say hello.  The more the merrier.  Sam x