52 Week Mini Art Card/Tag Challenge

Showing posts with label Versfine Clair Ink. Show all posts

Wednesday, 8 November 2023

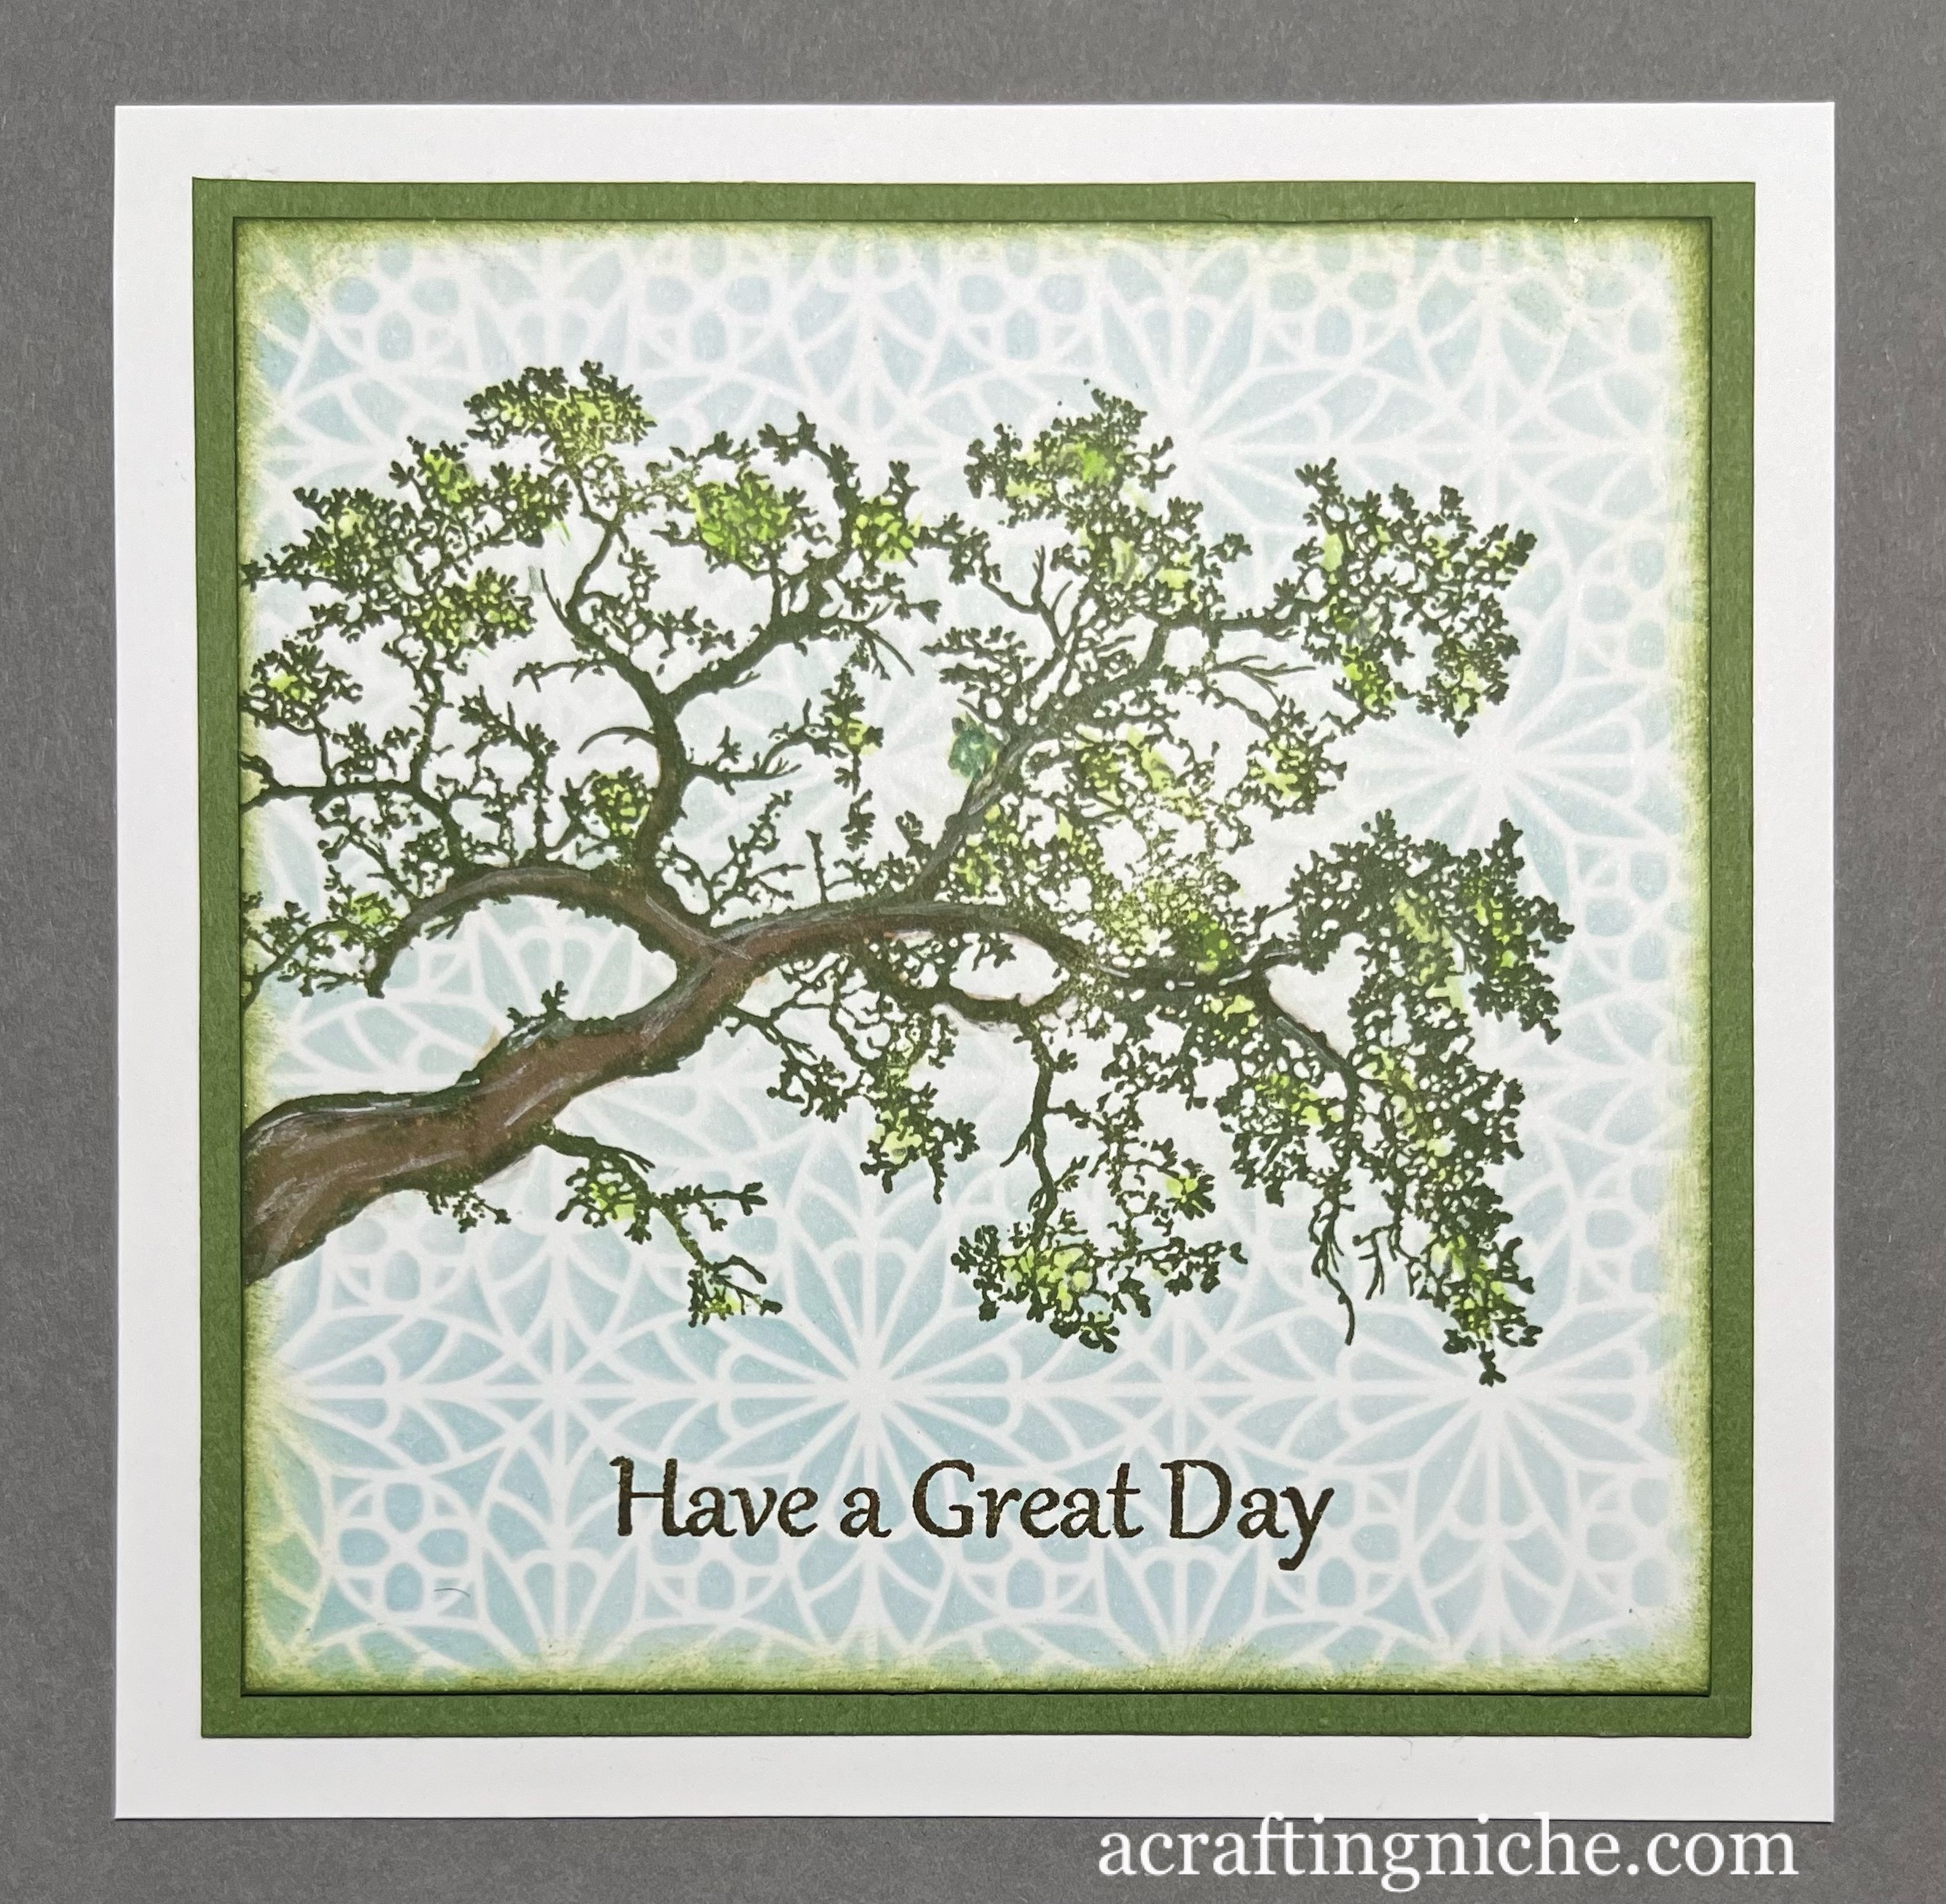
Sweet Poppy Stencils / Stampscapes Oak Branch Card


This morning I have had a play with my little used "Stampscape" stamps, paired with a couple of Sweet Poppy products to make this card.

I started with the Stampscapes "Oak Branch" red rubber stamp, stamping it in Versafine Clair "Shady Lane" green ink.

I then used "Sky Blue" Ranger Archival Ink, through the Sweet Poppy Stencil called "Floral Trellis Backplate".

I stamped the sentiment, which is part of the Sweet Poppy "Hugs & Kisses" stamp set, in Versafine Clair "Shady Lane" and "Acorn" ink.  I then Inked the edges of the card in "Shady Lane" too.

I added colour to the tree using Derwent Inktense pencils, colouring the trunk and also adding a lighter shade of green to areas of the tree canopy.

Finally, I mounted the card on to a piece of green card and then on to a white card blank.

Wednesday, 30 August 2023

Hobby Art "Town House Scene-Its - CS010D" Christmas Card


I'm on a roll with my third card today, this time I've swung straight in to Christmas!

I stamped the trees and the house using two shades of Versafine Clair inks:  Morning Mist and Shady Lane, using second generation stamping. I've used two Hobby Art stamp sets.  One is called "Town Houses CS0101D", sadly I don't know the name of the other set as I've had it for a very long time.

I coloured the image using various shades of Distress Oxide Inks, applied with a paint brush.  The colours I used were". Stormy Sky, Tumbled Glass, Antique Linen, Weathered Wood, Lost Shadow and Festive Berries.

I used Dr PH Martin's Bleed Proof white paint to create the snow using a fan shaped paint brush.  I also added touches of white gel pen to the trees. Finally, stamping the sentiment, using Versafine Clair "Morning Mist" grey ink.

Thursday, 6 July 2023

Visible Image "Art Rebel" Birthday Card


It's that time of year when I needed to make a birthday card for my Hubby.  I've been putting it off for a couple of weeks, but time is running out so I bit the bullet and made this card for him.

I used a piece of white 6x6" card for the base and lay the Visible Image "Square Route" stencil over to the left hand side of the card. I used two shades of Archival Inks through the stencil, first using "Shadow Grey" and then "Garden Patina" fading the colours out towards the right hand side of the card.

On a separate piece of white card, I used Versafine Clair "Nocturne" black ink to stamp the three face sections from the Visible Image "Art Rebel" stamp set. I then cut the three pieces down along the stamping line and inked the bare edge with a finger dabber and "Nocturne. Then glued the three sections into position slightly to the right of the central point of the card.

Once the glue was dry, I mounted the card onto a piece of black paper and then on to a 7x7" white card blank.

Now it was time to add the extra details.  I added the horizontal lines from the left of the face  and the large dot/splatters at the bottom right of the face from the Visible Image "Set the tone" stamp set with Versafine Clair "Nocturne" black ink.

I used the same ink with the vertical lines on the Visible Image "Shape It Up" stamp set.

I then moved on to the sentiments.  I used the "Cheers" from the Visible Image "Bring on the beers" stamp set and the "Happy Birthday" sentiment from their "Happy Birthday" stamp set.

Finally, I added some black and white dots using Ranger "Enamel Accents" and used Ranger "Glossy Accents" for the lenses of the goggles.

Tuesday, 4 April 2023

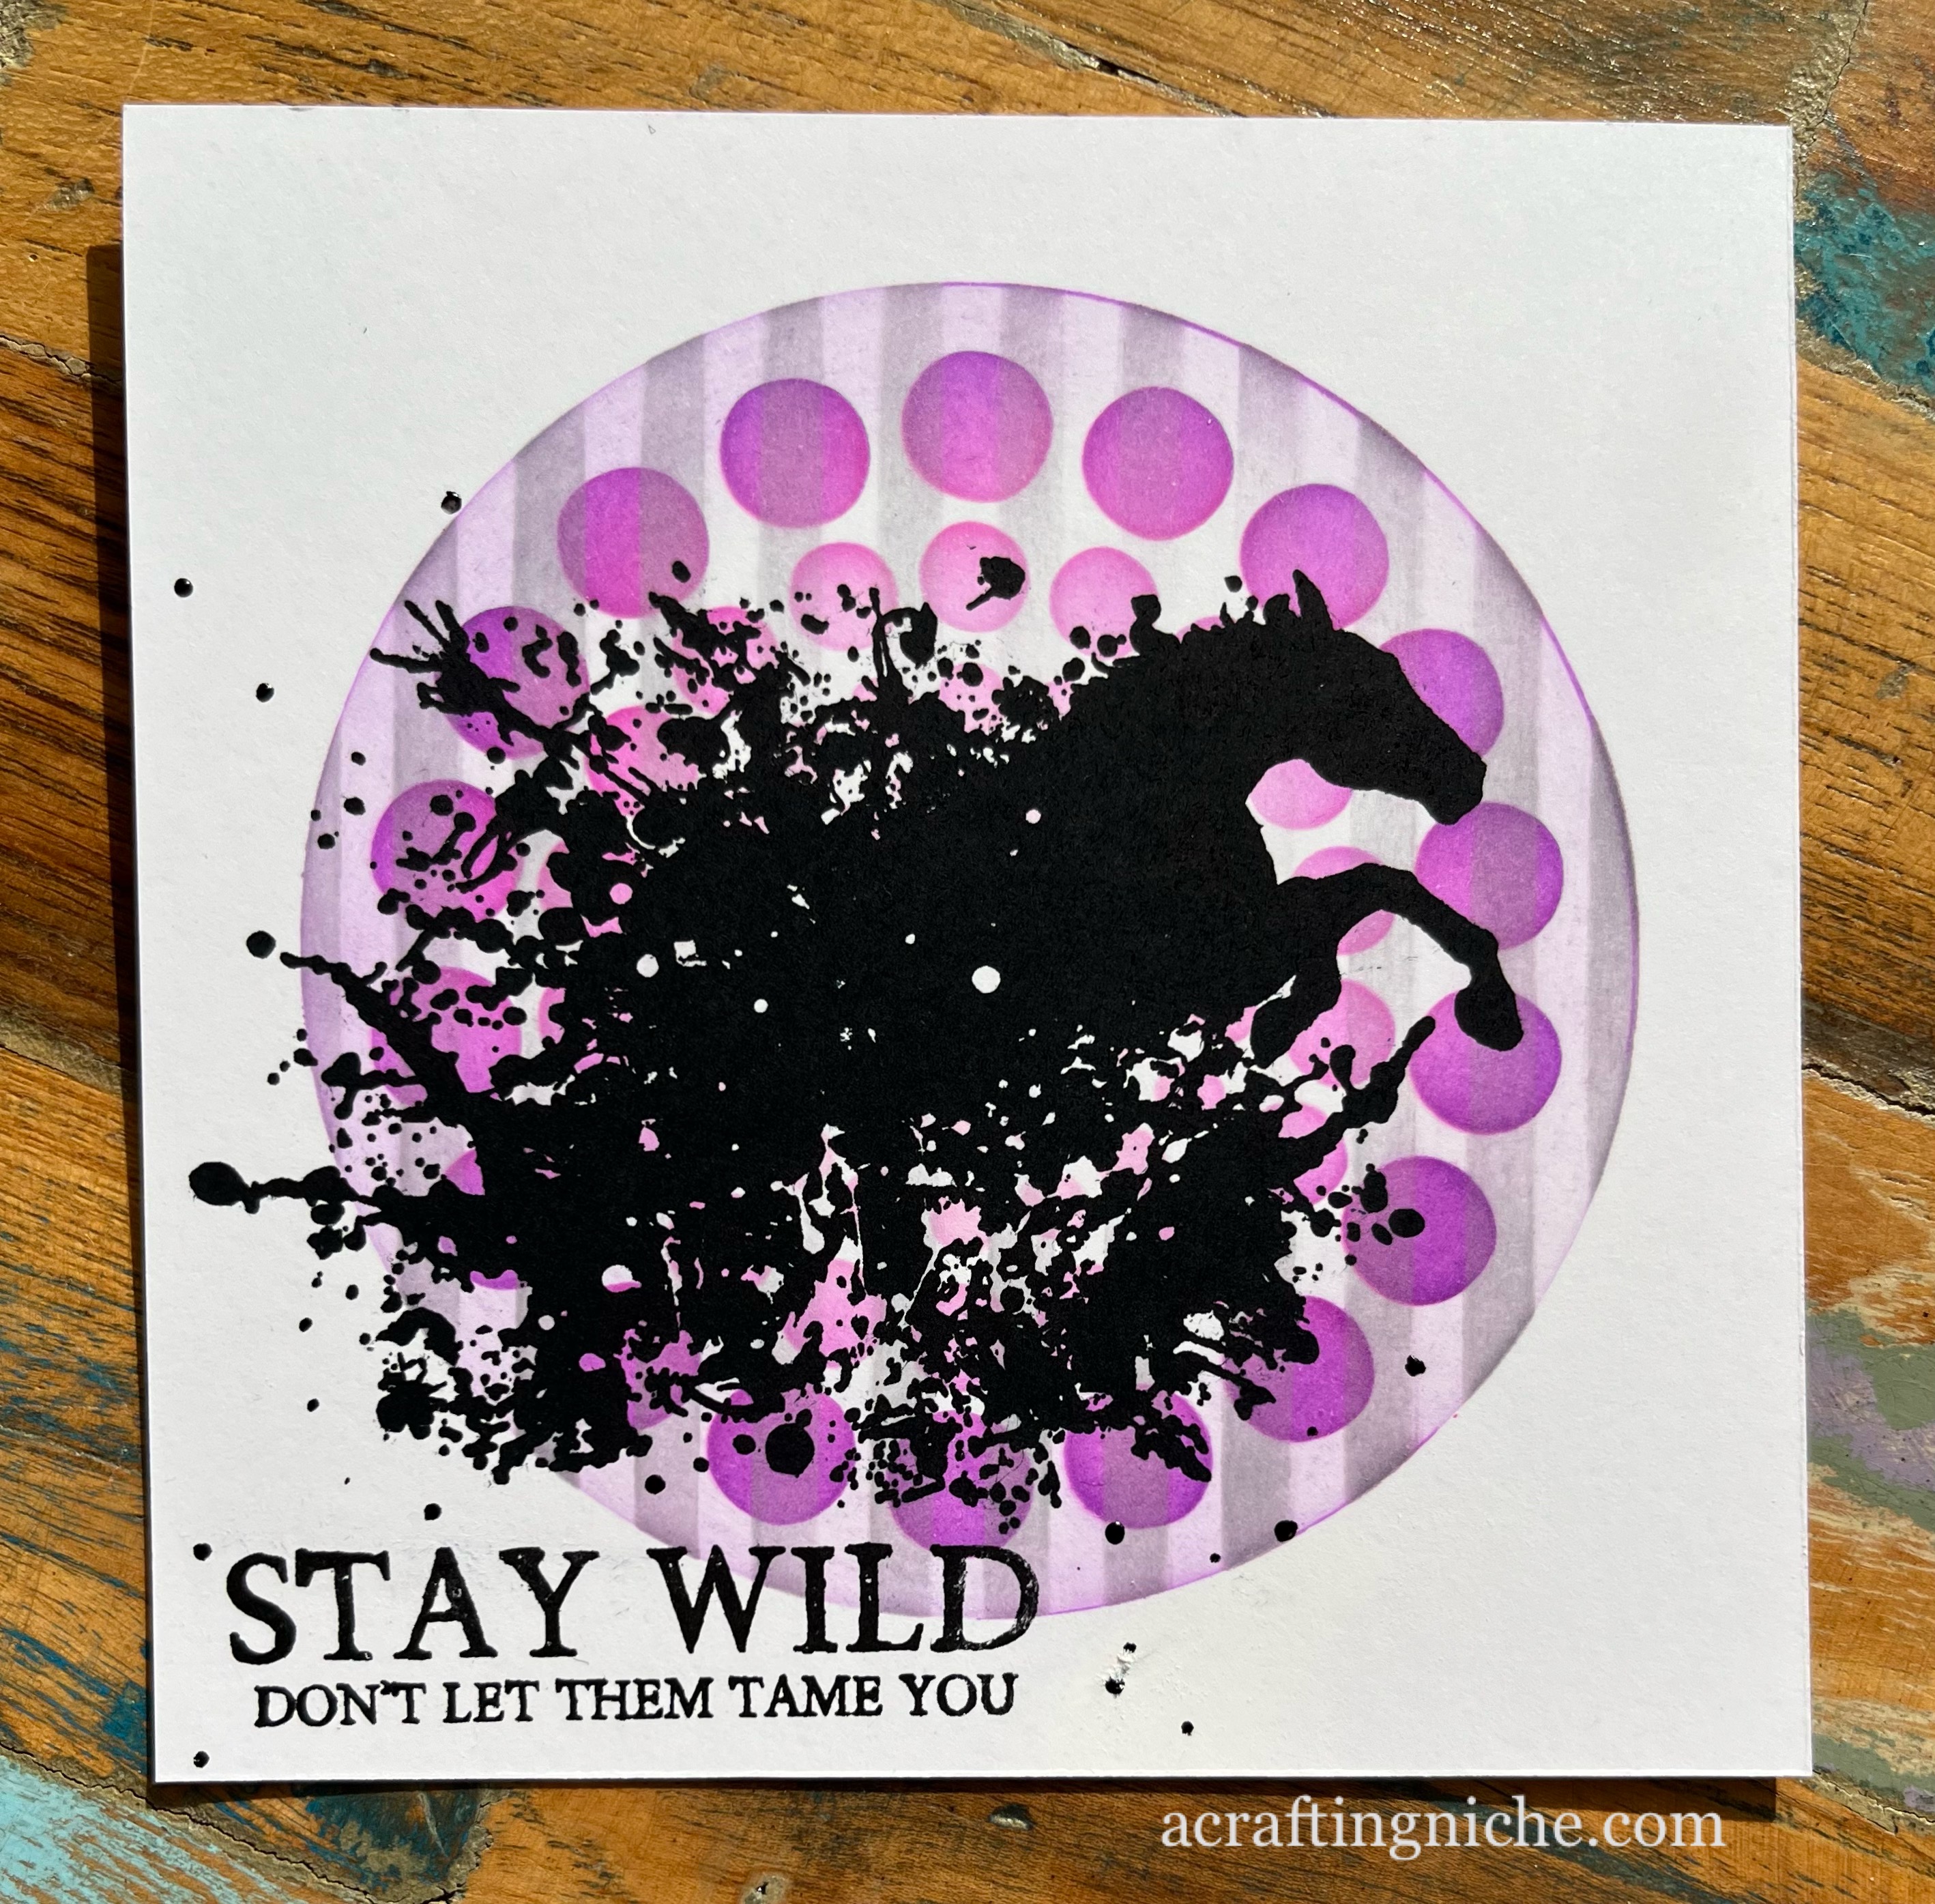
Visible Image "Stay Wild" challenge card


This morning on the Eileen Godwin facebook group, she set group members a challenge  saying "Make a card - start with a stencil or stencils and add a stamp or two..."

I used two Clarity Stamp stencils. Starting with the "Circle Dot Stencil" using three shades of pink Archival inks:  Pink Peony, Vibrant Fuchsia and Cactus Flower.  I then added a touch of Majestic Violet too.

Over the top of that, I used another Clarity Stamps stencil called "Stripes", applying "Shadow Grey" Archival Ink through the stencil but only around the edges of the circle.

After lifting the stencil, I decided I wanted a touch more colour to the edge of the circle, so used the brush I had applied the violet with to add a little more colour.

Using Versafine Clair "Nocturne" black ink, I stamped the horse and sentiment from the Visible Image "Stay Wild" stamp set.

I did manage to get a little smudge of ink on the white area around the card, so added a few spots of black "Enamel Accents" to cover it, which kind of tied in with the water splashes.

Wednesday, 1 March 2023

Clarity Stamps "Wild Flower Spray Stencil" card


A softer more feminine looking card from me this time using a stencil. 

I found a background in my stash that I'd made some months ago using a selection of colours of Distress Oxide inks.  I'd splattered water from a fan paint brush to ge the bleached dots look and the background was just waiting to be used.

I decided to pair the background with a Clarity Stamps stencil called "Wild Flower Spray". I used low tack tape to secure the stencil over the background then used three shades of Versafine Clair inks (Charming Pink, Shady Lane and Warm Breeze) through the stencil.  I then moved the stencil and filled in a few empty spaces with more detail.

After lifting the stencil, I added extra detail to the flowers and foliage by using Van Goch Pastel Pencils, gel pens and a 2B pencil.

I stamped the sentiment by Simon Says Stamp (part of their "Tiny Words - Birthday" stamp set) using Versafine Clair "Charming Pink" ink.  I used the same ink to edge the card using a finger dabber.

Darkroom Door "African Trees" Birthday Card


Once again, I am back after a few days away and decided I needed to get a wiggle on and get a card made for next Monday. As you can see from the photo below, the first attempt didn't go to plan as I forgot to use acetate to stamp the reflections, so had to start again! 


It just goes to show that it doesn't matter how experienced you are, mistakes are still made.  I did try to rescue the top half of the card, by cutting it in half.  It didn't look right so it got binned.

So to make this card, I used the Sweet Poppy "Aperture Circle Stencil" over a piece of square white card, held into place with a piece of low tack tape.

Within the circle I used the following Element Inks in the order typed (so lighter first, finishing in the darker shade):  Sundance, Russet Orange, Confetti, Emperor Red and Mulberry.

Keeping the stencil in position, I lay a piece of low tack tape slightly about the central line.

Using the tree and giraffe from the Backroom Door "African Trees" stamp set, I stamped the tree image in Versafine Clair "Morning Mist" grey ink on to a piece of acetate.  I then pressed the inked image on the acetate below the line of tape.  I repeated the process for the other tree and for the giraffe.

Removing the tape along the middle of the card, I then stamped the trees and the giraffe slightly higher than where the central line of tape had been, using Versafine Clair "Nocturne" ink.

Using a torn piece of copy paper and a finger dabber with Versafine Clair "Nocturne" black ink, I created the landscape, making the area at the bottom lighter (where the land would be reflected).

I added a touch of extra pink and yellow to the sky using Van Goch Pastel Pencils.

Using Versafine Clair "Morning Mist" grey ink and a sentiment from the Lawn Fawn "Simply Sentiments" stamp set, I stamped the Happy Birthday, then mounted the card on to red card and then a white card blank.
Tuesday, 6 December 2022

Lavinia Stamps "Mistletoe" Christmas Card


I've made another quick Christmas card this afternoon, using a Lavinia stamp and stencil. 

For the central area, I used a stitched edge die cut square and stamped the Lavina Stamps "Mistletoe" on to it using Versafine Clair "Rain Forest" ink.  I used the same ink to stamp the small sentiment, which is part of the Simon Says Stamps "Tiny Words - Christmas" stamp set.

I then used two shades of Distress Oxide inks (Mowed Lawn and Rustic Wilderness) through the Lavinia Stamps "Feather Leaf stencil".

I then matted and layered the pieces on to a card blank.