Today, is Day 2 of Karen Telfer's "12 Days of Christmas Tags 2025". The tag for today has a theme of "bright and cheerful", so that it is suitable for the warm sunny parts of the world in December. You can find Karen's tutorial for todays tag here.
I used the large daisy from the Visible Image stamp set called "Daisy Grunge", stamped in Versafine Clair "Nocturne" black ink off the edge of the tag. I then used two shades of Distress Oxide Inks (Squeezed Lemonade and Dried Marigold), through the Visible Image stencil called "Supernova".
I stamped the "Merry and Bright" sentiment, which is part of the Funky Fossil Designs "Stripped Back Christmas Sentiment" stamp set in Versafine Clair "Nocturne" black ink. I coloured the daisy using Derwent Inktense pencils. I used these colours for the petals: Mango, Wild Flame and Scarlet Pink. For the middle of the flower I used Sun Yellow and Golden Yellow.
Finally, I added touches of black Posca Pen dots, added "A Wink of Stella" to the middle of the flower for a lovely subtle gold tint and a gold coloured gel pen to the petals.
Today is Day 97 of the Tiffany Johnson Creative #100daysartplay Challenge. The prompt for this week is "Circles and Dots".
Starting with a 7x7" white card, I used a blending brush in circular motions, with "Sunflower" Ranger Archival Ink to colour a rough circle in the middle of the card. I then used the same ink through the Vivsible Image "Supernova" stencil.
I then used "Bright Tangello" Ranger Archival Ink through the Visible Image "Breakout stencil".
Next, using Versafine Clair "Twilight" dark blue ink, I stamped the large daisy from the Visible Imafe "Daisy Grunge" stamp set. I used Derwent inktense Pencils with a paint brush to colour the daisy.
I used Versafine Clair "Summertime" with the Visible Image "Grunge Tones" stamp set to create the circles around the top and left of the daisy, using an orange coloured Posca Pen to colour the larger dots.
Finally, I splattered black and white paint across the surface using Posca Pens,
On the Country View Crafts facebook page the theme for their January 2024 challenge is "Be Wordy", so I decided to make a card for the challenge. As I hadn't used my Visible Image stamps and stencils for a while, I decided to use them.
I used Versafine Clair "Medieval Blue" ink to stamp the main central image, using the Visible Image "Antisocial Butterfly" stamp set. I coloured the butterfly using two shades of Derwent Inktense pencils, using "Cadmium Yellow" and "Persian Red" shades.
I overstamped the butterfly using the "crazed butterfly" which is part of the Visible Image "Antisocial Butterfly" stamp set, stamped in Versafine Clair "Blue Belle" ink.
I used "Chrome Yellow" Ranger Archival Ink through two areas of the Visilbe Image S"trobes Stencil".
Next, I used "Monarch Orange" Ranger Archival Ink through the Visible Image "Breakout Stencil".
Through the Visible Image "Supernova Stencil", I used "Pebble Beach" Ranger Archival Ink.
I then used the nesting circles in the Visible Image "Off The Grid Stenicl" with Ranger "Shadow Grey" ink.
For the small dots in the top left and bottom right corner, I used the Visible Image "Two Tone" stencil with "Monarch Orange" Ranger Archival Ink.
In the bottom left and top right edges, I stamped the Visible Image "Grunge Flourish" using Versafine Clair "Medieval Blue" ink. I used the same ink to stamp the two words "Antisocial Butterfly" which are also part of the Visible Image "Antisocial Butterfly" stamp set.
Next, I used Versafine Clair "Morning MIst" grey ink to stamp the "Transform" and "Metamorphis" which are both part of the Visible Image "Wings of Change" stamp set.
Finally, I inked the edges of the card using Versafine Clair "Medieval Blue" ink. I used a blue Posca Pen to colour in some of the stamped circles, then mounted the card on to dark blue card and then on to a white card blank.
Another card I've made today, this time using Visible Image products.
In the background I've used a selection of "Elements Inks" swooshing the card through the colours till it was covered. These are the shades of ink I used:
Confetti
Violet Chalk
Bermuda
Della Blue
Blue Lagoon
Dark Denim
I then stamped the Visible Image "Follow Your Hear" stamp in Versafine Clair "Twilight" dark blue ink in the middle of the square card.
Next, I used the Visible Image "Supanova Stencil" with "Majestic Violet" Ranger Archival Ink, uisng the same ink to darken the corners.
I then inked the edges of the card with Versafine Clair "Twilight" ink and mounted it on to dark blue card and then on to the card blank.
Finally, I embellished the stamped image by using a white and pink Posca Pen and also added some white dots of Ranger "Enamel Accents".
After the clean lines of the previous cards, this one is a bit more busy.
I started by using two shades of Distress Ink, using "Old Paper" and "Weathered Wood", slightly spritzed on my craft mat and then dragging the card through the ink on the left hand side only.
Once dry, I used the Visible Image "Supernova Stencil" with "Saltwater Taffy" Distress Ink, to create the circular shape.
I then used Versafine Clair "Nocturne" black ink to stamp the eye, which is part of the Visible Image "Where Dreams Take You" stamp set.
Next, I added the dots, using the Visible Image "Two Tone Stencil" with "Sky Blue" Archival Ink. I then went around each circle with a black fine line pen to accentuate them more.
Returning to the eye area, I added colour to the eye itself by using "Salvaged Patina" Distress Oxide Ink, then coating it with Ranger "Glossy Accents".
Finally, I added black and white dots around the eye area using Ranger "Enamel Accents", then set to one side till the Glossy Accents had set, which actually took about three hours!
Having had a few days away, I'm back in my "happy place" crafting again. The sun is shining and all is good in the world!
This card features a Visible Image stamp set and several of their stencils and a whole host of different inks!
I started with a white piece of card and "Milled Lavender" Distress Ink. I put some ink on my glass mat, then lightly spritzed it and then swooshed the white card through the ink. I then used my heat gun to dry the surface before repeating the process with four more Distress Inks: Victorian Veleve, Tea Dye, Weathered Wood and Old Paper.
Next I used "Peat Moss" Ranger Archival Ink through the Visible Image "Seeing Stars" stencil, uising the chequerboard section of the stencil.
I then used "Garden Patina" Ranger Archival Ink through the Visible Image "Strobes" stencil on the left hand side of the card.
After that, I used "Shadow Grey" Ranger Archival Ink through the Visible Image "Strobes" stencil on the top right hand side of the card.
I then used "Cornflower Blue" Ranger Archival Ink through the Visible Image "Breakout" stencil" at the base of the card.
Moving on to the stamping, I used Versafine Clair "Twilight" dark blue ink to stamp the bird and words, all part of the Visible Image "Life Is Beautiful" stamp set.
Placing a mask over the bird, I stamped the circles, also part of the Visible Image "Life Is Beautiful" stamp set using Versafine Clair "Morning Mist" grey ink.
I used Van Goch pastel pencils to add depth of colour in areas.
Placing the mask back over the bird and strips of paper over the words, I used Dr PH Martin's "Bleed Proof White Paint" with a fan shaped brush to create splatters across the surface.
Removing the masks, I edged the card in Versafine Clair "Twilight" ink using a finger dabber.
I then used white and black Ranger "Enamel Accents" for extra dots.
Finally, mounting the piece on to navy blue card and then on to a white card blank.
This is the card that I had started at the caravan, but couldn't finish till I got home today.
I started the card, by stamping the flowers from the Visible Image "Creative Chaos" stamp set in Versafine Clair "Nocturne" black ink.
I then used Derwent Inktense pencils, applied with a paint brush to colour the flowers. I used a minty green Inktense pencil with a brush to create a very informal rectangle panel of colour behind the flowers.
I used "Weathered Wood" Distress Oxide Ink through part of the Visible Image "Supernova Stencil".
I then added extra black and white dots using Ranger "Enamel Accents". Finally mounting the card onto a piece of black paper and then on to a card blank.
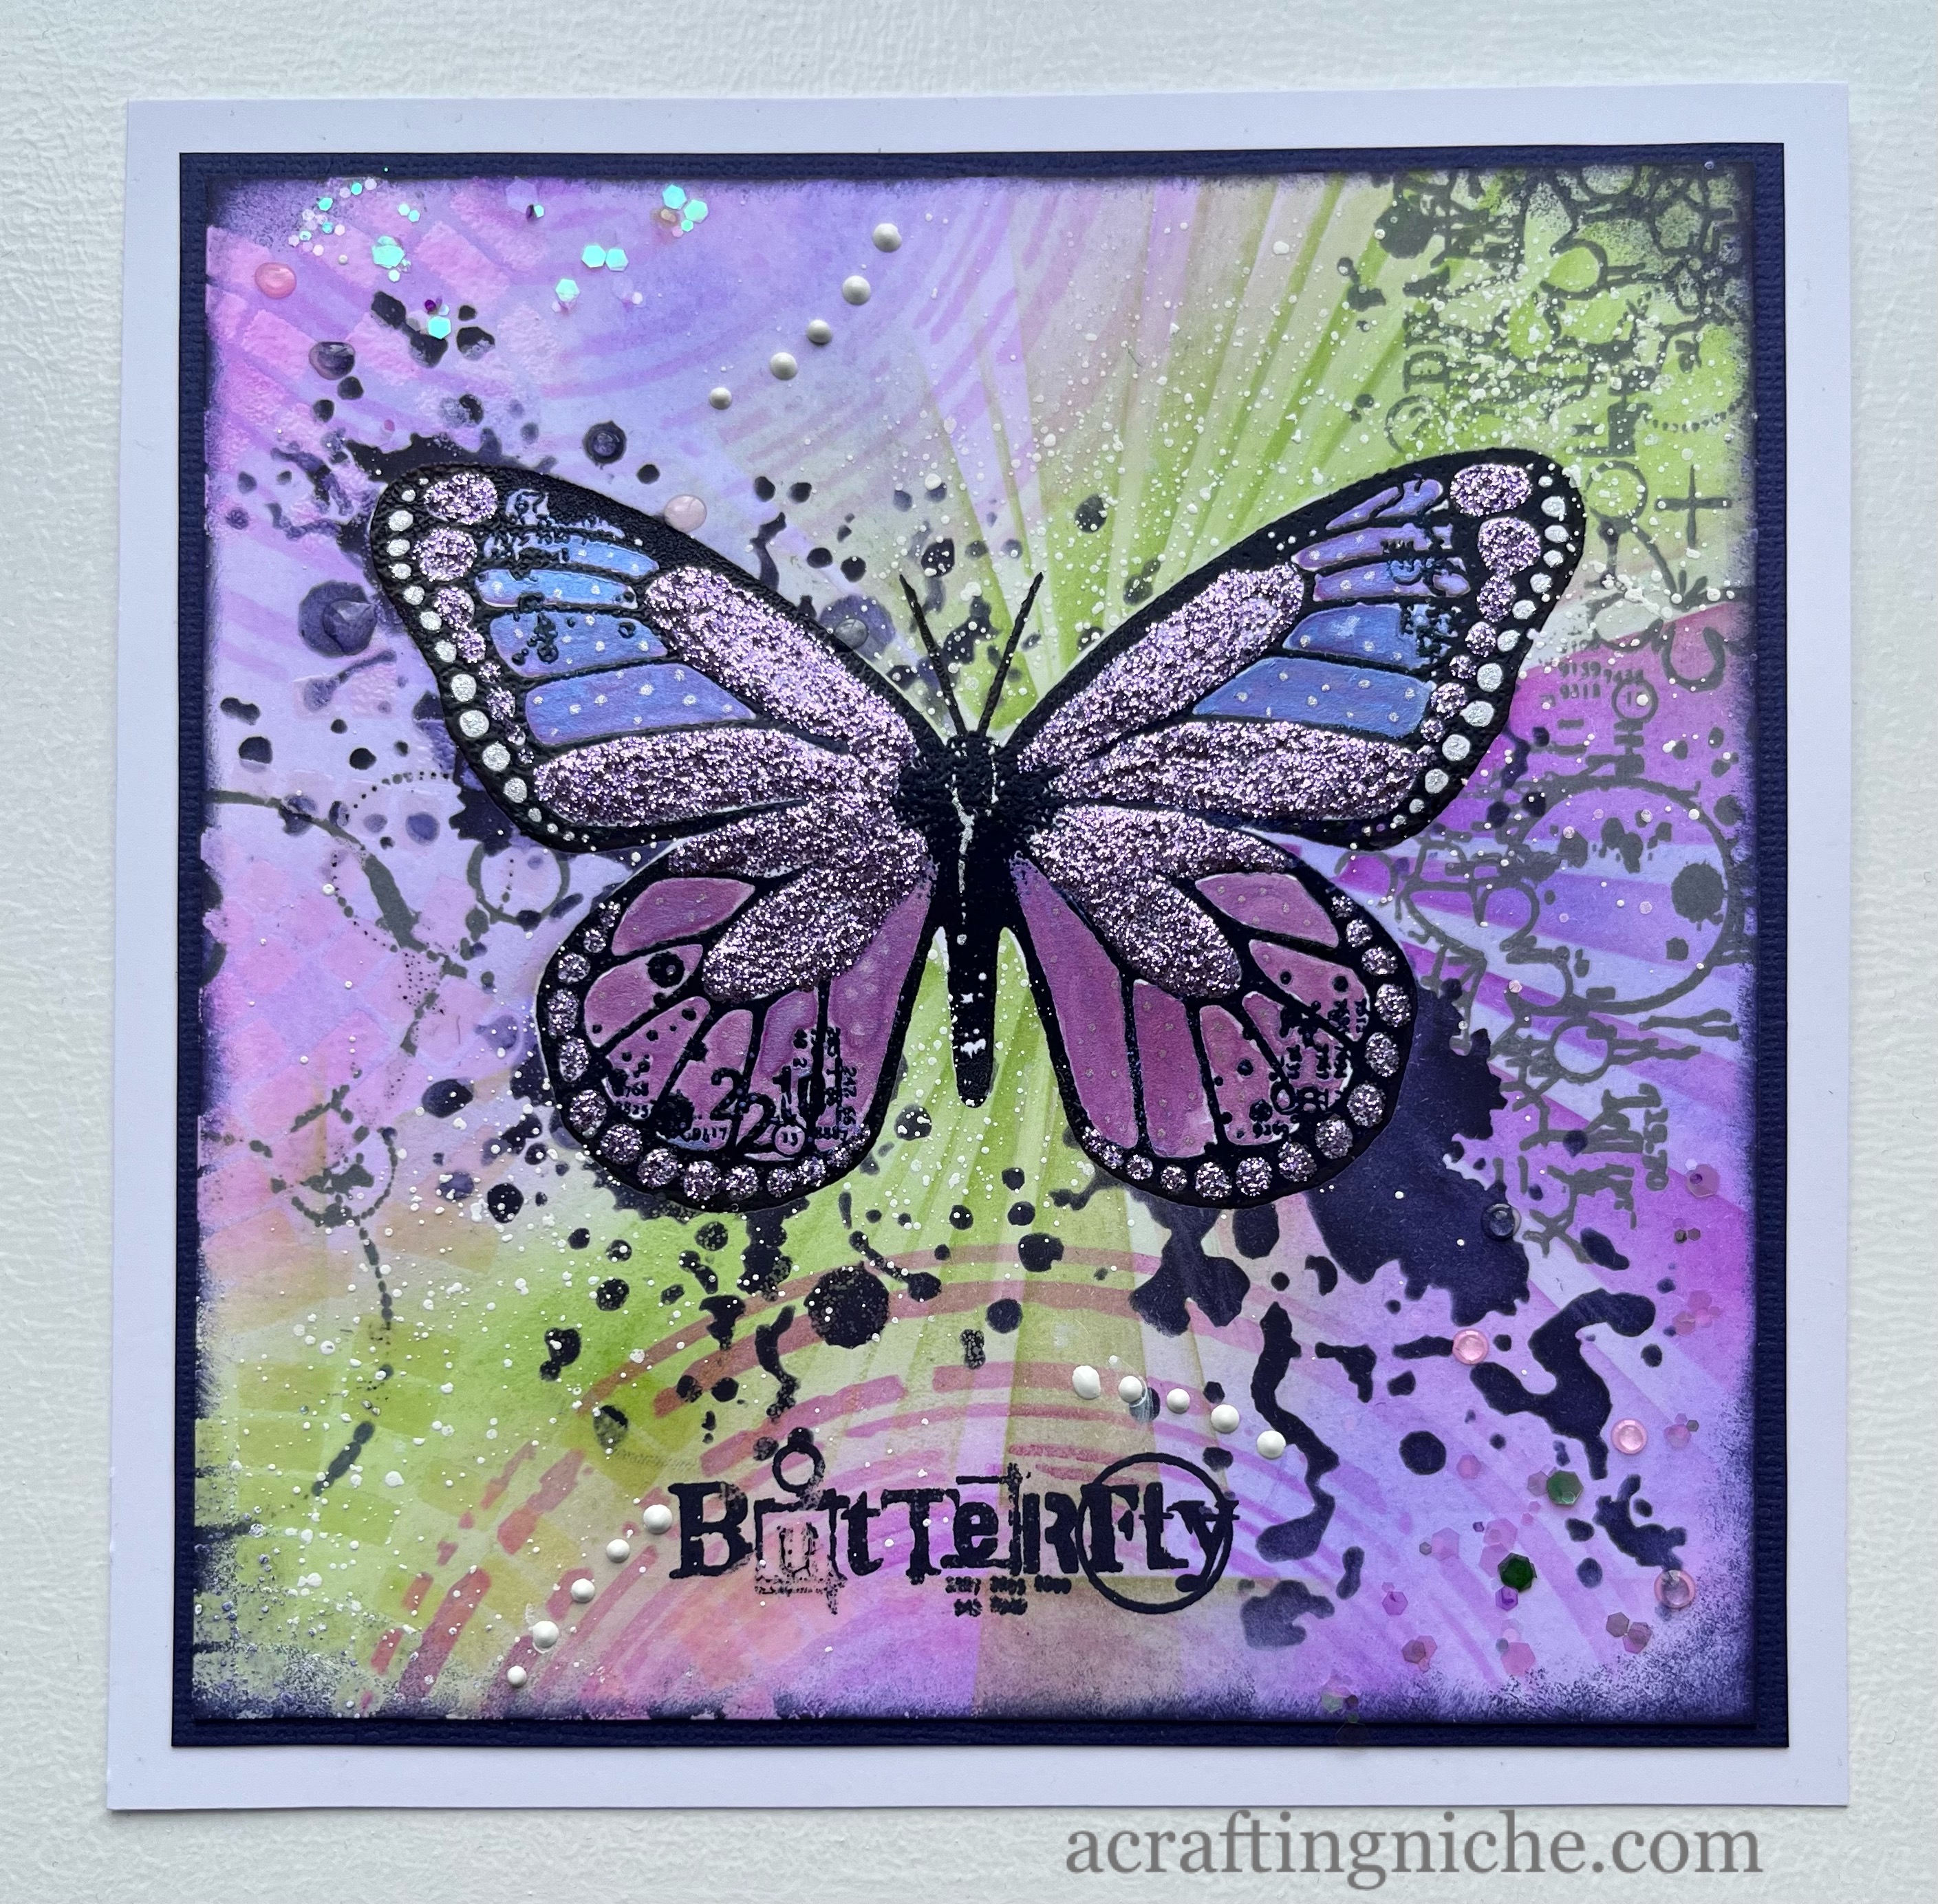
Eileen Godwin set a challenge today (12th April 2023) to use glitter. This is the card that I have made.
Starting with a plain piece of white card, I stamped the central butterfly, using the Visible Image "Butterfly Effect" stamp set, stamped in Versafine Clair "Medieval Blue" ink. I then coated it in Wow! Clear embossing powder and heat set.
I stamped the butterfly again on a piece of copy paper, then fussy cut the shape to use as a mask while I created the background. I used a small amount of repo glue to position the mask over the top of the card.
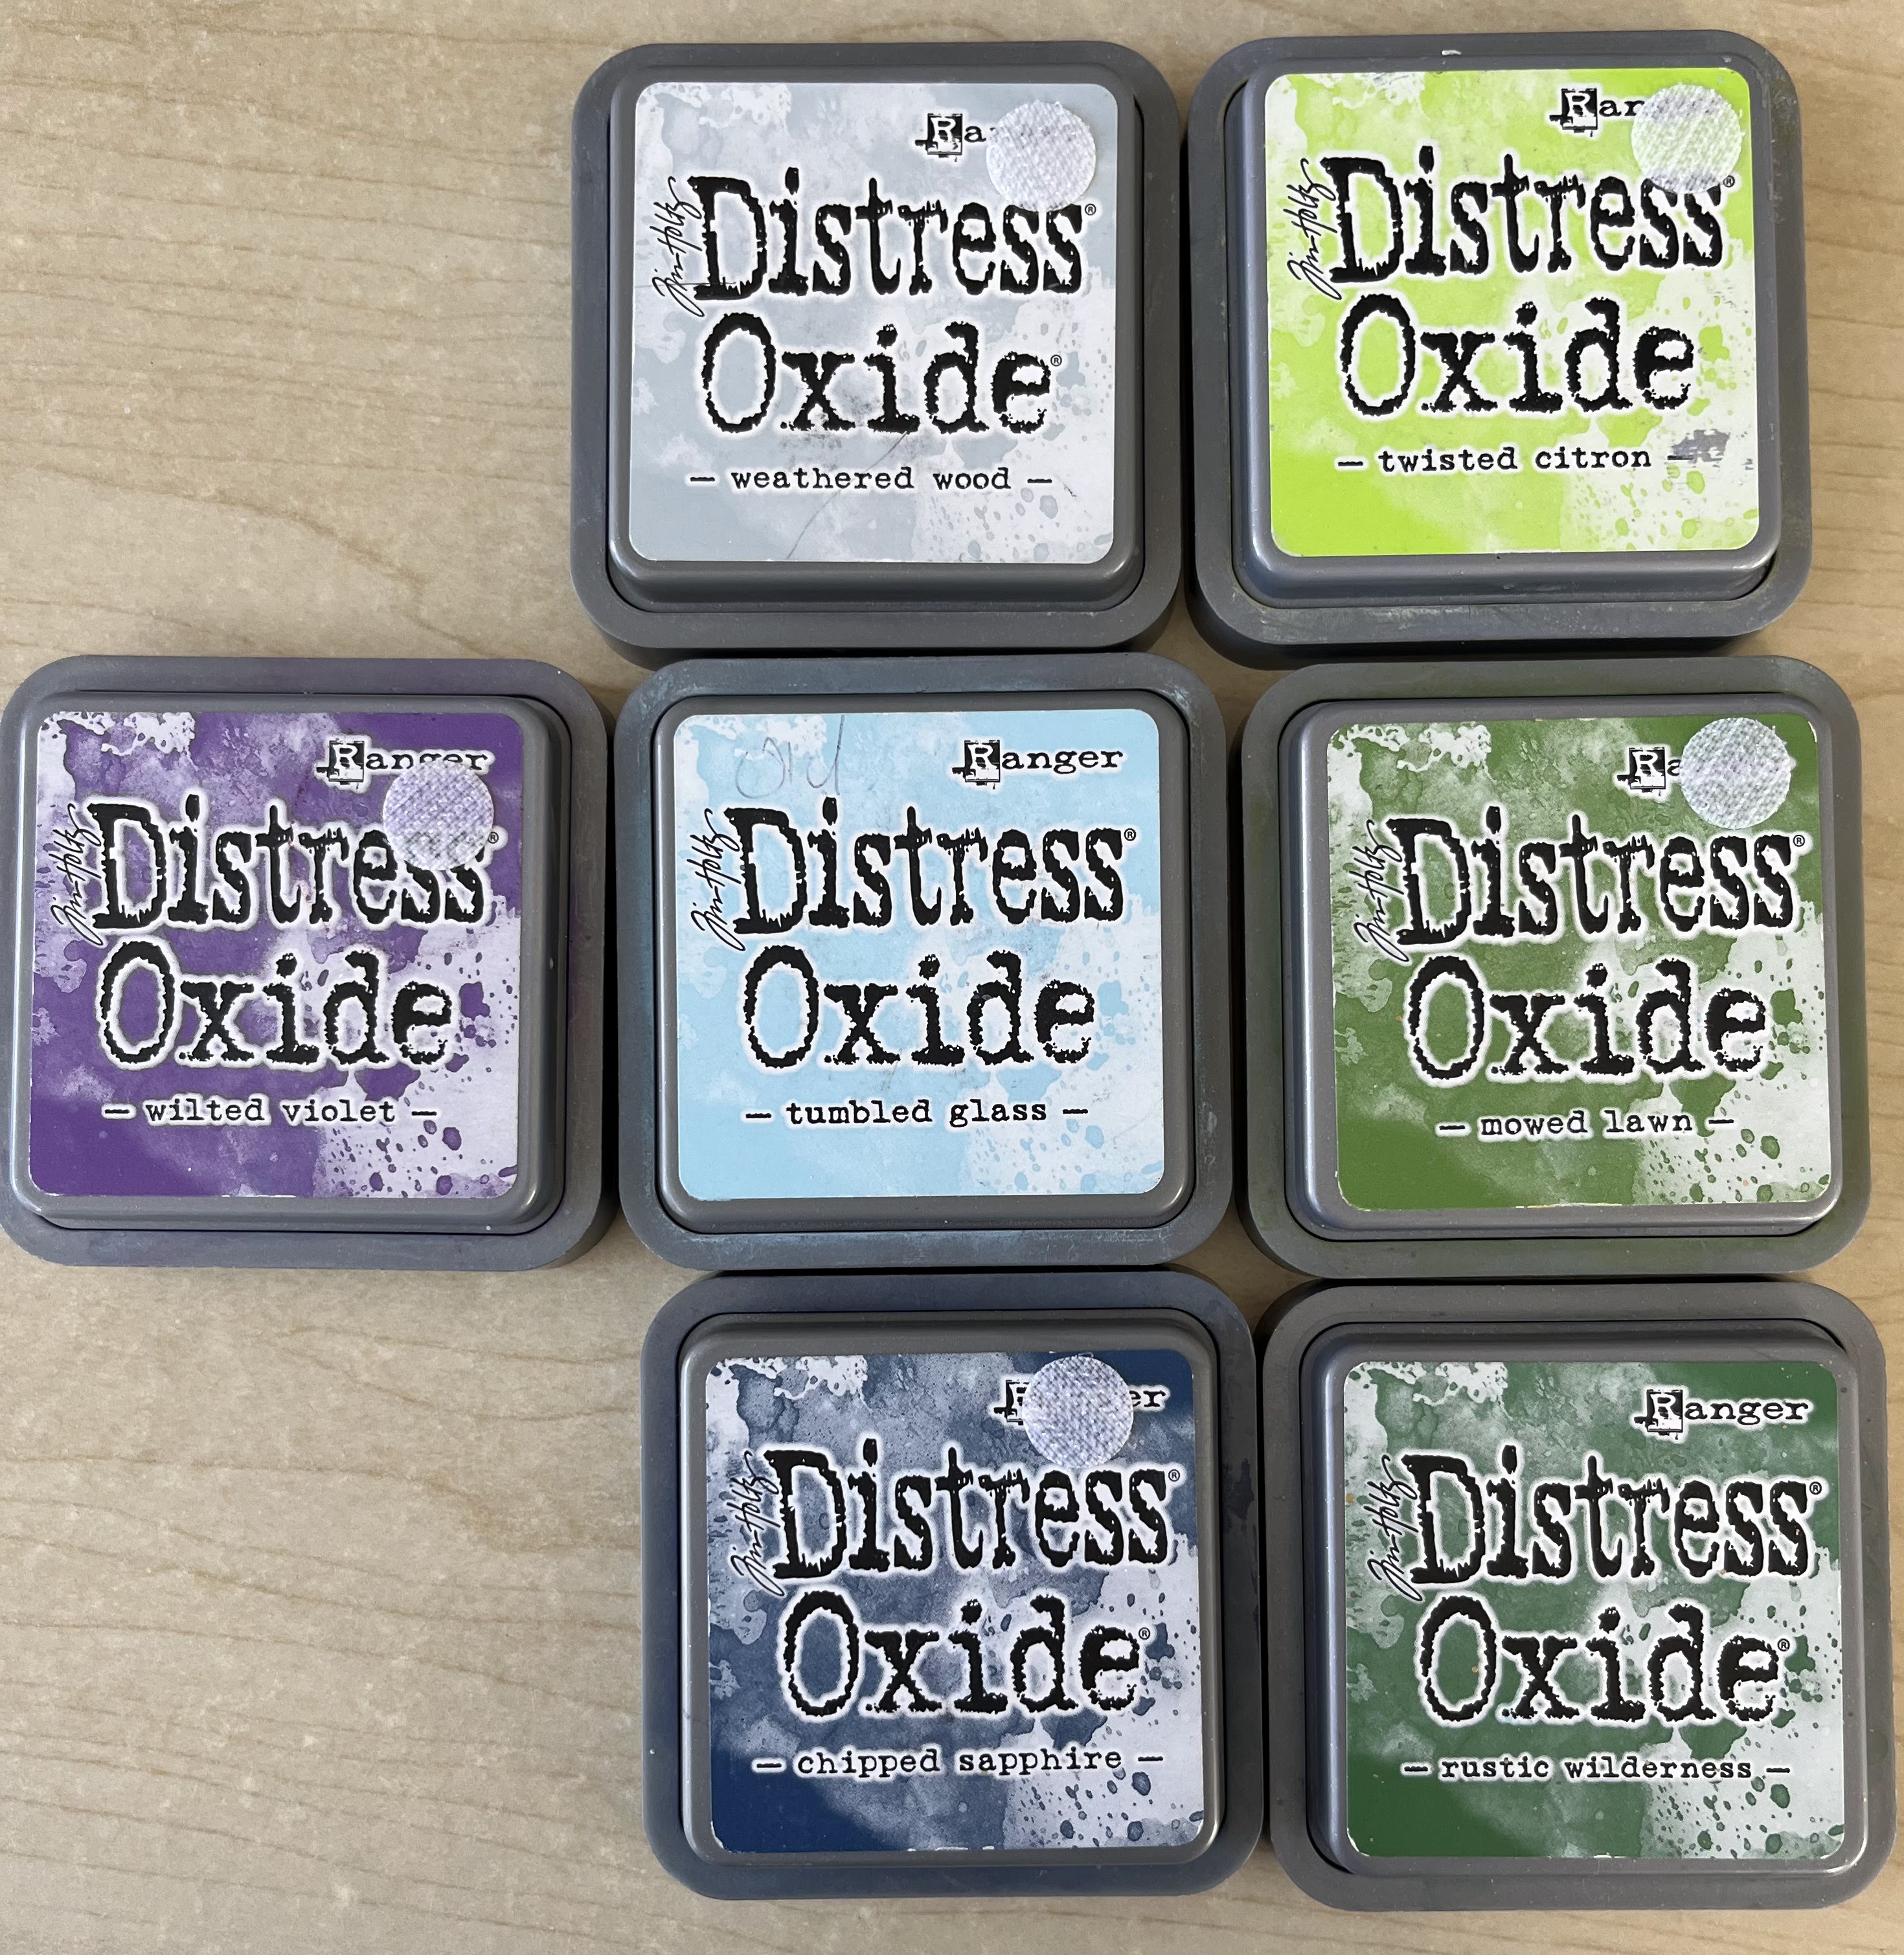
Using blending brushes, I applied two shades of Archival Inks: Vivid Chartreuse and Violet around the background.
I then used Cactus Flower and Vivid Chartreuse Archival inks through the Visible Image "Strobes" and "Supernova" stencils.
I then lay the Visible Image "Breakout" stencil in a couple of positions and applied "Wow! embossing ink" with a finger dabber through the stencil, then coated in Wow! Clear Embossing Powder and heat set.
I lay the Visible Image "Butterfly Ink" stencil over the butterfly and applied Versafine Clair "Medieval Blue" ink through the stencil to creats the dark splatters. I used the same ink to stamp the "Butterfly" sentiment which is also part of the "Butterfly Effect" stamp set.
Using Versafine Clair "Morning Mist" I stamped some rings on the left hand side of the butterfly and some random circular images on the top right, which are both part of the "Butterfly Effect" stamp set.
I used a white acrylic paint with a fan shaped paint brush to add fine white splatters, from the bottom left to the top right hand corner.
I then removed the paper mask from the butterfly, it looks so pretty with all the colours. If it didn't blend in so well with the background, I would have kept it in position!
I now turned my attention to decorating the butterfly itself. I used Creative Expressions Cosmic Shimmer Iridescent paints in a blue and purple shade. I then used "Lavender" coloured stickles for the four main sections of the wings, adding small dots of silver glitter signo pen to the dots at the ends of the wings.
In the background, I added dots of Ranger Glossy Accents and also some dots of White Enamel Accents.
Once everything was dry, I inked the edges of the card using Versafine Clair "Medieval Blue" ink, then layered it on to dark and then white card. Finally adding some very small sequins to the top left and bottom right hand corners.
I apologise for my absence, I've been away on holiday for a fortnight, so today I am back to my crafting, catching up on Birthday cards that are needed for the next couple of weeks.
Our Grand Son will be five in a week or so. As he gets very excited to see the red squirrels visit our garden, it seemed only right to pop one on his birthday card.
I've used two Visibiel Image stamp sets for this card. "Nuts about squirrels" and "Totally Toadstools". I also used the Visible Image "Supernova" stencil.
I used a selection of Versafine Clair ink pads to stamp the images.
I used a selection of Distress Oxide Inks to create the coloured background.
To colour the stamped images, I used Derwent Inktense Water Colour Pencils, I added further details using Van Goch Pastel Pencils and a white gel pen.
Finally, for the sentiment, I used a Lawn Fawn stamp from their "Simply Sentiments" stamp set, stamped in Versafine Clair "Morning Mist" grey ink.
Sharing another card, this time featuring Visible Image stencils and stamps.
I started this card using three shades of Elements Inks (Sahara, Greensleeves and Bermuda) on a glass mat, spritzing with water then swooshing a piece of white card through the ink. I added extra colour in a few areas to make it a little stronger, by repeating the process. I then used a heat gun to dry the surface.
Once dry, I used the Visible Image "Strobes" stencil with "Peat Moss" Archival Ink. I then used "Library Green" Archival Ink through the Visible Image "Super Nova" stencil. I used "Cornflower Blue" Archival Ink through the "Halftone" stencil ina couple of areas around the edge of the card.
Using Versafine Clair "Shady Lane" green ink, I stamped the Visible Image "Fibonacci" image.
I ran an anti-static bag over the surface of the card, before stamping the word "Hope" (from the Visible Image Peace, Love and Hope stamp set) in Versafine Clair "Twilight" dark blue ink. I then coated the stamped word in Wow! clear embossing powder and heat set.
Using the same ink and the edge of the large stamp from the Visible Image "Stay Wild" stamp set, I repeated the process around the edge of the card.
I used a white pastel pencil to lighten a couple of areas. Addeing touches of yellow Posca Pen, White Gel Pen and a shimmer of gold using a gel pen. I then mounted it on to a piece of white card.