52 Week Mini Art Card/Tag Challenge

Showing posts with label Visible Image Butterfly Ink. Show all posts

Wednesday, 12 April 2023

Visible Image "Butterfly Ink" glitter challenge card


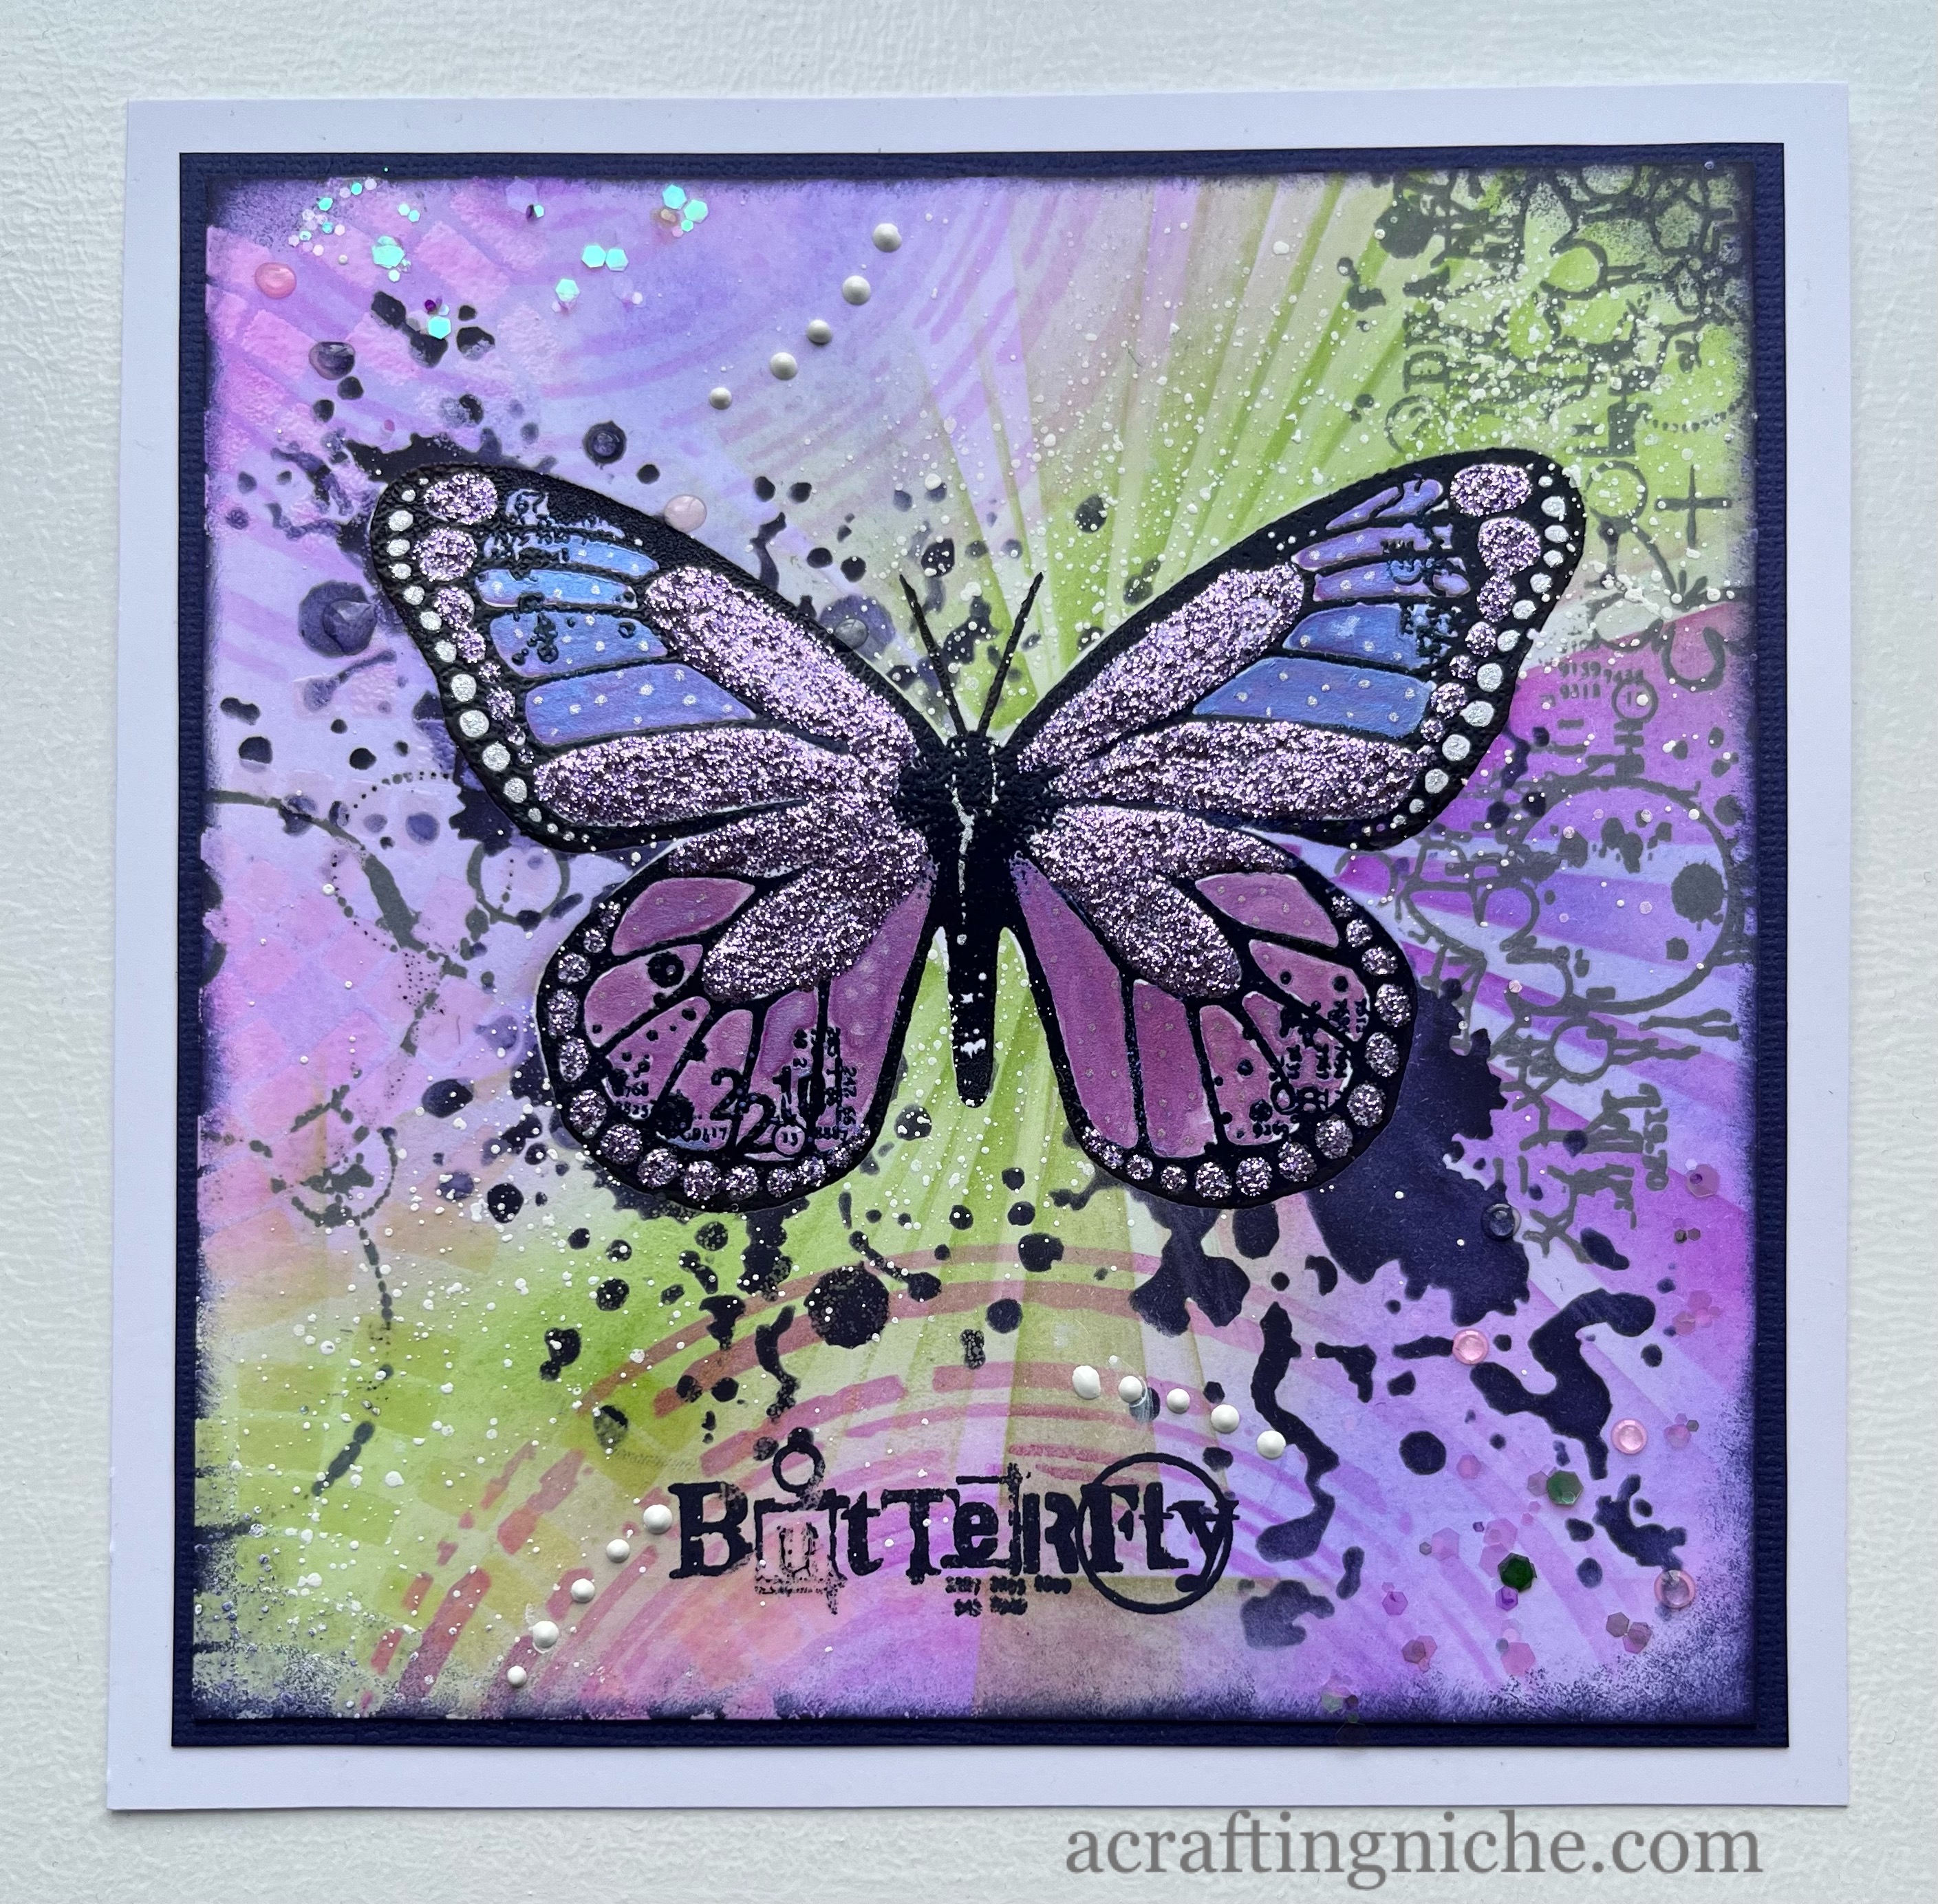
Eileen Godwin set a challenge today (12th April 2023) to use glitter.  This is the card that I have made. 


Starting with a plain piece of white card, I stamped the central butterfly, using the Visible Image "Butterfly Effect" stamp set, stamped in Versafine Clair "Medieval Blue" ink.  I then coated it in Wow! Clear embossing powder and heat set.

I stamped the butterfly again on a piece of copy paper, then fussy cut the shape to use as a mask while I created the background. I used a small amount of repo glue to position the mask over the top of the card.

Using blending brushes, I applied two shades of Archival Inks:  Vivid Chartreuse and Violet around the background.

I then used Cactus Flower and Vivid Chartreuse Archival inks through the Visible Image "Strobes" and "Supernova" stencils.

I then lay the Visible Image "Breakout" stencil in a couple of positions and applied "Wow!  embossing ink" with a finger dabber through the stencil, then coated in Wow! Clear Embossing Powder and heat set.

I lay the Visible Image "Butterfly Ink" stencil over the butterfly and applied Versafine Clair "Medieval Blue" ink through the stencil to creats the dark splatters.  I used the same ink to stamp the "Butterfly" sentiment which is also part of the "Butterfly Effect" stamp set.

Using Versafine Clair "Morning Mist" I stamped some rings on the left hand side of the butterfly and some random circular images on the top right, which are both part of the "Butterfly Effect" stamp set.

I used a white acrylic paint with a fan shaped paint brush to add fine white splatters, from the bottom left to the top right hand corner.  


I then removed the paper mask from the butterfly, it looks so pretty with all the colours.  If it didn't blend in so well with the background, I would have kept it in position!

I now turned my attention to decorating the butterfly itself.  I used Creative Expressions Cosmic Shimmer Iridescent paints in a blue and purple shade.  I then used "Lavender" coloured stickles for the four main sections of the wings, adding small dots of silver glitter signo pen to the dots at the ends of the wings.

In the background, I added dots of Ranger Glossy Accents and also some dots of White Enamel Accents.

Once everything was dry, I inked the edges of the card using Versafine Clair "Medieval Blue" ink, then layered it on to dark and then white card. Finally adding some very small sequins to the top left and bottom right hand corners.

Saturday, 18 April 2020

Visible Image - Rainbow Challenge #2 using their Butterfly Ink stencil


I decided to make a second entry for the Visible Image "Rainbow Challenge".

I used the Visible Image " Butterfly Ink" stencil with blended Distress Oxide Inks to create the rainbow on the butterfly.


I used a selection of Visible Image stamps for the remainder of the card, stamping in Versafine "Nocturne" and "Morning Mist" ink

Friday, 17 April 2020

Visible Image - Faerie Magic "Rainbow Challenge" Card


This is a card I have made as an entry for the Visible Image "Rainbow Challenge".

I've used the Visible Image "Butterfly Ink"  stencil in the background and "Faerie Magic" stamp set for the fairy itself.  I've used the Visible Image "Stay Weird" stamp set for the sentiment.

I have coloured the card using Distress Oxide Inks with Posc Pens and Signo pens.  I think I have used all the colours of the rainbow on this card.

Monday, 13 May 2019

Visible Image Butterfly Ink Stencil Card


Today I decided to use one of my gelliplate backgrounds I made a week or so back.  

You may remember that I had seen a video link using Pan Pastels through stencils.  Well today I used the first pull image (the one that was a bit blurry).  Here's it is, it's the one on the left of the photo.


I decided to use the Visible Image "Butterfly Ink" stencil.  I used low-tack masking tape to keep the stencil in position on the gelliplate background.

First I ran round the edge of the stencil with a thin point pen (also filled the inky dots too).

Using Distress Inks, in the shade of "Black Soot" I inked the edge of the butterfly drawing the ink from the stencil onto the inside edge/outer edge of the butterfly itself.  

Using a finger dabber, I used Distress Ink in the shade of "Chipped Sapphire" up to the "Black Soot" area.  

Finally, I filled the rest of the butterfly using a Distress Ink called "Wilted Violet" with a finger dabber.  Because  have only lightly inked the area you can still see the gelli plate pattern which I quite like.

I felt the butterfly area needed something else, so I pulled out the Visible Image "Two Tone" Stencil and added some dots using a Memento Luxe ink called "Wedding Dress".  I think the dots just add a subtle additional layer.

Finally, using Versafine Clair ink in the shade of "Nocturne" I stamped the sentiments.  Both are from the Visible Image set called "Somewhere In Time".  I edged the top of the butterfly using a shimmery gold Sakura Gelly Roll pen.