52 Week Mini Art Card/Tag Challenge

Saturday 30 September 2023

Sweet Poppy Stencils ""Winter Cottage" Christmas Card


A winter scene using stamps from Sweet Poppy Stencils.

I stamped the Sweet Poppy "Small Winter Cottage" in Versafine Clair "Morning Mist" grey ink. I used a heat gun to dry the surface, before I made a wash of Distress Oxide Inks for the sky and snowscape.  Initially, I used "Spun Sugar" soft pink, then used "Saltwater Taffy" for the sky and "Lost Shadow" for the snow in front of the cottage.  Again I used my heat gun to dry the surface.

Using Versafine Clair "Morning Mist" I stamped the sentiment, which is part of the Sweet Poppy "A6 Hugs & Kisses" stamp set.

I then used a black "Van Goch Pastel Pencil" to add extra depth of colour to the snowscape - before hand it just looked a bit wishy-washy.

I added small touches of colour to the fir trees using "Bundled Sage" Distress Oxide ink, applied with a paint brush.

I did the same for the stonework on the cottage, this time using "Tea Dye" Distress Oxide Ink.  

Finally, using a fan shaped paint brush, I added some splatters of white acrylic paint to replicate snow flakes.

Lavinia Stamps "Willow the Witch" Halloween Card


I was up at a silly hour again this morning, so did some crafting making this Halloween card.

For the base, I used a gel plate, brayering on "Sundance Elements Inks" across the surface.  With a smoothie, I then added "Olive Elements Inks" around three quarters of the circle, leaving the top right hand corner free of green ink.  I popped a few splatters of water on to the gel plate, concentrating on the areas where I had added the green ink.  I then popped a piece of 7x7" card over the top to take the impression, smoothing my hand over the surface to ensure that the ink transferred to the card fully.

I used a heat gun to dry the surface and decided I wanted more green, so used a blending brush with the olive ink, using sweeping movements to get the look I was after.

In the top right area where there was less ink, I stamped the Lavinia "Moon" using Versafine Clair "Morning Mist" grey ink.

Using Versafine Clair "Nocturne" black ink, I stamped the Lavinia Stamps "Willow the Witch", her couldron, the "Tree of Hope" and the toadstools from the "Lamps" stamp set.  I then used Versafine Clair "Twilight" dark blue ink, with a blending brush and one of the Lavinia Stamps "Hill Masks" to create the landscape that the images sit on.

I coloured the tree trunk using Derwent inktense pencils, applied with a paint brush, using the following colours:  Apple Green, Red Oxide and Natural Brown.  I added a few leaves to the bare branches of the tree too.  While the brown pencil was out, I added some grounding to the witch, couldron and tree too.

I then stamped the bubbles, using part of the Lavinia Stamps "Sea Bubbles" stamp with Versafine Clair "Morning Mist" grey ink.

I used the Lavinia Stamps "Fairy Web" with Versafine Clair "Nocturne" black ink to stamp in the top left and bottom right corner.  I felt this allowed the eyes to settle diagonally across the card.

Finally, I added touches of yellow and orange Posca Pens to create the impression of flowers growing in the grass.  I used a white gel pen for highlights and a silver glitter pen and "A Wink Of Stella" to add some shimmer and sparkle .

Friday 29 September 2023

Stampers Amonymous "Entomology" Lady Bird Card


I've felt a little different about my crafting since my return from holiday.  Nothing I can really put my finger on, but I know I'm not where I usually am with my crafting, so to address this, I have gone back to basics with this CAS card.

I started by using the Gummiapan "Trellis" (D210628) die to cut a white trellis, which I mounted on to a white card blank with a wet glue.

Below the trellis, I stamped a Simon Says Stamp sentiment "Just For You" which is part of their "Tiny Words" stamp set, stamped in Versafine Clair "Nocturne" black ink.

Using "Nocturne" again, I stamped the ladybird from the Tim Holtz/Stampers Anonymous cling stamp set called "Enomolog" CMS328 on to a piece of white card.  I then used a Derwent Inktense pencil to colour the ladybird, using a paint brush.  I used the matching Sizzix Tim Holtz/Stampers Anonymous die set (663068), to die cut the ladybird.  I went around the edges of the die cut with a black Sharpie pen, before sticking over the trellis.

Finally, I added some black dots of Ranger "Enamel Accents" and I covered the ladybird with Ranger "Glossy Accents" and set aside to dry... which takes ages!

Lavinia Stamps winter scene card


Another card, this time using Lavinia Stamps to make this winter scene.

I started by masking off the right hand and bottom edge of the card using low tack masking tape, to ensure I kept that area free of any unwanted ink.  

Using one of the Lavinia Stamps "Hill Masks" I used two shades of Distress Oxide Inks (Tumbled Glass and Blueprint Sketch) along with the remainder of ink on my purple ink blending brush, which together created the lovely snowscape.

Next, I moved on to the stamping, using the Lavinia Stamps Pixy Houses stamps with Versafine Clair "Morning Mist" grey ink.  Positioning the houses over a piece of paper, this provided the impression that the houses are just peeping over the snow.  I added a dots of yellow Posca Pen to the windows and used a 2B pencil to add the smoke coming from the chimneys.

I used the Lavinia "Gyp" stamp with Versafine Clair "Pine Cone" brown ink to stamp the branches on the right hand side of the card, using first and second generation stamping.

Next I stamped the bare bushes in the foreground, using the Lavinia Stamps "Small Branch" with Versafine Clair "Morning Mist" grey ink.  I added dots of red Posca Pen to give the impression of berries on the branches.

I then stamped the Lavinia sentiment in Versafine Clair "Twilight" dark blue ink.  Finally splattering some white Arcylic paint over the surface to replicate the snow fall.

Clarity Stamps "Bijou Art Nouveau" Card


Here's a card I made using a couple of Clarity Stamp goodies.

For the central image, I used one of the Clarity "Art Nouveau Collection" stamps, stamped in Versafine Clair "Morning Mist' grey ink.  I stamped the sentiment within the main image stamp using Versafine Clair ""Twilight" dark blue ink.

I coloured the image using the following colours of Derwent Inktense pencils:  Cadmium Yellow, Malibu, Spring Green, Felt Green and Poppy Red.  I then mounted the stamped image on to a piece of dark blue card.

On a card blank card, I placed the Clarity "Abstract Squares" stencil and used two shades of Distress Ink through the stencil (Lost Shadow and Tumbled Glass).

I then mounted the stamped topper on to the card blank.


Tuesday 26 September 2023

Tim Holtz / Stampers Anonymous Layering Stencil Tag


An early morning craft session today as for some reason I couldn't stop my mind from racing away with thoughts, but it resulted in this tag, where I threw lots at it and I'm quite happy with the way it turned out.

I started with a white piece of card cut into a tag shape.  I lay the Stampers Anonymous/Tim Holtz "Bouquet Layering Stencil (THS143) over the top of the tag and then applied "Sky Blue" Ranger Archival Ink through the stencil.

I removed the stencil and replaced it with another, this time using the Stampers Anonymous/Tim Holtz "Stripes Layering Stencil" (THS004) with two shades of Ranger Archival Ink "Watering Can" and "Cobalt".

After lifting the stencil, I then drew some wonky vertical lines on the tag using a blue Posca Pen.

I then lay the "Bouquet Layering Stencil" over the top of the tag again and applied some Ranger "Matte Texture Paste", mainly on the right hand side of the tag, using a heat gun to dry it (remember to pop the stencil into a bowl of water immeditately after use, so that the product can be cleaned off easily).

I used Ranger Dylusions "Bubblegum Pink" spray ink to spritz the dry texture paste surface and again used the heat gun to dry.  I then sanded the raised areas lightly to expose the shape of the texture paste flowers.

I splattered the surface of the tag using Dr PH Martin's White bleed proof paint.

Next I die cut a flower from the Sizzix/Tim Holtz thinlits set called "Wild Flower Stems #1 (664163)" and stuck the flower on to the tag using a wet glue.  I coated the die cut flower with "A Wink of Stella" which gives it a lovely subtle gold shimmer.

Finally, I mounted the tag on to a piece of white card and added a word sticker from the Tim Holtz Idea-ology "Small Talk" word set. 

Monday 25 September 2023

Lavinia Stamps "Winter Berries" Tag


Sorry, I know, I've been missing in action for a long time.  I've been away on a canal boat with Hubby and Rosie the dog.  We had a lovely relaxing time, pootling along at a maximum four miles per hour.  We got home yesterday and I am ploughing my way through the mountain of dirty washing.  Four loads done and a few more to go yet.

Normally, when I am away I am itching to get back to my craft desk, but it felt different this time.  it felt very much take it or leave it.  Obviously, that didn't last long as I got up at silly 'o clock (the gusting wind outside woke me) and decided to craft. It felt good to be at my desk, but I also felt a bit rusty too, which I feel is reflected in this tag a bit.

I used a piece of white card, cut into a tag shape.  Masking off the lower (snow section) of the tag with a piece of copy paper, I coloured the sky area using Distress Oxide "Blueprint Sketch" ink.  I then used a fan shaped paint brush with water to created splatters over the inked area, blotting it, which created the mottled sky. I removed the mask and set aside to dry.

With ink left on my blue blending brush, I created the snow landscape, using thie Lavinia Stamps "Hill Mask". I then used white acylic paint to splatter the white dots over the sky area to create the look of snowflakes.

I used Versafine Clair "Rain Forest" green ink to stamp the Lavinia Stamps "Fir Branch" in first and second generation stamping.

Next, I used Versafine Clair "Morning Mist" grey ink to stamp sections of the Lavinia Stamps "Small Branch" stamp.

I stamped the Lavinia Stamps "Winter Berries" and "Mini Winter Berry" in Versafine Clair "Acorn" brown ink.

I moved on to colouring the berries, using both orange and red Posca Pens and a white gel pen.  I used a silver Signo glitter pen to add a bit of sparkle to the tag, and edged the white area with"Blueprint Sketch" Distress Oxide Ink.  I used a white gel pen to add lines of white above the branches along with touches of Ranger "Enamel Accents".

I mounted the tag on to a piece of dark green card, which I thought complimented the colour of the branches.  Finally adding Ranger "Glossy Accents" to some of the berries to make them appear to be 3D.

Wednesday 6 September 2023

Clarity Stamps "Best Wishes Flowers By Tina Cox" Kiss Stamps Card


I've had another play session, this time using Clarity stamps and stencils.

I've used the Clarity "Leonie Pugil Circle Edges" stencil and the Clarity "Zig Zag" stencil with "Wild Bilberry" and "Cotton Candy" Artistry Inks.

I used the Clarity "Best Wishes Flowers Kiss Stamps by Tina Cox with Versafine Clair "Purple Delight" ink, stamping in both first and second generation stamping.

In the background I added a few dots of white Posca Pen to break up the colour.


Lavinia Stamps "Flower Pots" Card


Moving away from pumpkins today, I thought I would use of the quieter, less obvious stamp sets which is part of the new release from Lavinia Stamps, using the "Flower Pots" set. 

I used two lengths of low tack tape to provide an area I could stencil through.  I lay the Lavinia Stamps "Waffle Stencil" over the card and used "Violet" Archival Ink to create the patterned horizontal band across the card.

I stamped the new Lavinia "Flower Pots" in Versafine Clair "Morning Mist".  While the ink was out, I also stamped the "With Love" sentiment, which is part of the Lavinia "Heartfelt Verse" stamp set.

I stamped the lavender (also part of the flower pots set) in Versafine Clair "Shady Lane" for the stems and "Monarch" purple for the flower heads. I then stamped the green foliage in the other post using Versafine Clair "Verdant" green ink.

I coloured the flower pots using "Burnt Orange" Derwent Inktense pencil, applied with a paint brush.

Finally, moving on to the grounding of the pots, I used a paint brush to paint "Lost Shadow" Distress Oxide Ink.  I added a touch of 2B penil right below the pots for a little depth of shadow.


Tuesday 5 September 2023

Sweet Poppy Stencils "Pumpkin & Pumpkin Vine" card


Well, I must be getting close to perfecting colouring pumpkins, I think this is card number four in a row!  I really like how this one has turned out though.

For this card, I have used two of the recently released stamps from Sweet Poppy Stencils.  I've used the "Pumpkin" and the "Pumpkin Vine" stamps, stamped in Versafine Clair "Acorn" brown ink and "Shady Lane" green ink. I coloured the stamped images with Derwent Inktense pencils, applied with a paint brush.

In the background, I have used "Shadow Grey" Ranger Archival Ink through the Sweet Poppy "Plaid Backplate Stencil" fading the ink out towards the top of the card.


Lavinia Stamps "Pumpkin Pad" CAS card


I'm back playing with the new Lavinia pumpkin stamps, this time making a clean and simple card.

I stamped the Lavinia Stamps "Pumpkin Pad" and the "Ickle Pumpkins" in Versfine Clair "Acorn" brown ink.

Next I stamped the Lavinia "Pixy Houses" using "Rain Forest" Versafine Clair ink.

I then stamped the Lavinia "Small Branch" in Versafine Clair "Shady Lane" green ink.

I coloured the pumpkins using a selection of Derwent Inktense pencils, applied with a paint brush.

I then grounded everything, first I used a paint brush with "Lost Shadow" Distress Oxide Ink.  Once that was dry, I used a black pastel pencil to add more depth to the grounding.

Finally, I added touches of white and gold gel pens.  I used a red Posca pen for the berries and a yellow one for the lights in the Pixy Houses.

Monday 4 September 2023

Lavinia Stamps "Pumpkin Lodge" Card


I wasn't exactly stalking postie, but I was keeping a little eye out for him this morning, having received an email to say that my order of the new Lavinia Stamps collection would be arriving today.

I wasn't disappointed either.  They arrived, I repackaged them, logged them on my spreadsheet and then got to play with some of them to make this card.  

I made this card totally from scratch, so often these days I go to my folder of backgrounds I have already made, so all I need to do is create the image, but today I did the whole lot of gel printing and then stamping - inbetween coughing and spluttering, the cold is still with me unfortunately, but crafting is a good distraction. 

To create the background, I pulled out a selection of Lavinia Elements Inks and put them directly on to the gel plate.  These are the colours I used:  Greensleeves, Olive, Bermuda, Della Blue, Violet Chalk and Dark Denim.  I then spritzed the gel plate with water and placed the blank card on to the gel plate, leaving for a few seconds and smoothing the surface to ensure that the surface was covered.  I lifted the card and set aside to dry while I tidied the desk.

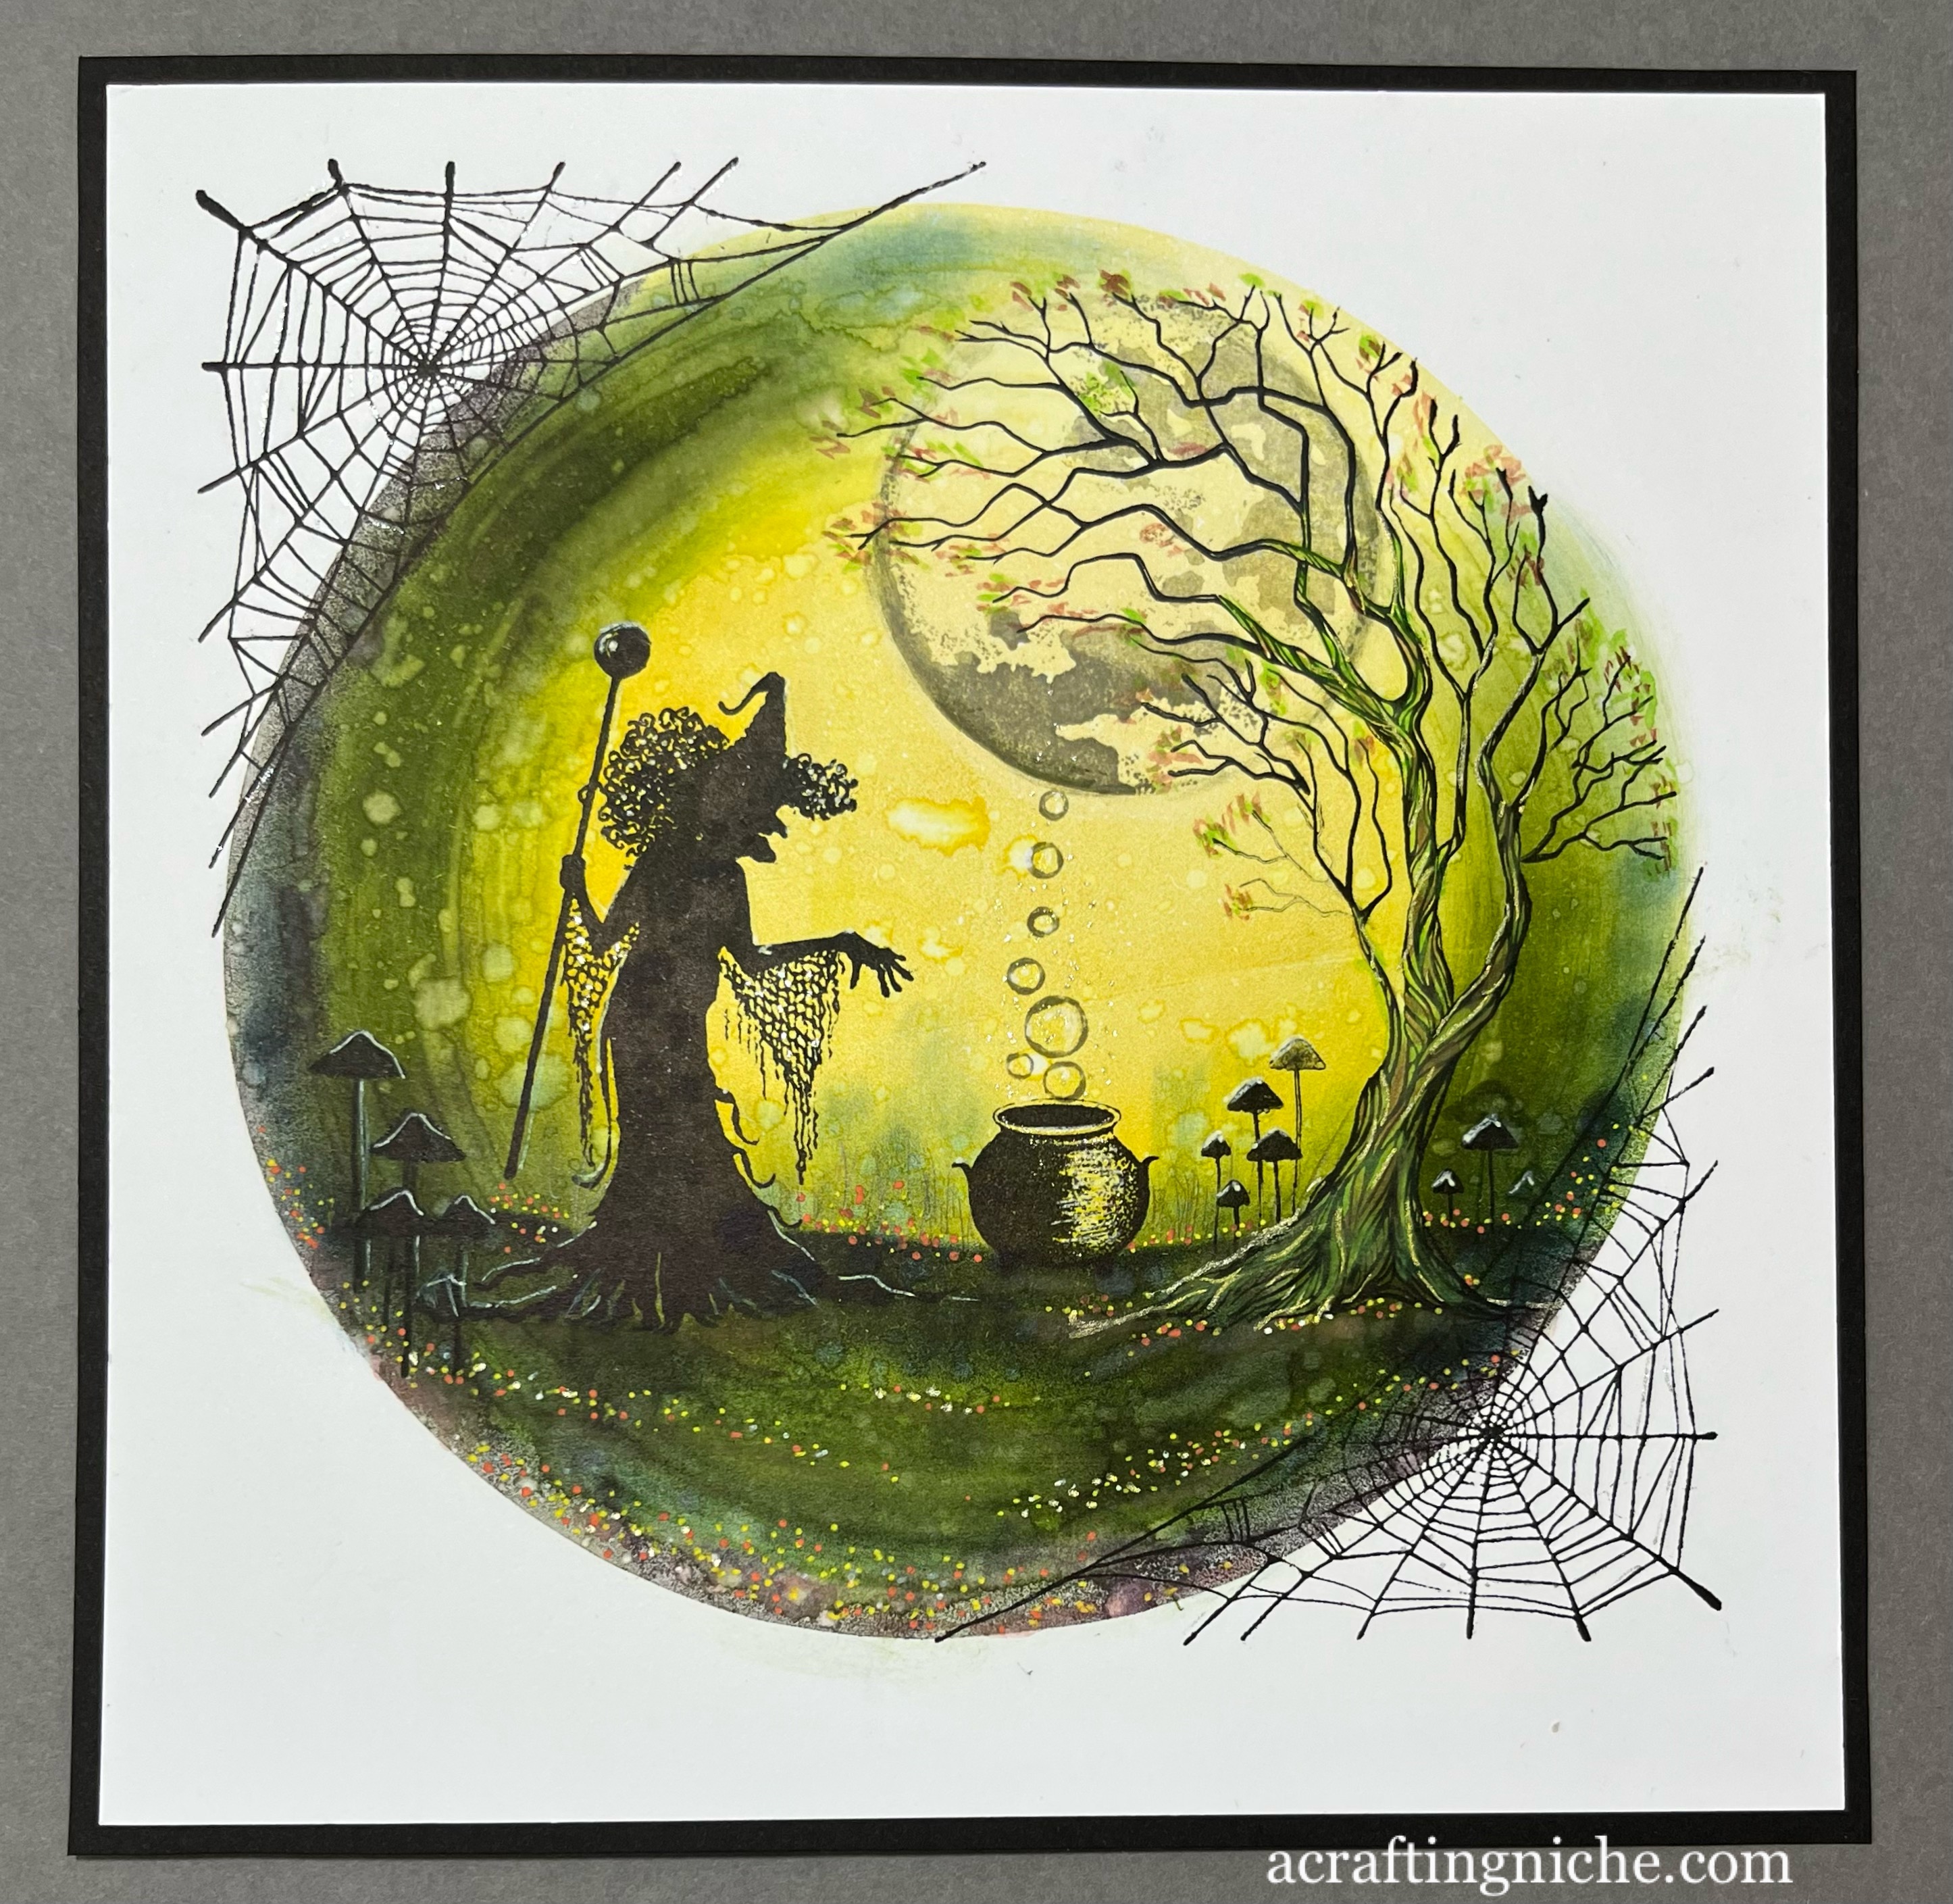
I stamped the new Lavinia Stamps "Pumpkin Lodge on to the dry gel print and then on to an off-cut of white card using Versafine Clair "Acorn" brown ink.

I stamped the new Lavinia Stamps "Fairy Crook" in Versafine Clair "Twilight" dark blue ink.  I then stamped two of the new "Ickle Pumpkins" in Versafine Clair "Twilight" ink and then stamped them again on a white piece of card using Versafine Clair "Acorn" brown ink.

I coloured the three pumpkins on the white card using a selection of Derwent Inktense Pencils, then fussy cut them and stuck them over the stamped images on the gel print background.

Using Versafine Clair "Acorn" brown ink, I stamped the Lavinia "Path".  Then the "Pixy Houses" in the distance using Versafine Clair "Twilight" ink.

I used Versafine Clair "Falling Leaves" brown ink to stampe the"Wild Berries" to look like they were climbing up the "Fairy Crook". I used red and orange Posca pens to colour the berries.

Using Versafine Clair "Shady Lane" green ink, I stamped the "Small Branch" in first and second generation stamping, then used one of the "Foliage Set" and the same ink.

I used Posca Pens, Gel Pens and Pastel Pencils to add extra detail to the scene.

Funky Fossil Designs "Hedgehugs" Autumn wreath card


A CAS card from me this morning using the Funky Fossil Designs "Hedgehugs" stamp set


I stamped the wreath, pumpkin and toadstool in Versafine Clair "Shady Lane" greeen ink, colouring them using Derwent Inktense pencils applied with a paint brush.  I used a white gel pen for the dots on the toadstools and a red Posca Pen for the berries.  I've added a few brush strokes of "A Wink of Stella" to areas of the leaves and pumpkin.

The sentiment is also part of a Funky Fossil Designs stamp set, called "Small Print #2", which I stamped in Versafine Clair "Morning Mist" grey ink.

Sunday 3 September 2023

Sweet Poppy Stencils "Floral Friend" Card


Another card using a selection of stencils from Sweet Poppy Stencils.

I've used four stencils by Sweet Poppy, starting with the "Leaf Aperture Stencil" paired with the "Harmony Backplate Stencil". I used four shades of Ranger Archival Inks:  Vivid Chartreuse, Prickly Pear, Forget-Me-Not and Paradise Teal).

I then used the Sweet Poppy "Chain Mail Stencil" with "Shadow Grey" Archival Ink, just around the edge of the leaf, fading it away towards the edge.

Next I used the Sweet Poppy "Floral Friend Stencil" with Versafine Clair "Blue Belle" ink.  I used the same ink to edge the white card with too.

Over the green "Harmony Backplate" swirls, I brushed on "A Wink of Stella" to give a lovely subtle golden shimmer.

I decided I wasn't happy with the empty space past the chain mail design, so used a Clarity Stamps stencil, which is part of the "Birds Decorative Panel stencil" using the stripes section with Ranger "Shadow Grey" Archival Ink.

Finally, I mounted the card on to dark blue card and then on to a white card blank, before using Ranger white "Enamel Accents" to add dots across the surface to break up the colour a little.

Saturday 2 September 2023

Sweet Poppy Stencils "Honeysuckle Flourish" card


Sweet Poppy Stencils have released some fabulous new stamps and stencils in the past few days.  It would have been rude of me not to show interest in them and buy a couple - wouldn't it?

My stencil order arrived today, so I wasted no time in making a card using one of the new stencils.

Starting with a piece of white card, I lay the new Sweet Poppy "Honeysuckle Flourish" stencil over the top and secured with low tack tape. Through the stencil, I used Antique Linen, Saltwater Taffy and Picked Raspberry Distress Oxide Inks for the flowers and "Iced Spruce" Distress Oxide for the stems and foliage.

Removing the stencil, I replaced it with the Sweet Poppy "Floral Trellis Stencil", applying "Shadow Grey" Archival Ink through the stencil with a blending brush.

Once the stencil was lifted, I added touches of Van Goch Pastel Pencils to the flowers to add a little depth of colour, then went over the flowers with "A Wink of Stella" which provides a lovely subtle gold shimmer.

Using Versafine Clair "Morning Mist" grey ink, I stamped the two sentiments, both are part of the Sweet Poppy "Hugs & Kisses" stamp set. Finally, mounting the card on to dark grey card and then on to a card blank (the finished card is slightly smaller than A5, so quite large).

Clarity Stamps "Art Nouveau Snowdrops" stencilled card


Yesterday, I received my order from Clarity Stamps, so of course I had to have a play making this card.

In my stash, I found a background I had made some months back using a selection of Distress Inks, mainly in pinks, blues and purples.  I decided today was the day I would use it!

I lay the Clarity Stamps "A5 Art Nouveau Snowdrops Stencil" over the background and used  four shades of Distress Oxide Inks through the stencil, using Spun Sugar, Peacock Feathers and Wilted Violet.

I then inked the edges of the card using Versafine Clair "Monarch" purple ink.  While the ink was out, I stamped the "Just to say" sentiment , which is part of the Clarity "A4 Bijou Art Nouveau Stamp Collection" on to a piece of white card, cut it to size and inked the edges of that too, before sticking it into position.

Finally, I used some pastel pencils, mainly in a pink and a yellow to add extra colour to the snowdrops and the area around them.


Funky Fossil Designs "MDF Fish Trio" Mandala decorated hanging fish.


For the past three weeks, it feels like I have been fighting off a cold.  Last night it came out in full force, I even did a Covid test - just in case, it was negative, so this is just a cold. I am sniffing, coughing and spluttering and actually feeling quite miserable, even though it is a beautiful sunny day.  Hopefully it will pass quickly .

Anyway, I fancied doing something that I wouldn't have to think about too much and decided to try mandala painting again.  You may recall earlier in the year I had a go at it and it was reasonably successful, but as you can see from my effort today, I need to perfect my art of mandala dotting!

For the base, I used one of the three "MDF Fish Trio" from Funky Fossil Designs. Here's the link if you want to buy them. I coated both sides in metallic silver paint.  I then went over that with three shades of Cosmic Shimmer "Iridescent Shimmer Water Colour Paints" using pink, green and blue.  I set aside to dry, which didn't take long at all.

I then used three sizes of mandala dotting tools with a selection of PaperArtsy "Fresco Finish - Chalk Acrylic" paints to create the dotty design.

Sweet Poppy Stencils "Plaid Backplate" Christmas Gift Tags


I've had a quick play making a couple of Christmas gift tags. The Sweet Poppy "Plaid Backplate Stencil" is actually on offer at the moment, till 8th September, so an ideal time to purchase it, if you don't already have it.  Here's the link to it!

For the red plaid tag, I used "Festive Berries" Distress Oxide ink through the Sweet Poppy "Plaid Backplate Stencil" on a cream card background. I then used a "Metallic Rose Gold" paint by That's Crafty through the (now retired) Sweet Poppy Christmas Bauble Stencil also by Sweet Poppy.

For the purple tag, I used a mid coloured piece of purple card, using "Violet Chalk" Elements Ink through the Sweet Poppy "Plaid Backplate Stencil".  I then used Sweet Poppy "Red Glossy Dimension Paste" through the Sweet Poppy Christmas Baubles stencil.

Friday 1 September 2023

52 Week Mini Art Card/Tag Challenge - Taster Tag for September 2023


This is the second monthly "Taster Tag" of 2023.  From January 2024 the challenge will become weekly.  The challenge is very relaxed and is aimed to get you to craft for no specific reason other than a minless bit of crafting, so there are no restrictions on the products mediums or in fact id doesn't even need to be a tag, it could be a card, ATC a frame, really anything you want.  All you need to do is fit it to the monthly prompt/theme.  There is a Facebook Group for this challenge which you can find by clicking on this link.

The prompt/theme for September 2023 is "In the meadow/fields"

***

This is my tag for September 2023 "In the meadow" prompt/theme.


To make this tag, I used a base of Dylusion spray inks, I made four backgrounds while I was getting inky, so I have some for future use.  The shades of inks I used are Lemon Zest, Fresh Lime and Bubblegum Pink.

I used three shades of Versafine Clair Inks to stamp with, using Twilight, Nocturne and Summertime, stamping in first and second generation stamping.

The stamp set that I used to stamp with was by Hobby Art Ltd and is part of the "Janie Collection" called "Lino Cut Hares - CS208D".

I added touches of a white gel pen for highlights and metallic gold pen for little dots in the background.