52 Week Mini Art Card/Tag Challenge

Showing posts with label Hobby Art General Greetings. Show all posts

Sunday, 2 February 2025

52 Week Mini Art Card / Tag Challenge 2025 - Week 5


The Crafting Niche 52 Week Mini Art Card/Tag Challenge 2025:

This is a weekly challenge. I provide you with a prompt/theme each Sunday morning through out the year.  The challenge is very relaxed.  You can do as much or as little as you like.  You can create cards, tags, Artist Trading Cards (ATC's) or index cards, the choice is yours. You just go with what ever is in your head at the time.  You can stamp, get inky, use patterned papers, texture, embellish it is all down to you.

There is a dedicated private Facebook Group, with a lovely bunch of people who are already sharing their makes from previous challenges.  You can find the group by clicking this link.  I'd love you to join in.

The prompt for Week 5 is "Cool and muted colours"

•••

For my Week 5 "Cool Colours" tag, I used a plain tag and cut up a coupld of pages of patterned paper from a Funky Fossil Designs pad called "Snow Merry".  I then cut some off cuts of white card and cut curved shapes to create a landscape.  I stuck all the cut elements on to a plain tag and used ink that was on my blending brushes to add some extra colour.

I mounted the tag on to grey card then stamped the sentiment, which is part of the Hobby Art Ltd stamp set called "General Greetings CS016D", stamped in Versafine Clair "Morning Mist" grey ink.  Finally adding white sequins, white and clear beads to embelish the surface.

Sunday, 8 October 2023

Tim Holtz / Stampers Anonymous "Urban Tapestry CMS061" Anniversary Card


Continuing my play with Tim Holtz / Stampers Anonymous stamps and stencils, I made this anniversary card.

I started with a piece of white card measuring four and a half inches square.  Over the bottom right hand area, blending up towards the top left I used "Sundance" Element Ink.  

I then lay the Tim Holtz / Stampers Anonymous "Bouquet Layering Stencil THS143" over the top and applied "Russet Orange" Element ink through the stencil with a blending brush.

I used "Pine Cone" Versafine Clair ink to stamp the undergrowth area in the bottom right hand corner.  The stamp is part of one of my oldest Stampers Anonymous stamp sets, it's called "Urban Tapestry CMS061".

Once I was certain that the ink was dry, I used the Tim Holtz / Stampers Anonymous "String Layering Stencil THS004" with "Red Geranium" Versafine Clair ink.

I inked the edges of the card using Versafine Clair "Acorn brown ink and then added some red dots around the stamped area using a Posca Pen.

Finally, I stamped the "Happy Anniversary" sentiment which is part of a Hobby Arts stamp set called "General Greetings CS016D" stamped in Versafine Clair "Pinecone" Dark Brown Ink.

Saturday, 4 March 2023

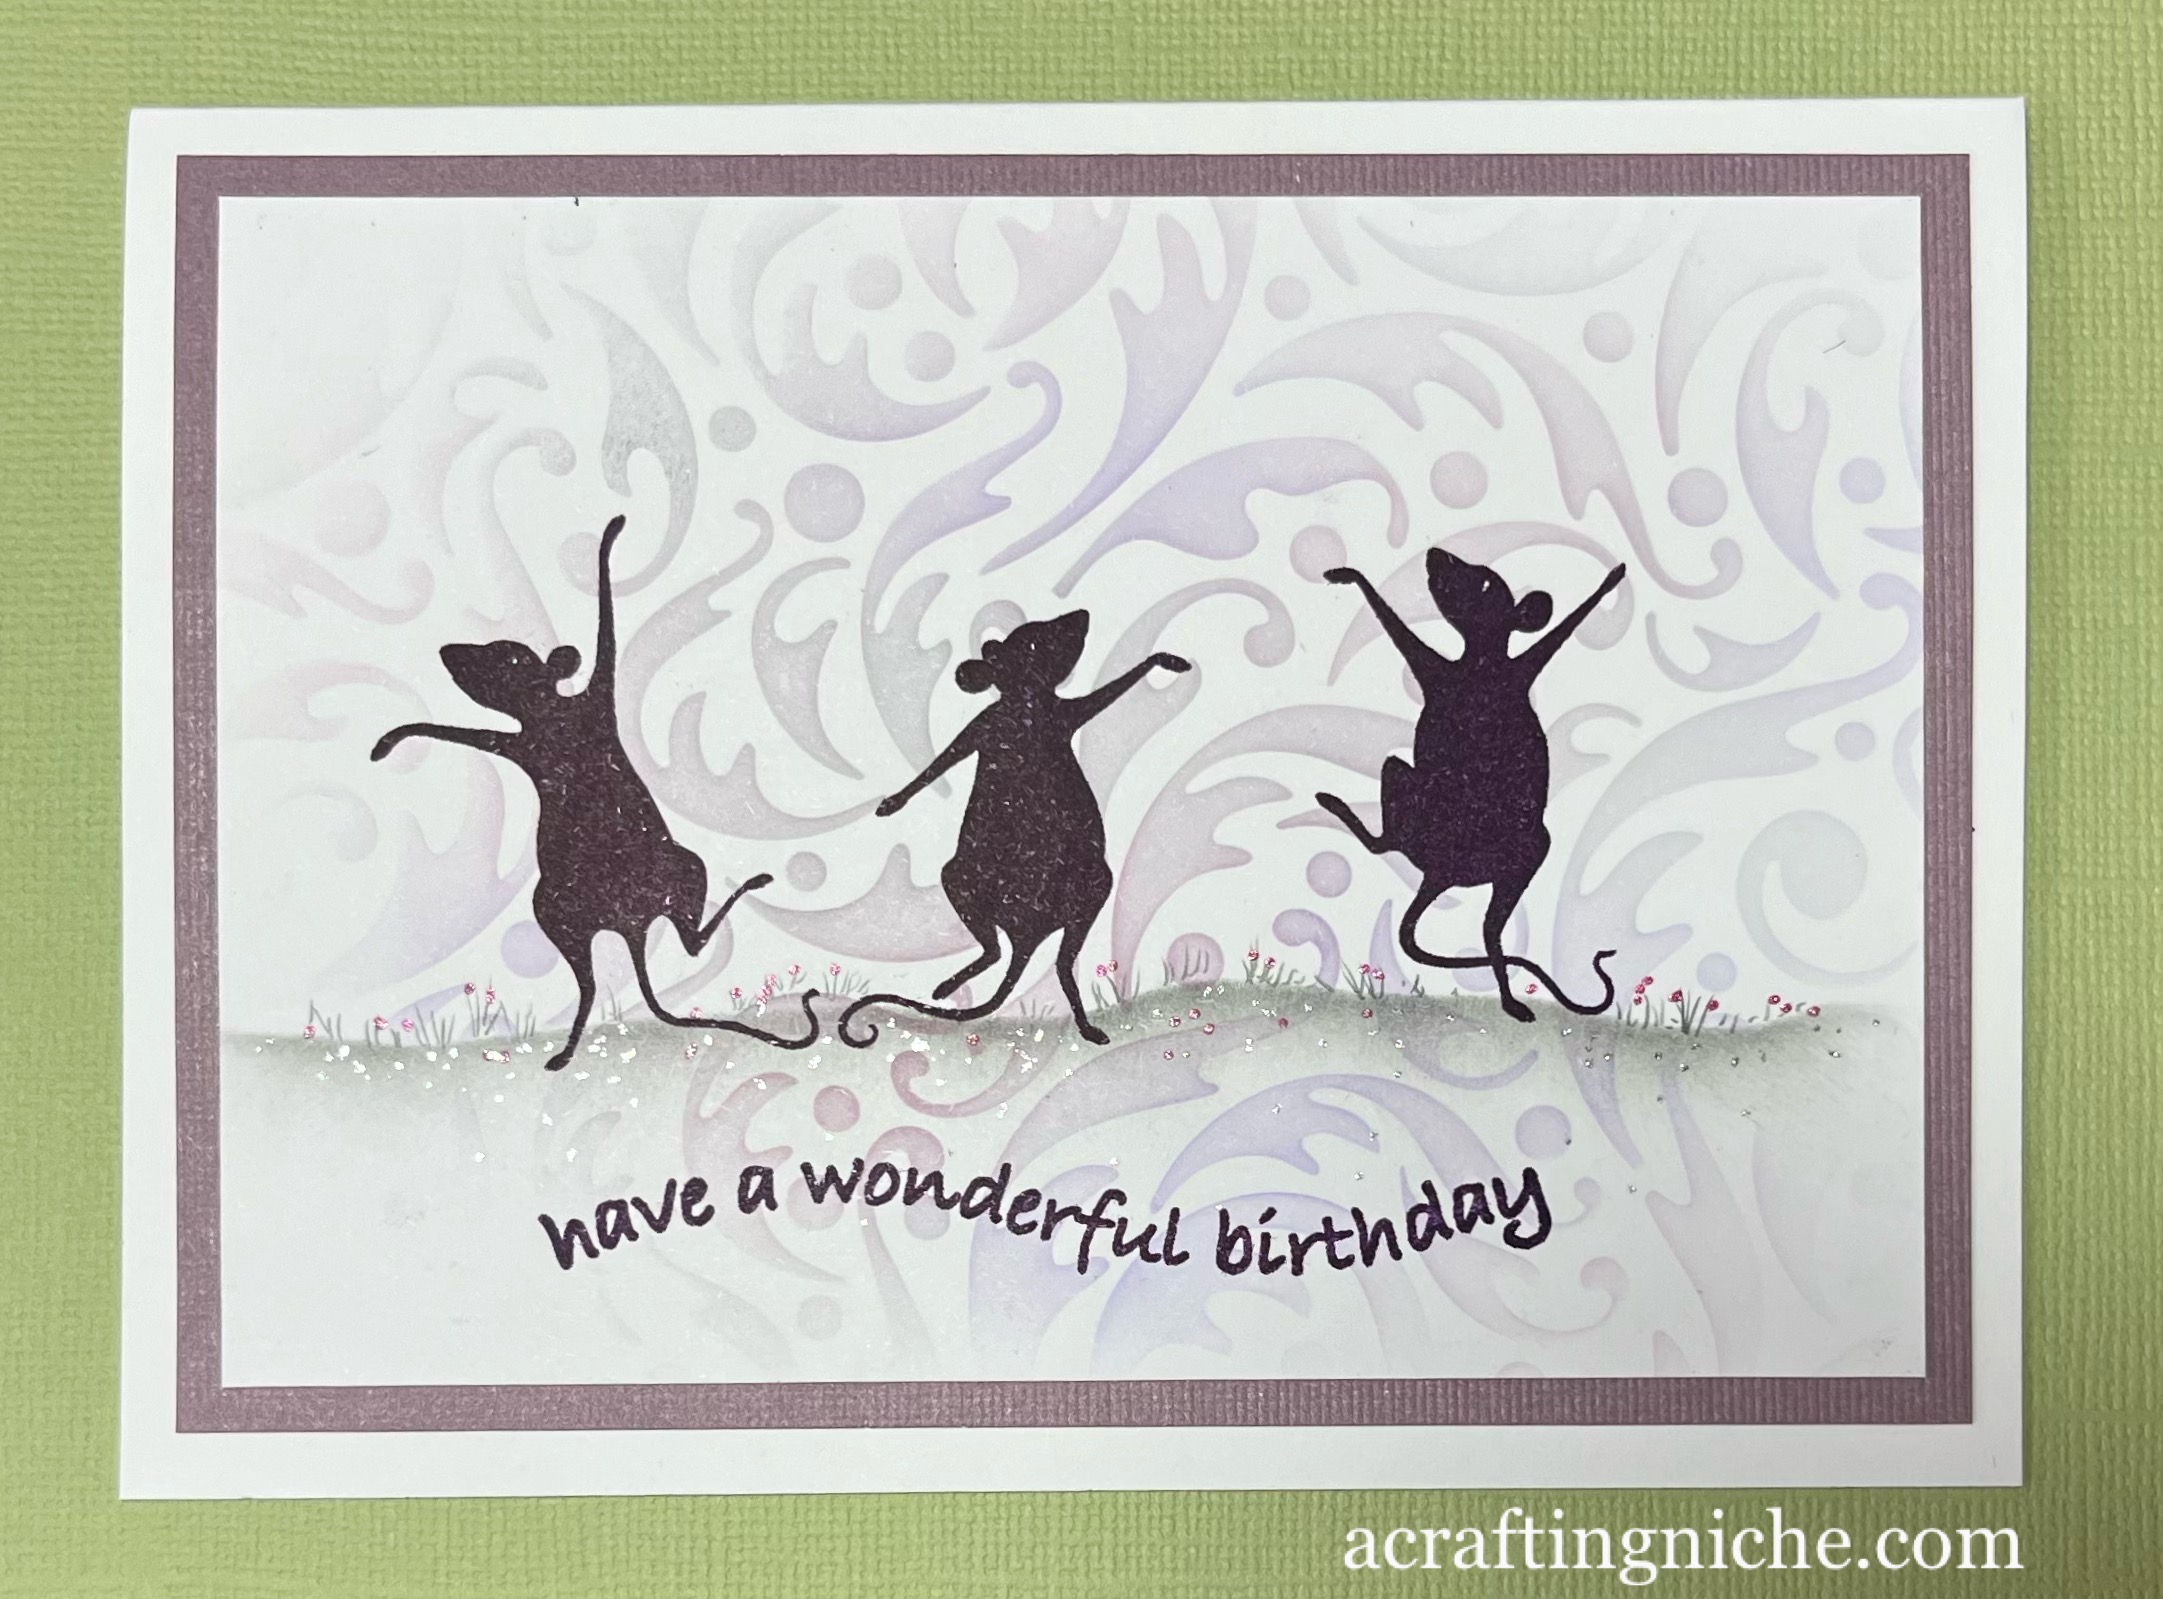
Lavinia Stamps Dancing Mice Birthday Card


This morning I made a card for a young lady that used to live across the road from us, but moved house recently.  She would be out in the garden in the summer dancing and singing like nobody was listening, she also attends dance school, so I thought these dancing mice would appeal to her.

In the background of this card, I have used the Lavinia Stamps "Dynamic Stencil" with three shades of Archival Inks:  Pink Peony, Violet and Watering Can.

I used the Lavinia Stamps "Hill Mask" with Versafine Clair "Morning Mist" grey ink to create the ground that the mice dance upon.

I used two of the Lavinia Stamps mice stamp sets, the "Minnie and Moo" set and the "Tilly and Tango" stamp set, both stamped in Versafine Clair "Monarch" Purple ink.

The sentiment by Hobby Art Ltd, part of their "General Greetings CS016D" is also stamped in Monarch.

Finally, I used a 2B pencil to draw in grass and added some flowers using a pink and a silver gel pen.

Monday, 26 September 2022

Lavinia Stamps "Forest Inn" New Home Card


I've played with my Lavinia Stamps today to make this New Home card. 

I stamped the Lavinia toadstool image, called "Forest Inn" in second generation Versafine Clair "Morning Mist" grey ink.  I used the same ink to stamp the Hobby Art Ltd sentiment too.

I stamped the "Woodland Ferns" and the "Leaf Spray" in Versafine Clair "Shady Lane" green ink in first and second generation stamping.

I used Derwent Inktense water colour pencils, Van Goch Pastel Pencils, Posca Pens and Gelly Roll pens to colour the image.

Saturday, 1 January 2022

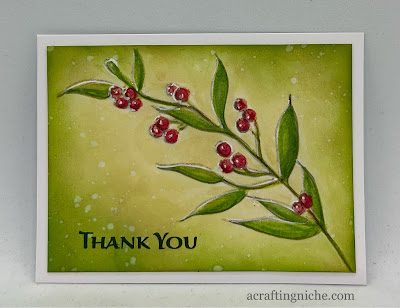
Penny Black "Brilliance 40-806" Thank You Card


This evening, I made this thank you cardm using the Penny Black "Brilliance 40-806" cling stamp set on a Distress Oxide Ink background. 

To colour the stamped image, I used assorted Distress Oxide Inks and Inktense Colouring Pencils.

For the background, I used Antique Linen, Tea Dye and Mowed Lawn Distress Oxide, sprinking water droplets from a fan paint brush.

The "Thank You" sentiment is from a Hobby Art Stamp Set, stamped in Versafine Clair "Shady Lane" green ink.

Monday, 1 November 2021

Embossed and die cut Anniversary Card


Another anniversary card. There seem to be a lot of them to make at this time of the year!

I've used an old Provo Craft/Cuttlebug Embossing Folder that I've had for years to create the embossed border.

I've used the Julie Hickey "Happy Profile Die Set" for the central "happy" word.  I have stamped the "anniversary" sentiment using Versafine Clair "Morning Mist" grey ink. 


Wednesday, 20 October 2021

Julie Hickey "Happy Profile Die Set" Anniverysary Card #2


Here are two more makes, where I have used up some of the off-cuts of patterned papers from previous projects.  I've used the same layout for both cards, just in different papers and inks.


Again, I've used the Julie Hickey "Happy Profile Die Set" for the main sentiment.  The stamped "Anniversary" sentiment is from a Hobby Art set called "General Greetings" stamped in Memento "Rhubarb Stalk" red ink and Versafine Clair "Rain Forest" green ink.


Monday, 15 February 2021

Lavinia Stamps "Feather Leaf Stencil" Birthday Card


I made a quick birthday card today using "Bundled Sage" Distress Oxide Ink through the Lavinia Stamps "Feather Leaf stencil".  

The sentiment is from a Hobby Art Ltd stamp set called "General Greetings", stamped in Versafine Clair "Nocturne" black ink,


Wednesday, 8 January 2020

Stampin' Up "Feeling Sentimental" Male Birthday Card


I know I'm not the only crafter who struggles making cards for males.  I don't know why it's such an issue but the struggle is real!

I started with some cream card for the background, swishing it through an "Antique Linen" Distress Oxide ink.  Using a fan brush and diluted "Tea Dye" Distress Oxide Ink I splattered the darker shade on to the card.

Using Versafine Clair "Chianti" dark red ink, I stamped the Penny Farthing bicycle, which is a Stampin' Up stamp from their "Feeling Sentimental" wood mounted stamp set.  Using the same ink, I stamped the Hobby Arts Ltd sentiment which is part of their "General Greetings - CS016D" clear stamp set.

I used another Stampin' Up set called "Gorgeous Grunge" with Versafine "Vintage Sepia" ink to make the foxing marks.

Wednesday, 26 June 2019

New Home Card (Stencil Tutorial) using a Funky Fossil Bold Damask Stencil


Today I had the ideal reason to craft, my regional electricity supllier was doing work in the area so there was no power from 9am till just after 4pm.


I made this new simple new home card using a stencilled background.  I started using a blending tool, covering the whole card with a Distress Oxide ink in the shade of "Fired Brick".  (This has to be one of my least used colours, but it's actually fab).  

A little tip when doing the blending, you need to have a very light touch, almost like you are tickling the surface of the card with the blending foam and I work in a circular motion.  I start from the edge and work my way towards the middle.  I also use a clean piece of card or paper to hold the card down, that way I don't get finger prints or grease marks don't get transferred.


Positioning the stencil - I like to have a little bit of the card showing on all sides of the stencil. I place the card base on a piece of copy paper and position the stencil.  I then use some low tack masking tape on all sides covering the stencil edge, the thin edge of the card and then secured on to the copy paper.  


I decided to use a Funky Fossil Stencil called "Bold Damask".  I can now start to create the pattern.  Through the stencil I used another Distress Oxide Ink, this time in the shade of "Wild Honey", which I applied with a foam blending tool.  Again, I work from the edges towards the centre in a circling motion.


Once done, you can very gently remove the masking tape.  Even though it is low tack, sometimes it can still rip into your lovingly prepared background, so take it slowly and gently.

I really like the subtle pattern that this colourway has created, it has a lovely warmth to it.


A Little Tip - Don't forget to clean your stencil before storing it.  I place the stencil on an off-cut of plain card and then use a wet wipe to clean the stencil.  You will find that the "cut out areas" of the stencil will fill with a lighter tone of the colour you have used earlier.  

In this instance, the image on the right is my cleaning the stencil pattern, so you now how two stencilled backgrounds for the effort of one.  One to use and one to go in your pile of backgrounds to be used.


To create the rest of the card, I die cut three house shapes using a Papertrey Ink set called "Love Lives Here".  I stuck the first one in the middle of the card and used a rular to align the bases of the other two house shapes.

The "Welcome To Your New Home" sentiment is part of a Hobby Art Ltd stamp set called "General Greetings" which I stamped in Versafine Clair "Chianti" shade of ink.  I then stuck the whole image onto a white card blank.


Wednesday, 28 November 2018

Gelli Plate and Lavinia Stamps - Thinking of You Card


I recently watched an on-line tutorial by Tracey Dutton of Lavinia Stamps, where she was making backgrounds using a Gelli Plate, Colorbox Inks and Brusho paints.  I had to have a go, it was messy, but I loved each unexpected result. It's definitely something I will be doing again.


I decided which background I would use and without any real agenda, looked at my Lavinia Stamps to see which I thought would suit.  I decided on the "Seasonal Tree" and "Midnight Meandering Rabbits"

I stamped the tree in Versafine Clair "Shady Lane" and the rabbits in Versafin "Olympia Green".  I used a touch of Distress Ink with a moist paintbrush to colour the land at the base of the rabbits and tree.  Finally, I stamped the sentiment, which is by Hobby Arts Ltd.