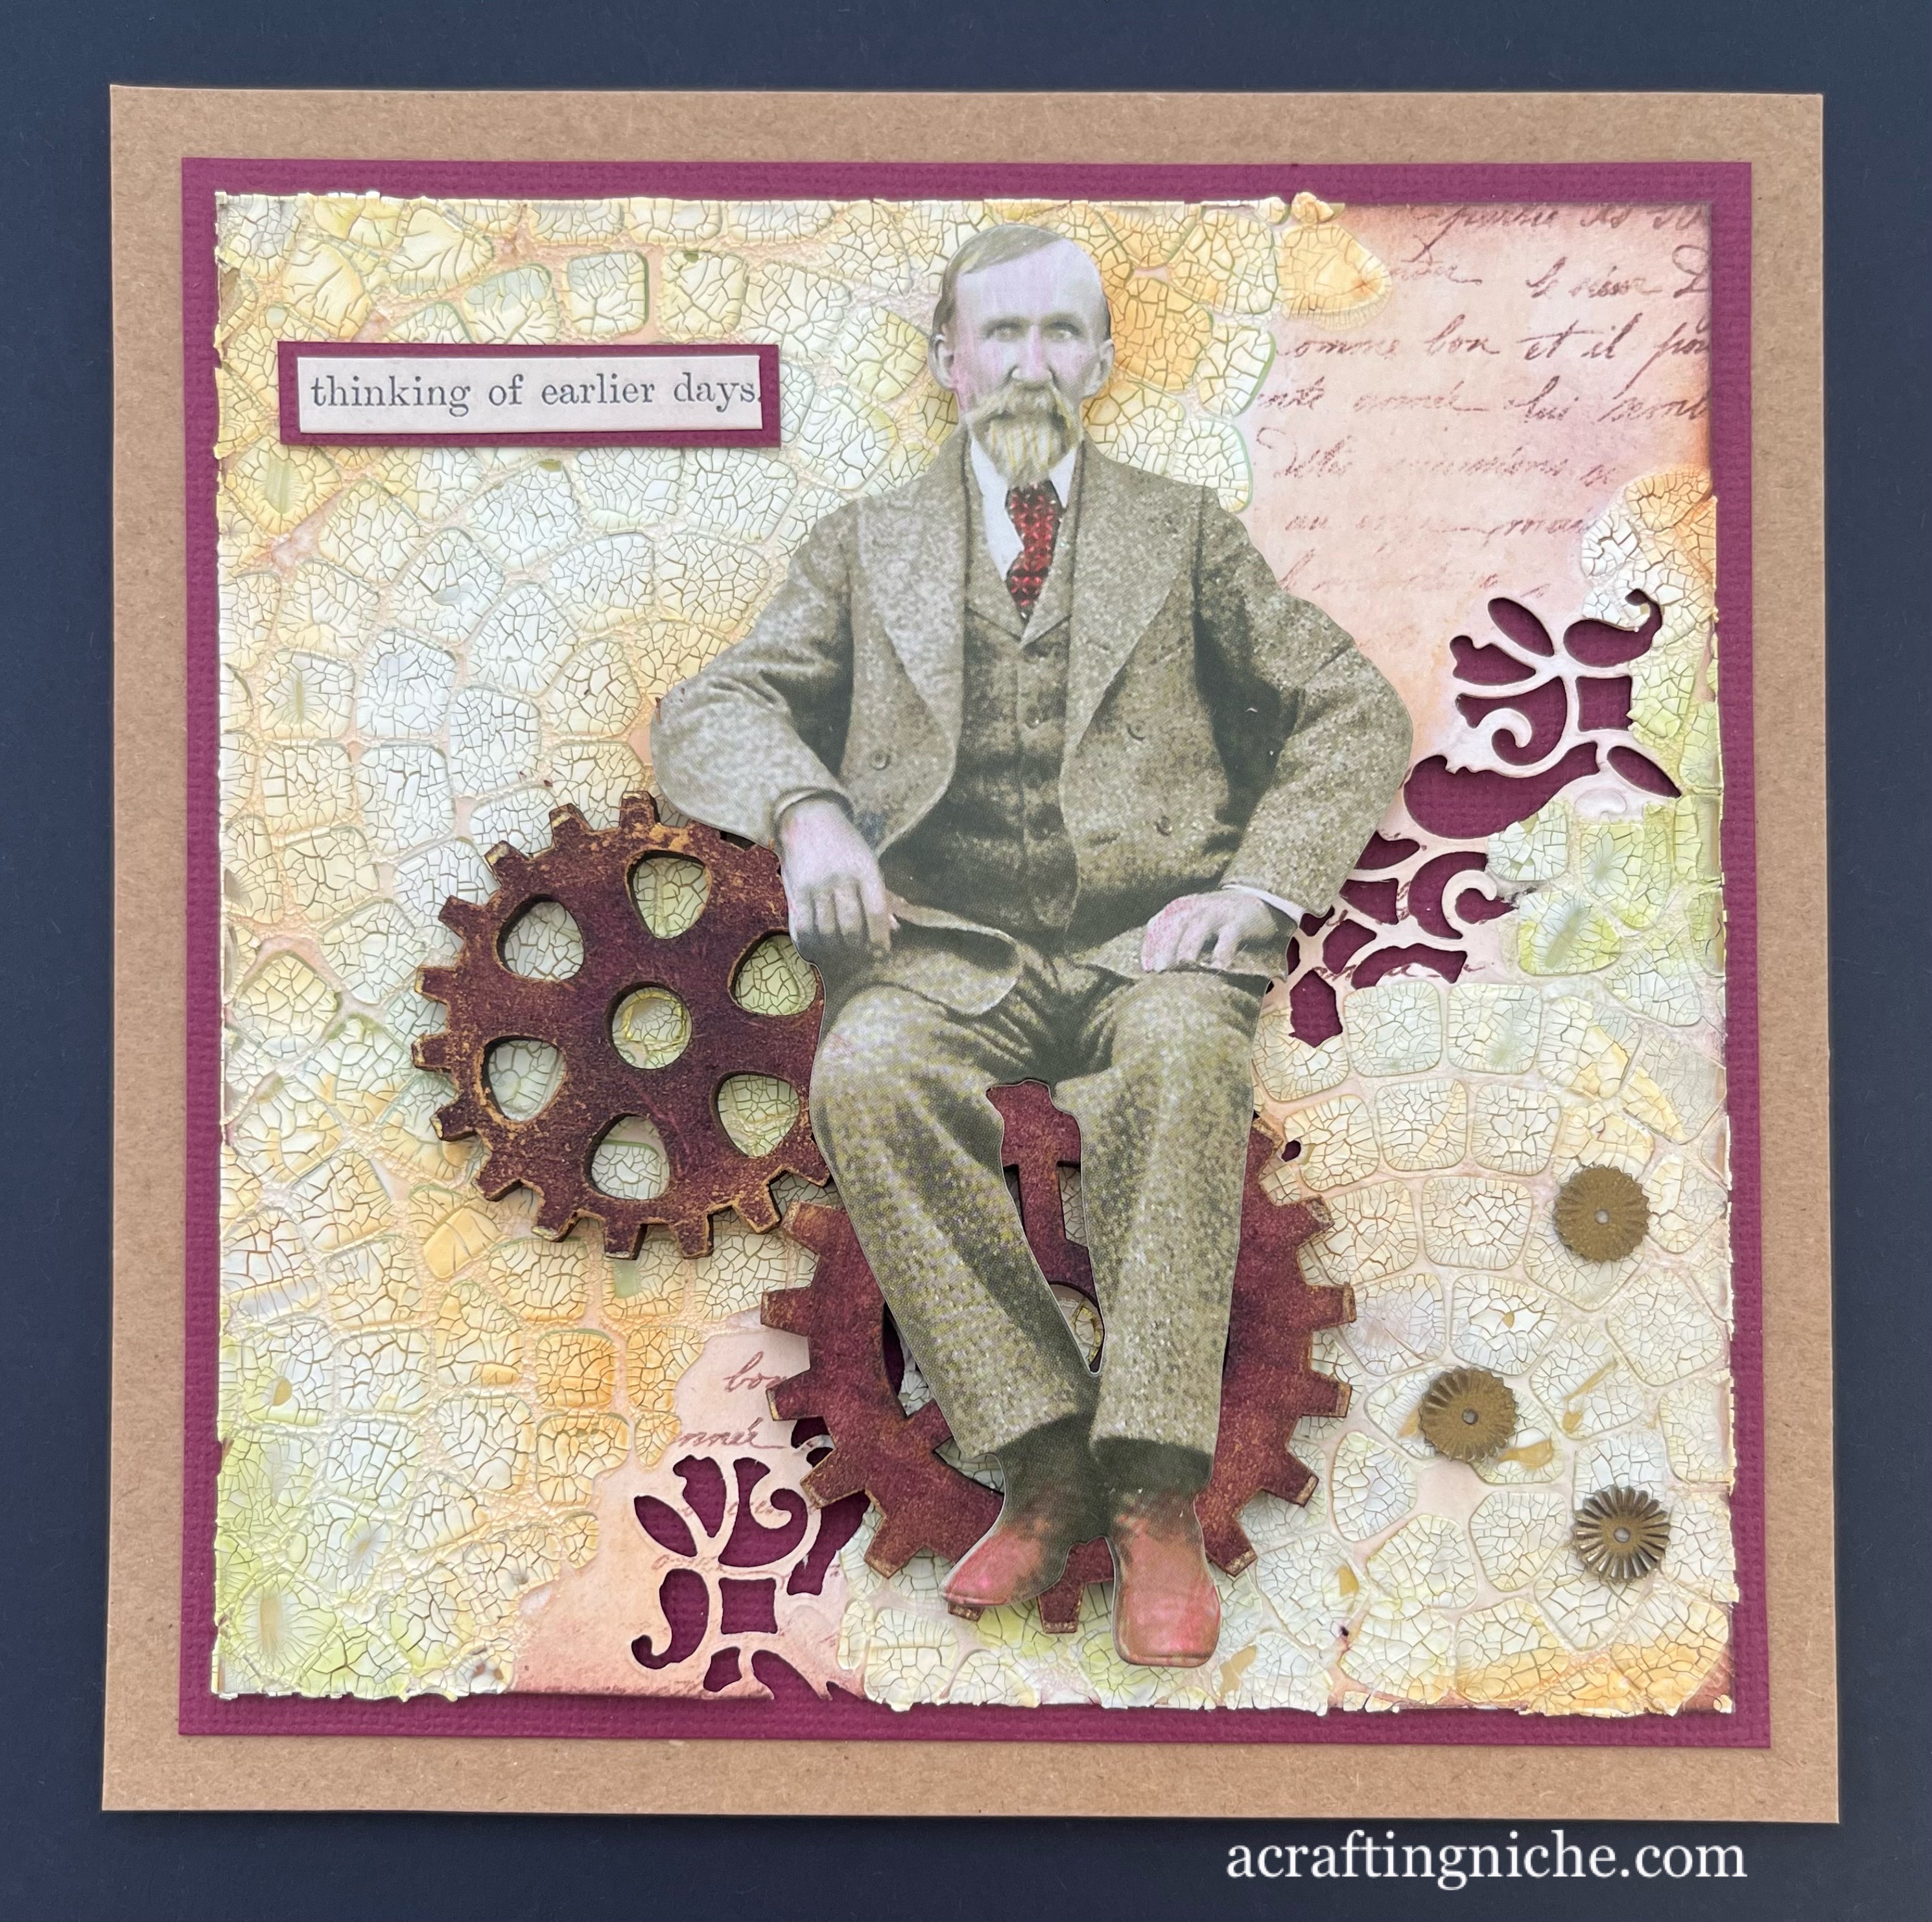
Today, Wednesday 19th April, Eileen Godwin set a challenge of "Texture". This is the card that I made. I was totally out of my comfort zone using the texture paste!
I started this card doing one thing but it morphed into something quite different as I wasn't sure how to use a product and winged it. Lesson learnt, check Google first.
I made a beautiful background thinking it would crackle, but it didn't as I'd used "Crazing" which was clear when I applied it. I then put the stencil back on and added the"Crackle" paste, which was very white when applied and stayed white, so I lost the nice background, which resulted in working with what I had left!
I decided to use the inks left on my blending brushes to provide colour to the crackled area. I'd used a Funky Fossil stencil called "Broken Mosaic" with the Tim Holtz "Crackle" Texture Paste. A small area of the base remained and that was where I had stamped the Funky Fossil "Vintage Script" using Versafine Clair "Acorn" brown ink.
I decided I would die cut a section of the surface, using a Sizzix Tim Holtz die, but due to the depth only some of it actually cut, which I actually don't mind as it is more informal.
I found some MDF cogs in my stash, so coated them with "Plum" Archival Ink and then added touches of gold gilding wax. I stuck them into position using Glossy Accents.
I used a Tim Holtz "Paper Doll" and gave the gentleman a bit of colour by using felt tips pens and rubbing off the surface ink, which left just a suggestion of colour. I used double depth foam pads to adhere the upper body of the paper doll and Glossy Accents for the legs, positioning him as if he were sitting on the cogs.
I found a Tim Holtz/Stampers Anonymous "Sticker Word" which was suitable, mounted it on dark red card and cut to shape. Finally, I had some little dark gold looking metal embellishments which I thought worked well, so added these by using some dots of Glossy Accents.
