52 Week Mini Art Card/Tag Challenge

Showing posts with label glitter. Show all posts

Saturday, 9 March 2024

Tiffany Johnson Creative #100daysartplay Challenge - Day 21


This is Day 21 of the Tiffany Johnson Creative #100daysartplay challenge.  The theme for the week is "use a palette knife" and I really have found this week a challenge, having to think a bit differently about my makes and definitely taking me out of my comfort zone!

I rescued a piece of cardboard from the recycling box tore a bit off and then started peeling off some of the paper layer, to expose the ridges between the corrugation.


I used two shadess of Paper Artsy Chalk Paints for the background colour, using "Lake Wanake" and "Snowflake".

Once the paint was dry, using a palette knife I spread some Ranger "Matte Distress Texture Paste" using the edge of the palette knife to create the lines similar to the cardboard.


Over the top of the paste, I added a selection of silver and greeen/blue glitter, white beads, sequins "Crystal" Stickles and "Periwinkle" Liquid Pearls.

Wednesday, 14 December 2022

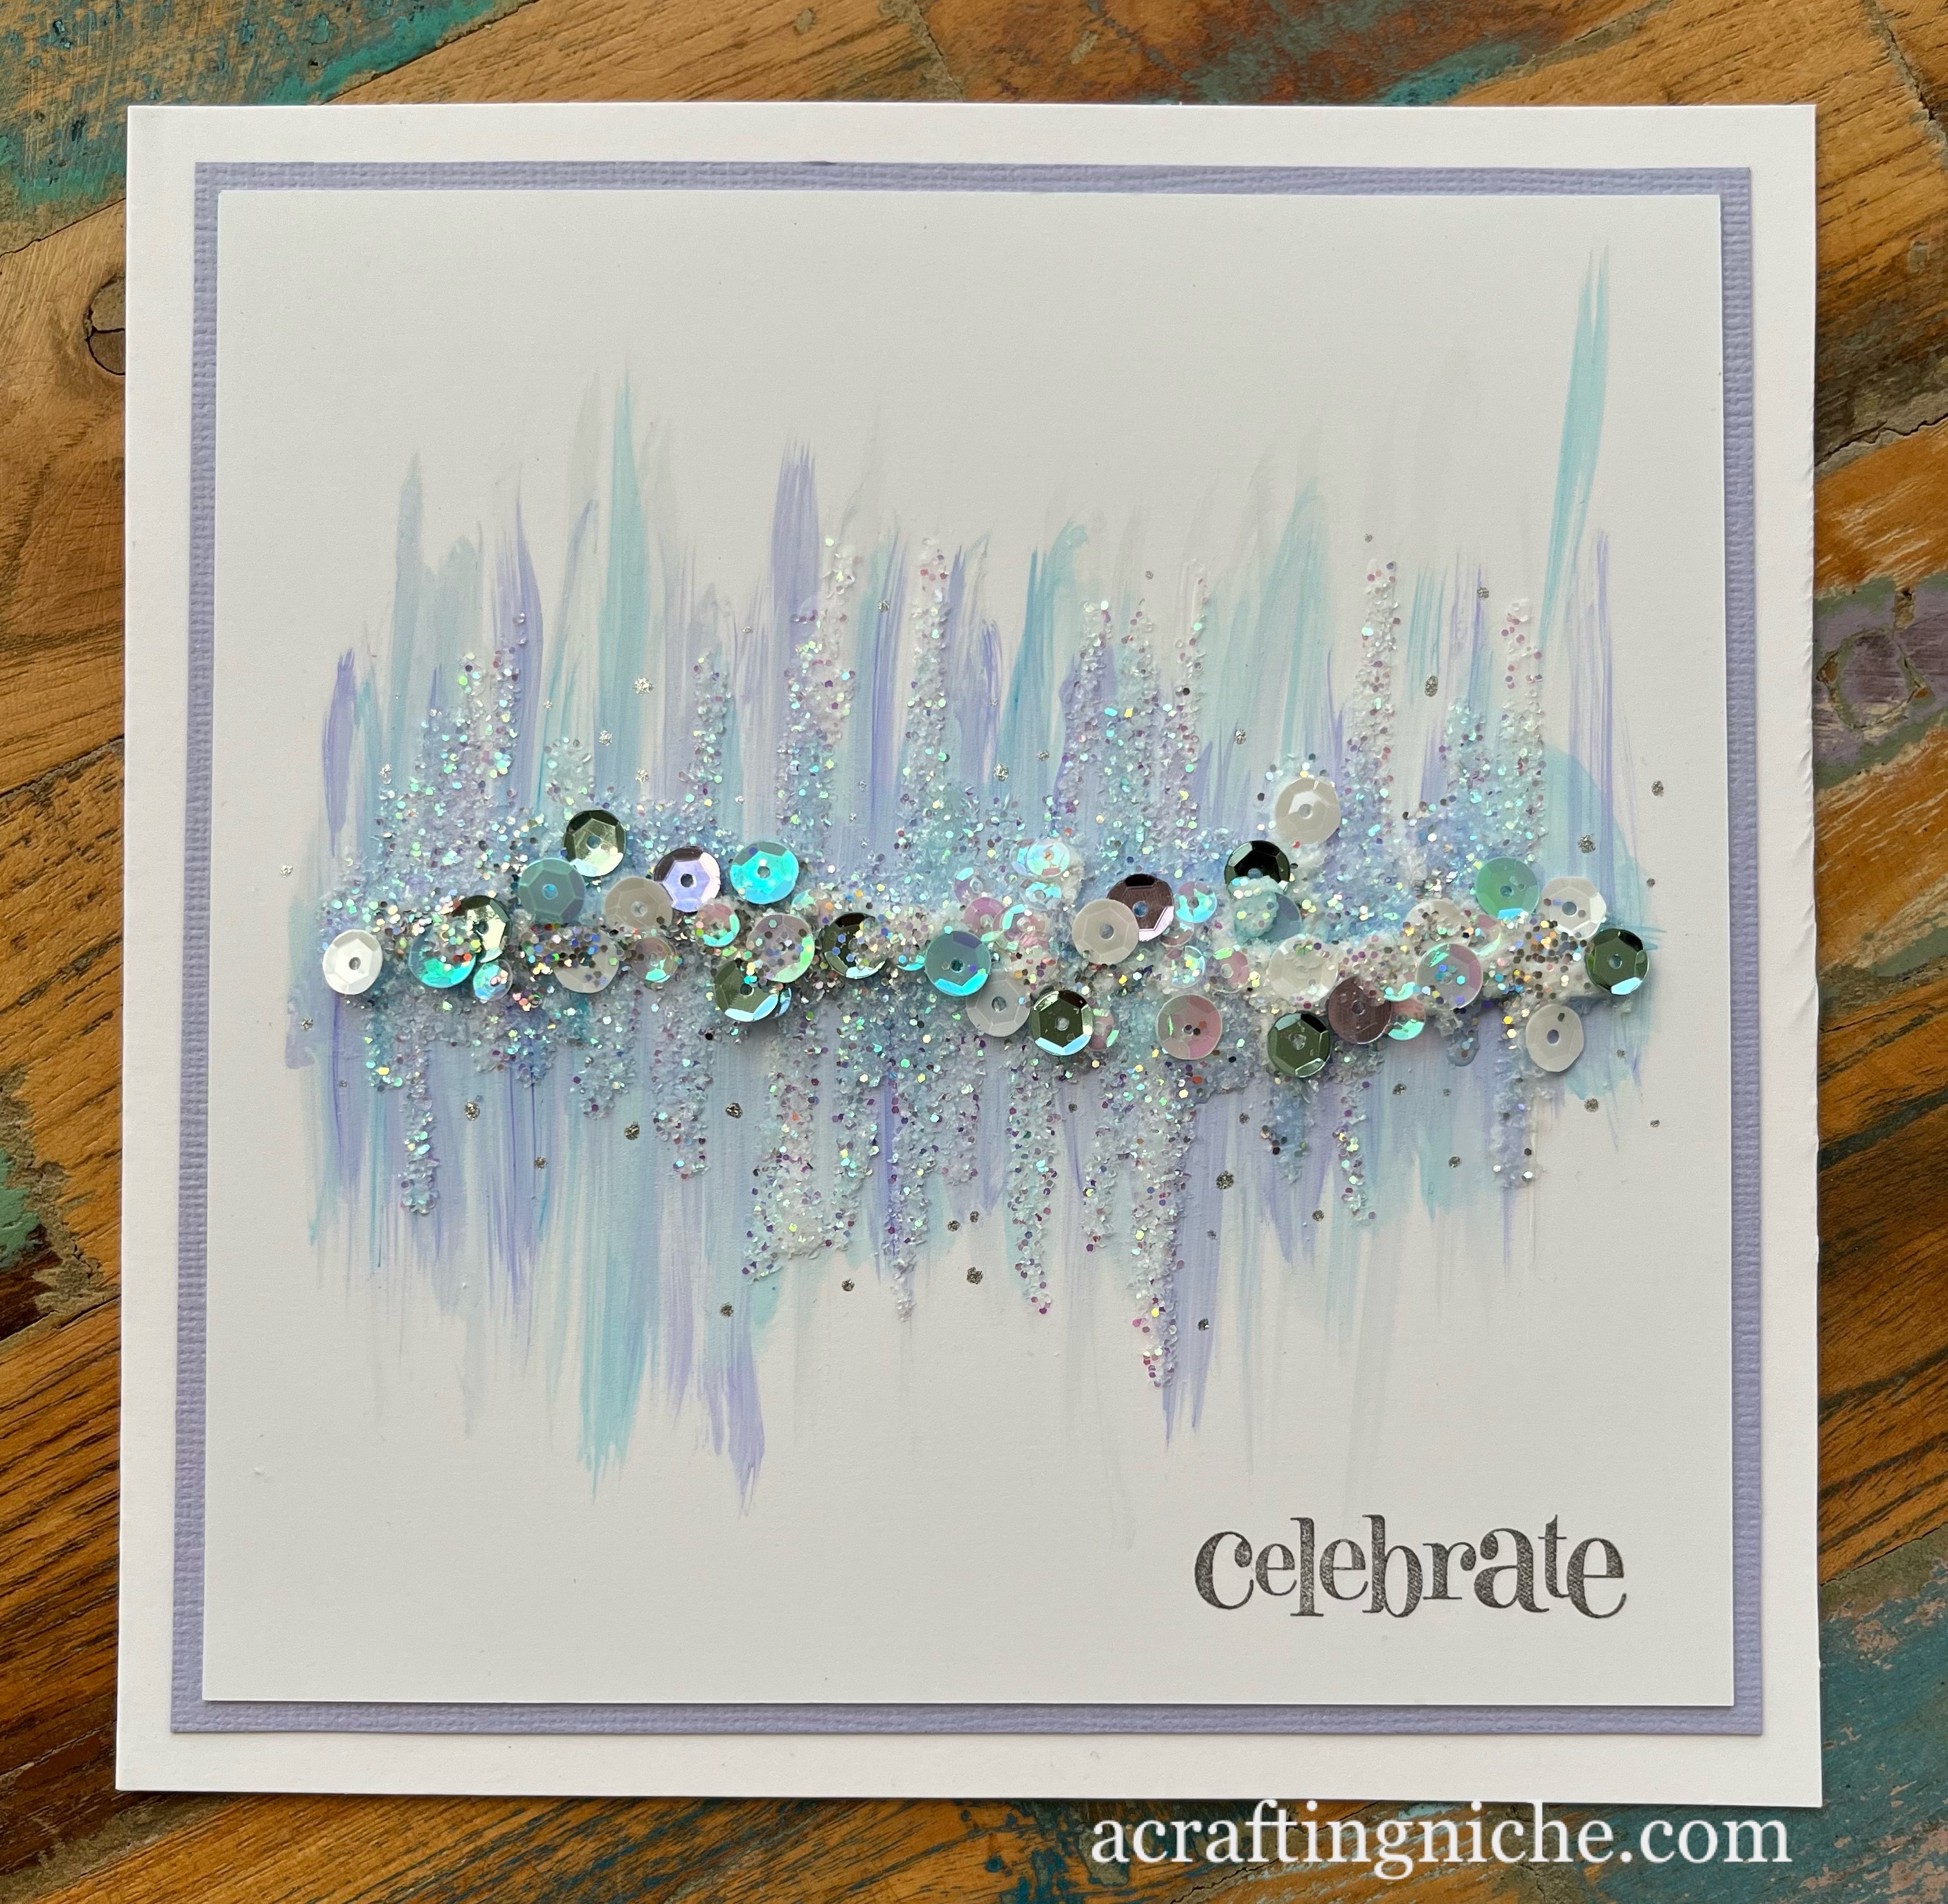
Sparkle "Celebrate" Penny Black Inc. "Sweet Wishes 30-104" Card


In the past few weeks, I have seen two tutorials by two different people but creating a very similar sparkly card.  They were by Marion Emberson and Amy Wilson.  I didn't have the same products that either of these used, so improvised making my own version.


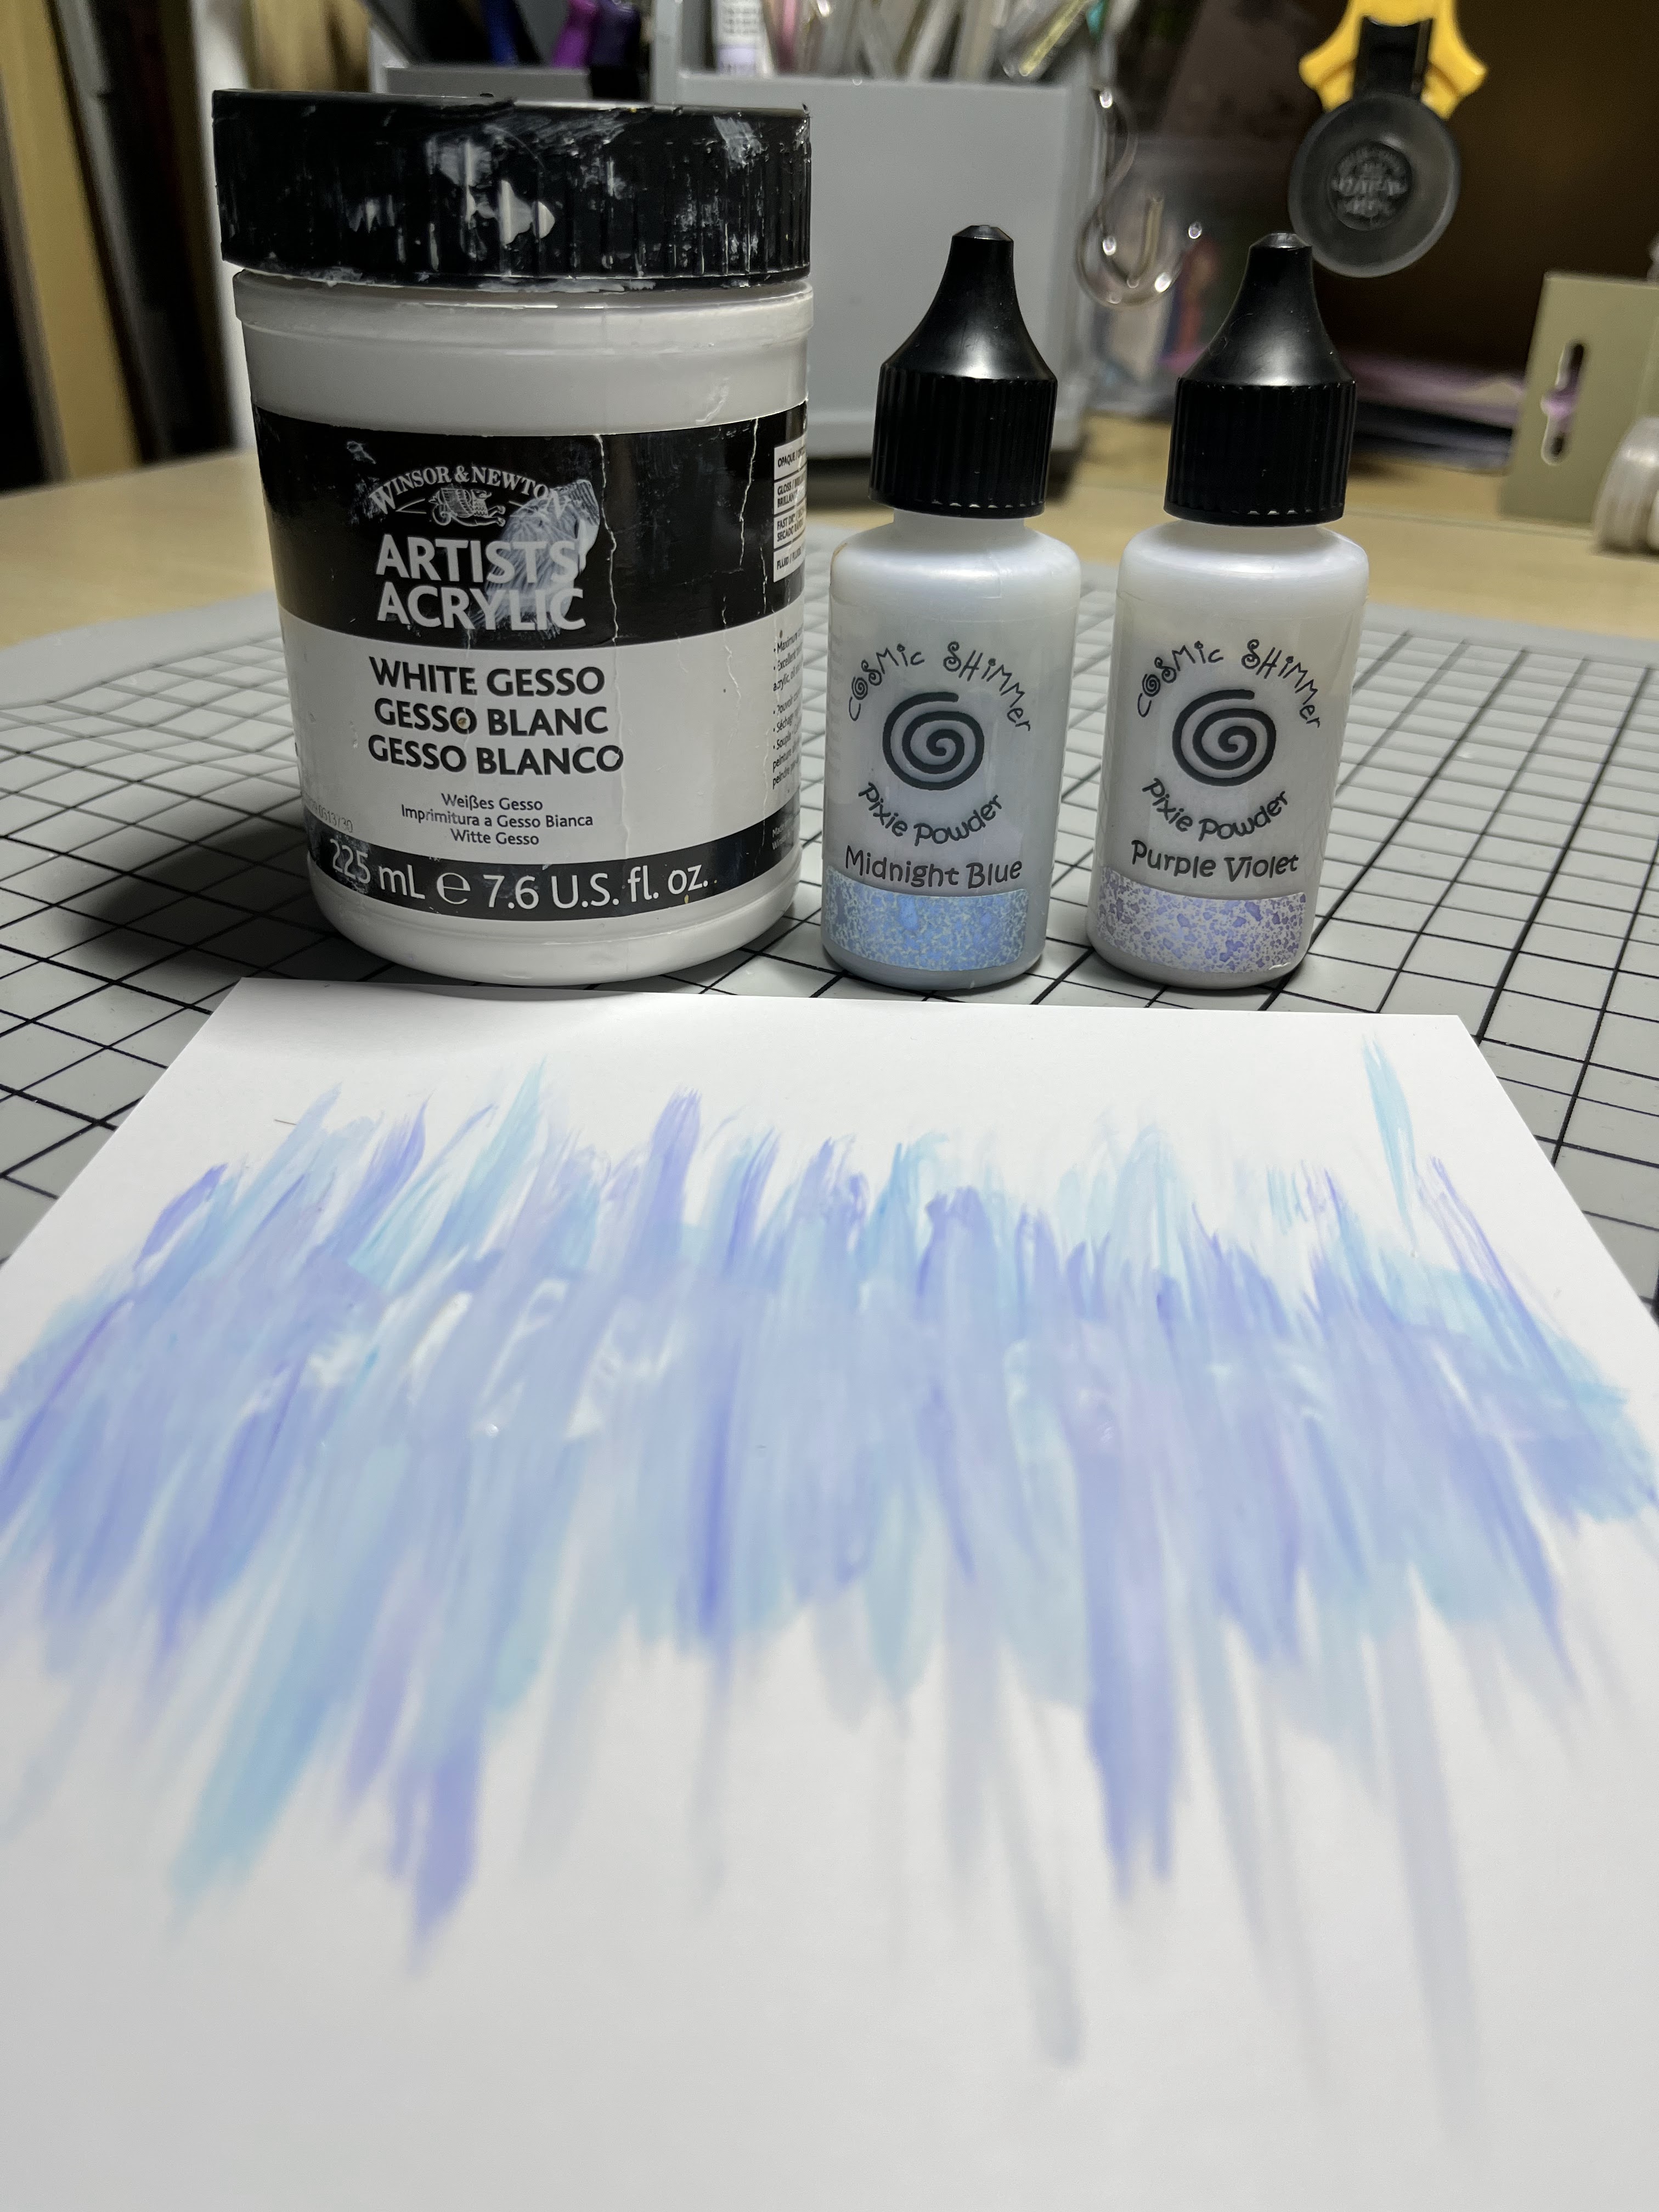
I placed two dollops of white Gesso on my glass mat.  On one dollop, I added "Midnight Blue" Cosmic Shimmer Pixie Powder.  On the other, I added "Purple Violet" Cosmic Shimmer Pixie Powder. I mixed each pile till the Pixie Powder merged with the Gesso to turn it the appropriate colour.


Using a paint brush, loosely held, I stroked the brush up and down in the blue mix across the white card from left to right.  I then did the same with the now lilac coloured mix.  I decided it needed something else, so also added some strokes of Gesso to blend the brush strokes. I used my heat gun on a gentle heat to dry the surface.

This is the ideal time for you stamp a sentiment and mount your card, as it will take ages for the glue to dry later.. lesson learnt from experience! I used the word "Celebrate" from the Penny Black Inc "Sweet Wishes 30-104" clear stamp set, stamped in Versafine Clair "Morning Mist" grey ink.  I like the idea that this card could be used for birthday, Christmas or New Year purposes.


I applied Cosmic Shimmer Acrylic Glue, very informally across the card, in the same up and down motions as the gesso mix, but keeping it closer to the the central area.  
Finally, I added a selection of glitter, Iced Diamonds and sequins to the glue area and then set aside to dry.

Tuesday, 1 January 2019

Design Team Make - Love To Craft Challenge Blog (30)


How time has flown, here I am on the 1st January with my Design Team project for "Love To Craft Challenge Blog".  The challenge blog has an "anything goes" theme every month, so if you have a minute, do pop over and take a look at the fab makes by my fellow Design Team colleagues and maybe enter the challenge yourself?

For my project, I started by making the background with Distress Oxides, using about five different shades.  Using a script stamp, I randomly stamped across the page.

I die cut a circle of vellum the size of the decorative snowflake border and stamped the "Hello", using a Stampin' Up stamp, stamped in StazOn ink.  I stuck the vellum to the background using two dots.

I then stamped the dots and honeycomb using Stamper's Anonymous stamps - I don't recall what they are called as I have had them for some time.

I then added glitter to the decorative snowflake border, available from Craft Box and then stuck it into position over the top of the layer of stamped vellum.

Finally, I covered some chipboard numbers in black and positioned onto the ring and punched snowflakes.  I coated the snowflakes in glitter and then stuck them diagonally across the card.