52 Week Mini Art Card/Tag Challenge

Showing posts with label element inks. Show all posts

Sunday, 17 May 2026

52 Week Mini Art Card / Tag Challenge 2026 - Week 20


The Crafting Niche 52 Week Mini Art Card/Tag Challenge 2026:

This is a weekly challenge. I provide you with a prompt/theme each Sunday morning through out the year.  The challenge is very relaxed.  You can do as much or as little as you like.  You can create cards, tags, Artist Trading Cards (ATC's) or index cards, the choice is yours. You just go with what ever is in your head at the time.  You can stamp, get inky, use patterned papers, texture, embellish it is all down to you.

There is a dedicated private Facebook Group, with a lovely bunch of people who are already sharing their makes from previous challenges.  You can find the group by clicking this link.  I'd love you to join in. 

The prompt for Week 20 is "Paint Blowing".

Starting with a white tag, I lay a Tracy Evans "Wild Flower" stencil on to the card and applied Pebio Drawing Gum through the gaps using a paint brush.


Next, I put five colours of Elements inks on to my glass mat,  The colours I used are: Lemon Drop, Sundance, Russet Orange, Blue Atoll and Dark Denim.  I added a little water to a fan shaped paint brush, dabbed it into the ink on the glass mat and then splattered the paint from the brush over the tag, by tapping the brush.  I then quickly used the Tim Holtz air puttfer, not sure what the actual name is, to blow air and spread the ink towards the edges of the tag, you could also use a drinking straw to do this. I did this with all of the colours, using a heat gun to dry the ink between each colour.

Once completed, I wafted the heat gun over the surface to ensure it was fuly dry, before using the Frisk "Maskaway" eraser.  If you don't have one, you can use a finger tip to erase the masking fluid.  

Finally, I added a few pencil details and grounded the flower, using some remaining ink on  a blending brush.  I added some dots of Ranger White Enamel Accents to break up the background colour a little too.

Sunday, 12 April 2026

52 Week Mini Art Card / Tag Challenge 2026 - Week 15


The Crafting Niche 52 Week Mini Art Card/Tag Challenge 2026:

This is a weekly challenge. I provide you with a prompt/theme each Sunday morning through out the year.  The challenge is very relaxed.  You can do as much or as little as you like.  You can create cards, tags, Artist Trading Cards (ATC's) or index cards, the choice is yours. You just go with what ever is in your head at the time.  You can stamp, get inky, use patterned papers, texture, embellish it is all down to you.

There is a dedicated private Facebook Group, with a lovely bunch of people who are already sharing their makes from previous challenges.  You can find the group by clicking this link.  I'd love you to join in.

The prompt for Week 15 is "Spring Greens". I used white card for the base, covering the surface with "Lime Punch" Elements Inks.  I then lay the Tim Holtz / Stampers Anonymous "Bubbles Layering Stencil - THS138" over the tag and applied two more Elements Inks through the stencil, using "Green Parrot" on the top half of the tag and "Pine" on the lower section.

I then used Versafine Clair "Spruce" green ink to stamp the Visible Image Stamps flowers which are part of their stamp set called "Daisy Grunge".  I then stamped the flowers again on a piece of white card. Fussy cutting the flowers on the white card and sticking them in position on the tag.

I used "Lime Punch", "Lemon Drop" and a touch of "Russet Orange" Element Inks to the middle of the flowers. Finally, adding a Tim Holtz "Idea-ology" word sticker saying "blessed" to the right hand side of the tag.


Sunday, 29 March 2026

Lavinia Stamps "Ashfoot" on "Faelorn" Card


 I had an early morning play session in the craft room this morning, creating this card.  I used a some of the new Lavinia Stamps from their "Meadowbrook Tales" collection.

I stamped in two shades of Versafine Clair inks (Acorn and Sandune), colouring using a paint brush with assorted colours of Elements Inks.

The Lavinia Stamps I've used on this piece are:  Silent Bloom, Faeclew, Ashfoot and Faelorn.

Wednesday, 12 November 2025

Lavinia Stamps "Three Kings and a Star" Christmas Card


I've used one of the older Lavinia Stamps in my stash "Three kings and a star" for this Christams card.

I started by using five shades of Element Inks for the sky.  The colours I used are:  Sundance, Russet Orange, Paprika, Dark Denim and Midnight Blue.

I cut some white card, to create a 3D hill look, then using Versafine Clair "Nocturne" black ink to stamp the three kings.

I used two shades of Distress Oxide Inks for the ground, using Lost Shadow and Antique Linen.  I then used Hero Arts "Unicorn" white ink to stamp the star. I used a white gel pen to add smaller dots to the sky to replicate stars.

Finally, I used Versafine Clair "Nocturne" black ink to stamp the sentiment, which is part of the Lavinia Stamps "Christmas Greetings" stamp set.

Saturday, 13 September 2025

Lavinia Stamps "The Coven of Curiosities" - Make 6


How can I be on my sixth make with the new Lavinia  Stamps release called "Coven of Curiosities"!  I have to say, I am really loving this collection!

I put some "Greensleeves" and "Olive" Elements Inks on my glass mat, gave it a spritz of water then placed the Lavinia Stamp "Ivy" stencil over the top.  I used a kitchen towel to mop up and press the stencil down on to the ink, then placed the stencil (wet side down) on to a plain tag.  This transferred the now coloured ivy pattern on to the tag.

I used Versafine Clair "Nocturne" black ink to stamp "Esme" the witch, a bird from the new "Ravens' stamp set, and text from "Spirit Signs" stamp set.  I used Versafine Clair "Pinecone" to stamp the "Tree of Wisdom" stamp.

I edged the tag with "Lime Punch: and then "Pine" Elements inks, colouring the tree trunk with Distress Oxide Inks.  Using touches of yellow Posca pen for flowers and a white gel pen for details to the witch.

Sunday, 8 June 2025

52 Week Mini Art Card / Tag Challenge 2025 - Week 23


The Crafting Niche 52 Week Mini Art Card/Tag Challenge 2025:

This is a weekly challenge. I provide you with a prompt/theme each Sunday morning through out the year.  The challenge is very relaxed.  You can do as much or as little as you like.  You can create cards, tags, Artist Trading Cards (ATC's) or index cards, the choice is yours. You just go with what ever is in your head at the time.  You can stamp, get inky, use patterned papers, texture, embellish it is all down to you.

There is a dedicated private Facebook Group, with a lovely bunch of people who are already sharing their makes from previous challenges.  You can find the group by clicking this link.  I'd love you to join in.

The prompt for Week 23 is "Earth Tones"

For the base of this tag, I used a piece of patterned paper in a fawn colour with print on it.

Using Versafine Clair Ink "Nocturne" black ink, I stamped the Sweet Poppy Stencil "Toadstool Large" stamp.  Next I used the Sweet Poppy "Dots Backplate Stencil" with "Watering Can" Ranger Archival Ink.

Next I used "Thistle" Ranger Archival Ink trhough the Cretive Expressions "Calm Mini Stencil".  I also inked the edges of the tag using the same ink. I added some green to the background to grunge it up a little, using "Pixie Green" Elements Ink with a blending brush.

I then moved on to colouring the stamped image, using some kids paints, colouring pencils and  Posca and gel pens


Thursday, 23 May 2024

Tiffany Johnson Creative #100daysartplay challenge - Day 96


Today is Day 96 of the Tiffany Johnson Creative #100daysartplay challenge.  This week is all about dots and circles.

For my make, I cut a piece of white card into a tag shape and used three shades of Elements Inks to colour the background.  The colours I used were Lime Punch, Green Sleeves and Pine.

Over the top of the background, I lay the Tim Holtz / Stampers Anonymous "Bubbles Layering Stencil THS138", secured with a piece of low tack tape.  I then used the "Mermaid" Elements Ink through the stencil.

Next I cut the white flowers using the Spellbinders "Blooms One" die set.  Sticking the flowers on to the tag with wet glue.  I then mounted the tag on to a piece of white card.

Finally, I used a dotting tool to colour the middle of the flowers using Decoart Americana Bright Orange and Primary Yellow acrylic paint.

Monday, 13 May 2024

Tiffany Johnson Creative #100daysartplay Challenge - Day 86


Today is Day 86 of the Tiffany Johnson Creative #100daysartplay challenge.  This week is about inks.  Only another two weeks to go till the finish.  I can't believe I have come this far.

For the background of this card, I have used the gel plate with "Mulberry" Elements Inks and three shades of Brusho, using White, Lemon and Purple colours.

I have then used a die for the flower, sorry, I'm not sure who makes it.  I've cut the outline of the flower in card and the inner petal area in tissue.

I used a wet glue to stick the outer and flower edge in place, then added a dot of glue to the inner tissue petals, then added another layer of tissue petals over the top.

I added a little wet glue to the middle of the flower and popped some micro beads in an orange/yellow colour over the top of the glue.  I then used a white Posca Pen to add the stem to the flower.

Finally, using Versafine Clair "Monarch" purple ink, I stamped the Simon Says Stamp sentiment, which is part of their "Tiny words" stamp set.  I used one of the Simon Says Stamp "Nested Banners SSSD111928" to die cut the sentiment into shape, then used some double sided sticky tape to position the sentiment on the card.

Monday, 8 April 2024

Tiffany Johnson Creative #100daysartplay Challenge - Day 51


Today is Day 51 of the Tiffany Johnson Creative #100dayartplay challenge.  This week is about working with the gel plate.

I applied Elements "Graphite" ink to the gel plate with a brayer.  Then from a fan shaped paint brush, I splattered water droplets and little bits of diluted paint on to the gel plate before taking the impression, which resulted in this pretty background.


I used two Paper Artsy acrylic chalk paint - Candy Floss and Cerise, along with two Decoart Americana Acrylic paints - Plum and Snow (Titanium) white to paint the flowers.

For the stem and the leaves, I used Derwent inktense pencils.

Thursday, 11 May 2023

Lavinia Stamps "Tree of dreams" card (following a tutorial by Lisa Taggart).


After making some clean and simple cards, I've gone to the total other end by making this card, which is a take on a recent Lisa Taggart tutorial using the Lavinia Stamps "Tree of dreams".  You can see her tutorial here.

Basically, to start this piece you apply a selection of Elements Ink to a gel plate, spritzing with water before taking a print.  Then build up the colours by adding more ink and spritzing again.

Then using Versafine Clair "Nocturne" black ink, stamp the Lavina Stamps "Tree of Dreams". then apply more Element Inks building the depth of colour.

Extend the tree lower than the stamped image.  Then use pastels, coloured pencils, gel pens, Posca pens to create the rest of the image.  

The tutorial is very thorough and well worth a watch.

Thursday, 23 February 2023

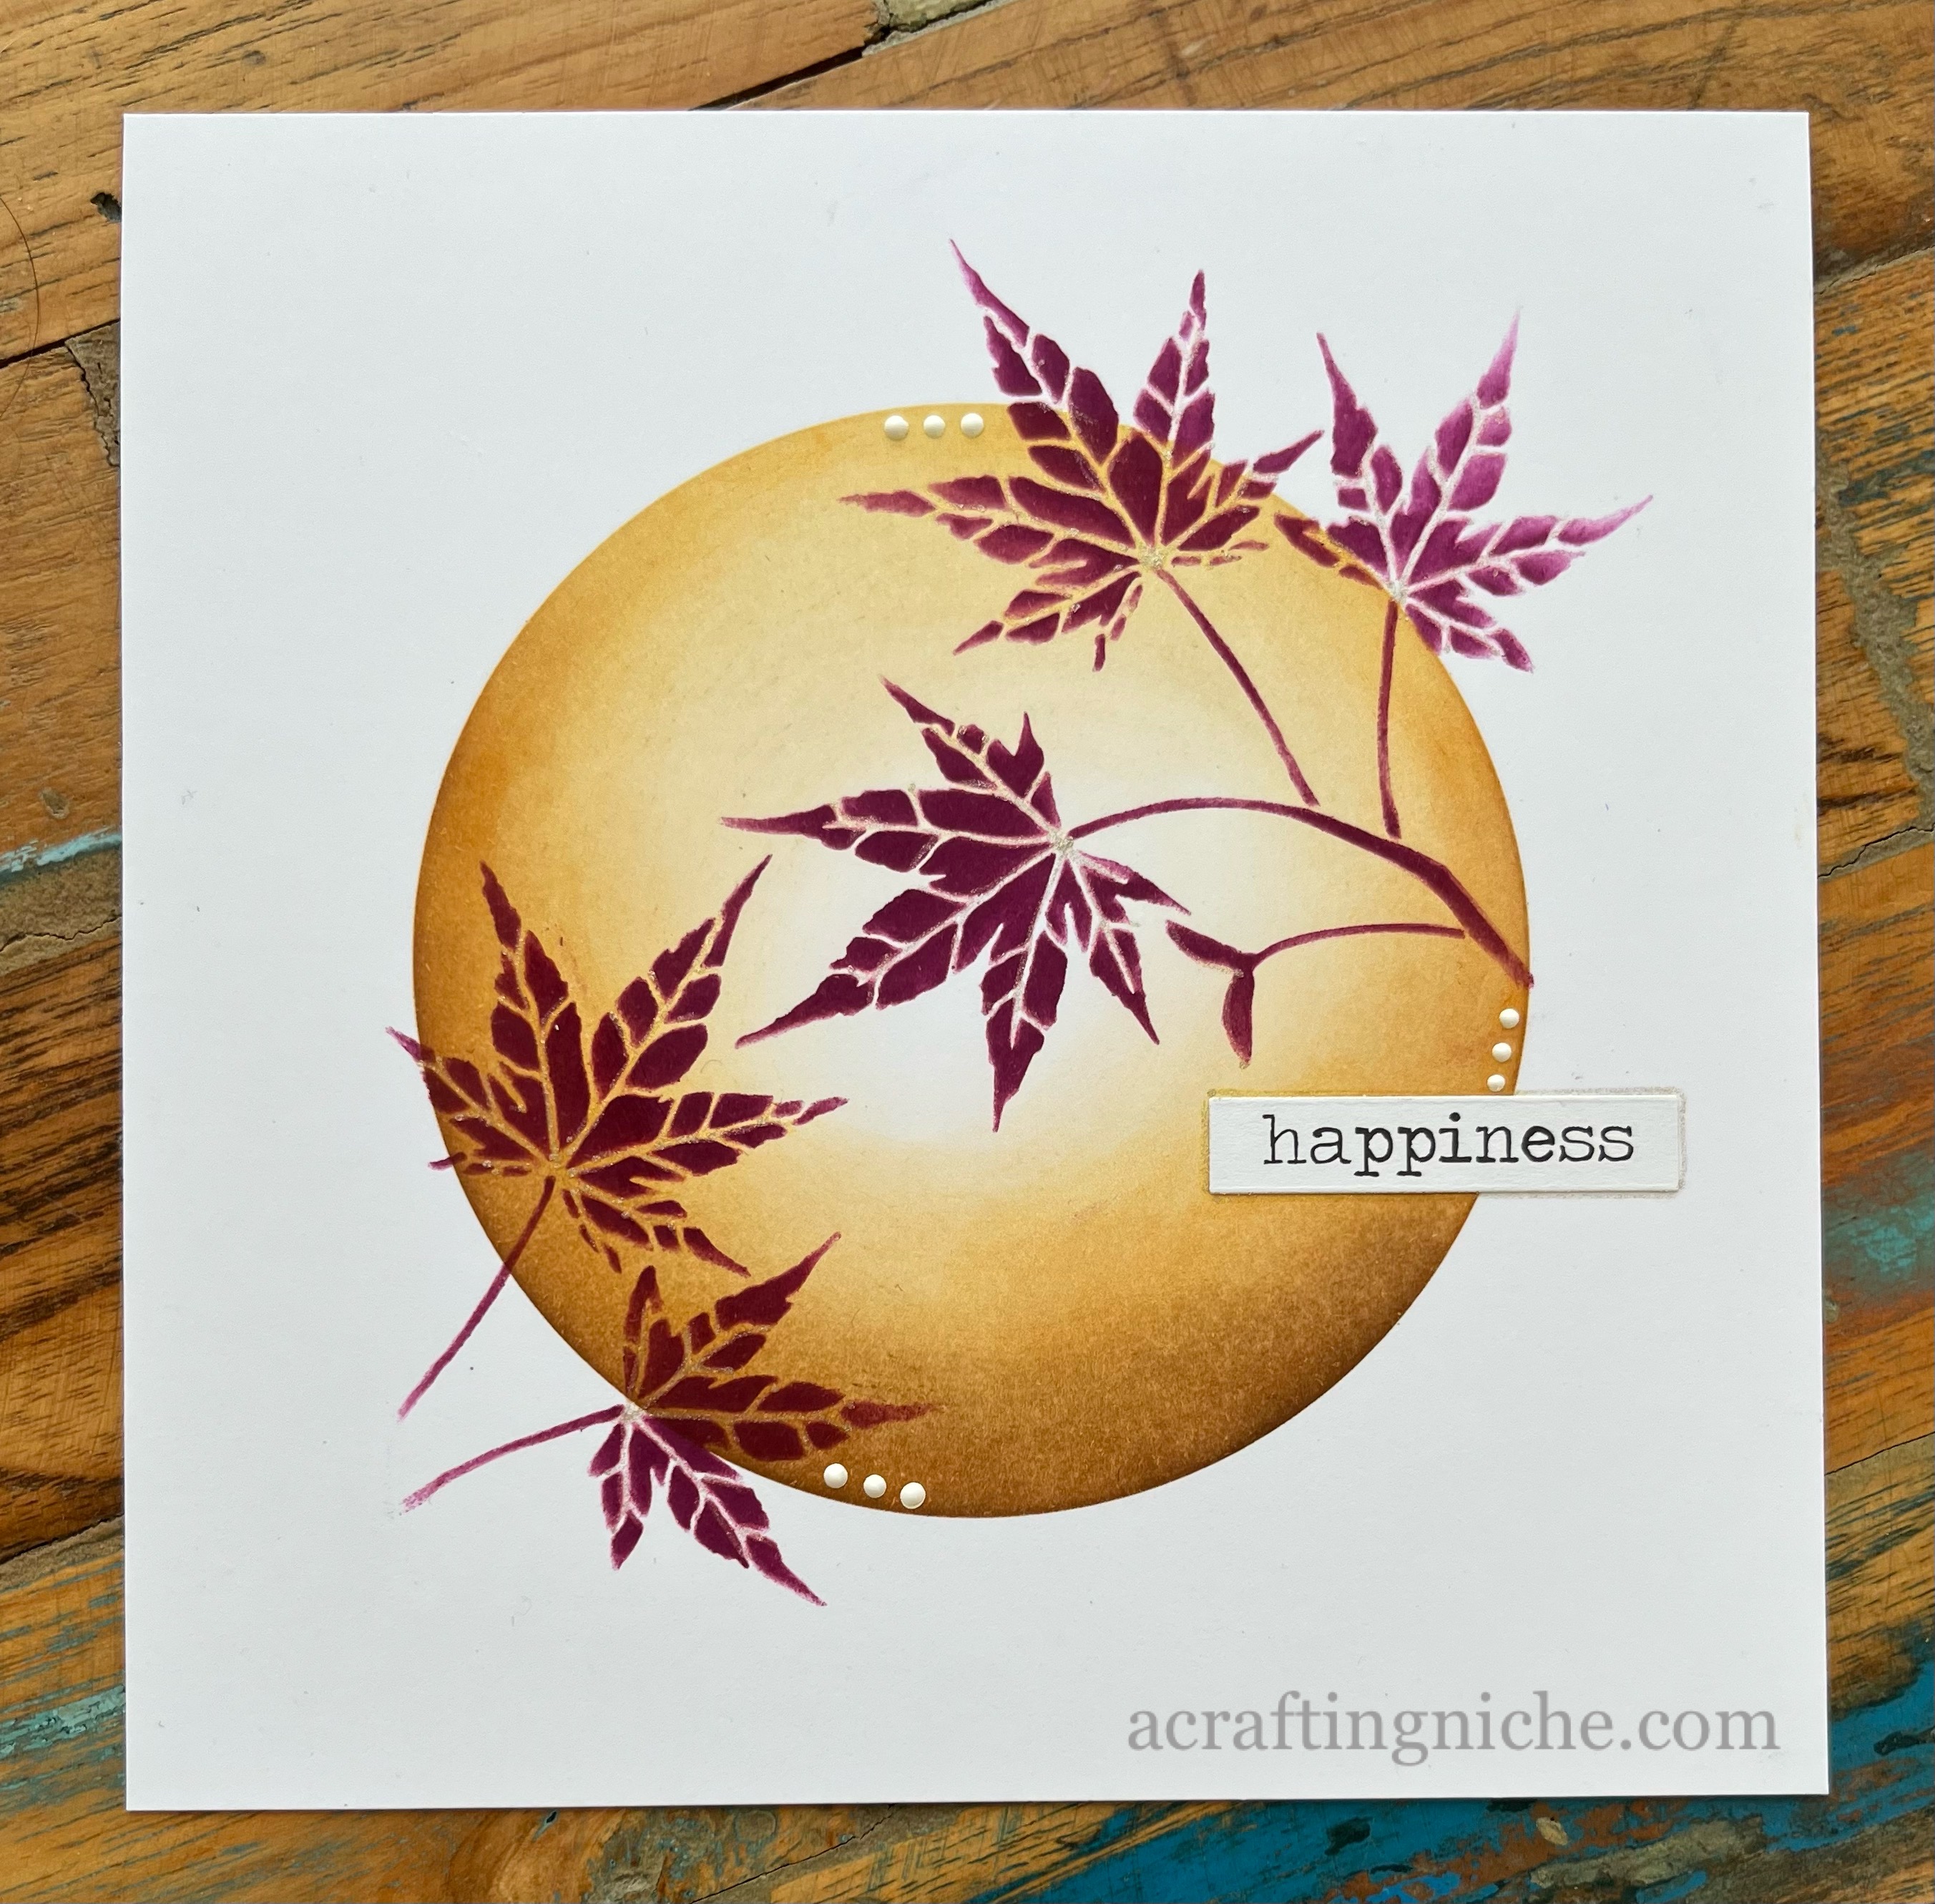
Sweet Poppy Stencil "Maple Leaf" Card


I was about to start sewing some shorts, when I had an urge to make a card.  This card emerged really quickly without any thinking.  It rarely happens like this for me! 

I used a 6" square piece of white card and lay the Sweet Poppy Stencil "Aperture Circle" over the top, securing in position with a piece of low tack tape.

I used a selection of Elements Inks to blend within the circle, starting with Sundance, followed by Sahara, Russet Orange and then Truffle.  I only used the Truffle, which is the darkest of the inks used at the bottom edge of the circle.  I deliberately left the middle of the circle almost bare of ink.

I removed the stencil, then positioned the Sweet Poppy Stencil called "Maple Leaf" over the circle, using a different Element Ink "Mulberry" through the stencil.  I repositioned the stencil and repeated the process.

Using a "Star Dust" Gelly Roll Pen, I coloured in the veins of the leaves, sadly this subtle shimmer doesn't show on the photograph.

I didn't fancy stamping a sentiment, so rummaged through my stash and found a Tim Holtz Idea-ology word sticker book, so stuck the "Happiness" sticker on to the card and edged it in the same Gelly Roll Pen. Finally, I used Ranger Enamel Accents in white in three areas of the card.

Tuesday, 10 January 2023

Visible Image "Dragonfly Tranquility" card


I found a small piece of card with a Brusho Ink background in my stash that I decided to use today.  it had lovely greeny blue shades and to me shouted water.

I decided to use a Visible Image stamp set that I've not used for a long time.  It's called "Live in the moment" and has a beautiful dragonfly stamp, among others. 

I dusted the surface of the card with an anti-static bag, then stamped the large dragonfly using Wow! Clear Embossing Ink, then coated the area with "Wow! Metallic Silver Super Fine" embossing powder.  I used the same process with the two smaller drafonflies then heat set the images.

Using the Visible Image "Ripples" stencil and "Blue Atoll" Elements Inks, I created the ripples on the central area of the card.  I used the same ink to colour in the wings of the dragonfly too.

I used Van Goch Pastel Pencils to give more depth to the ripples, then stamped the word "Tranquiltiy" in Versafine Clair "Warm Breeze" ink. The word is part of another Visible Image stamp set called "Random Art Of Kindness".

I mounted the stamped square on to dark blue card and then white card, going around the edges of the card with a silver glitter Signo gel pen.  I also added details to the dragonflies and also edged the "tranquility" word in the same ink.  I smeared some "Crystal" Stickles on to the dragonfly wings using the tip of my finger, do give a subtle sparkle.  Sadly this can't be seen in this photograph.  If the weather is brighter tomorrow, I will take a little video of the sparkles.

Finally, using the same "Ripples" stencil with "Peacock Feathers" and "Cracked Pistachio" Distress Oxide ink, I created lighter shades of ripples on the white card mount.

Tuesday, 6 December 2022

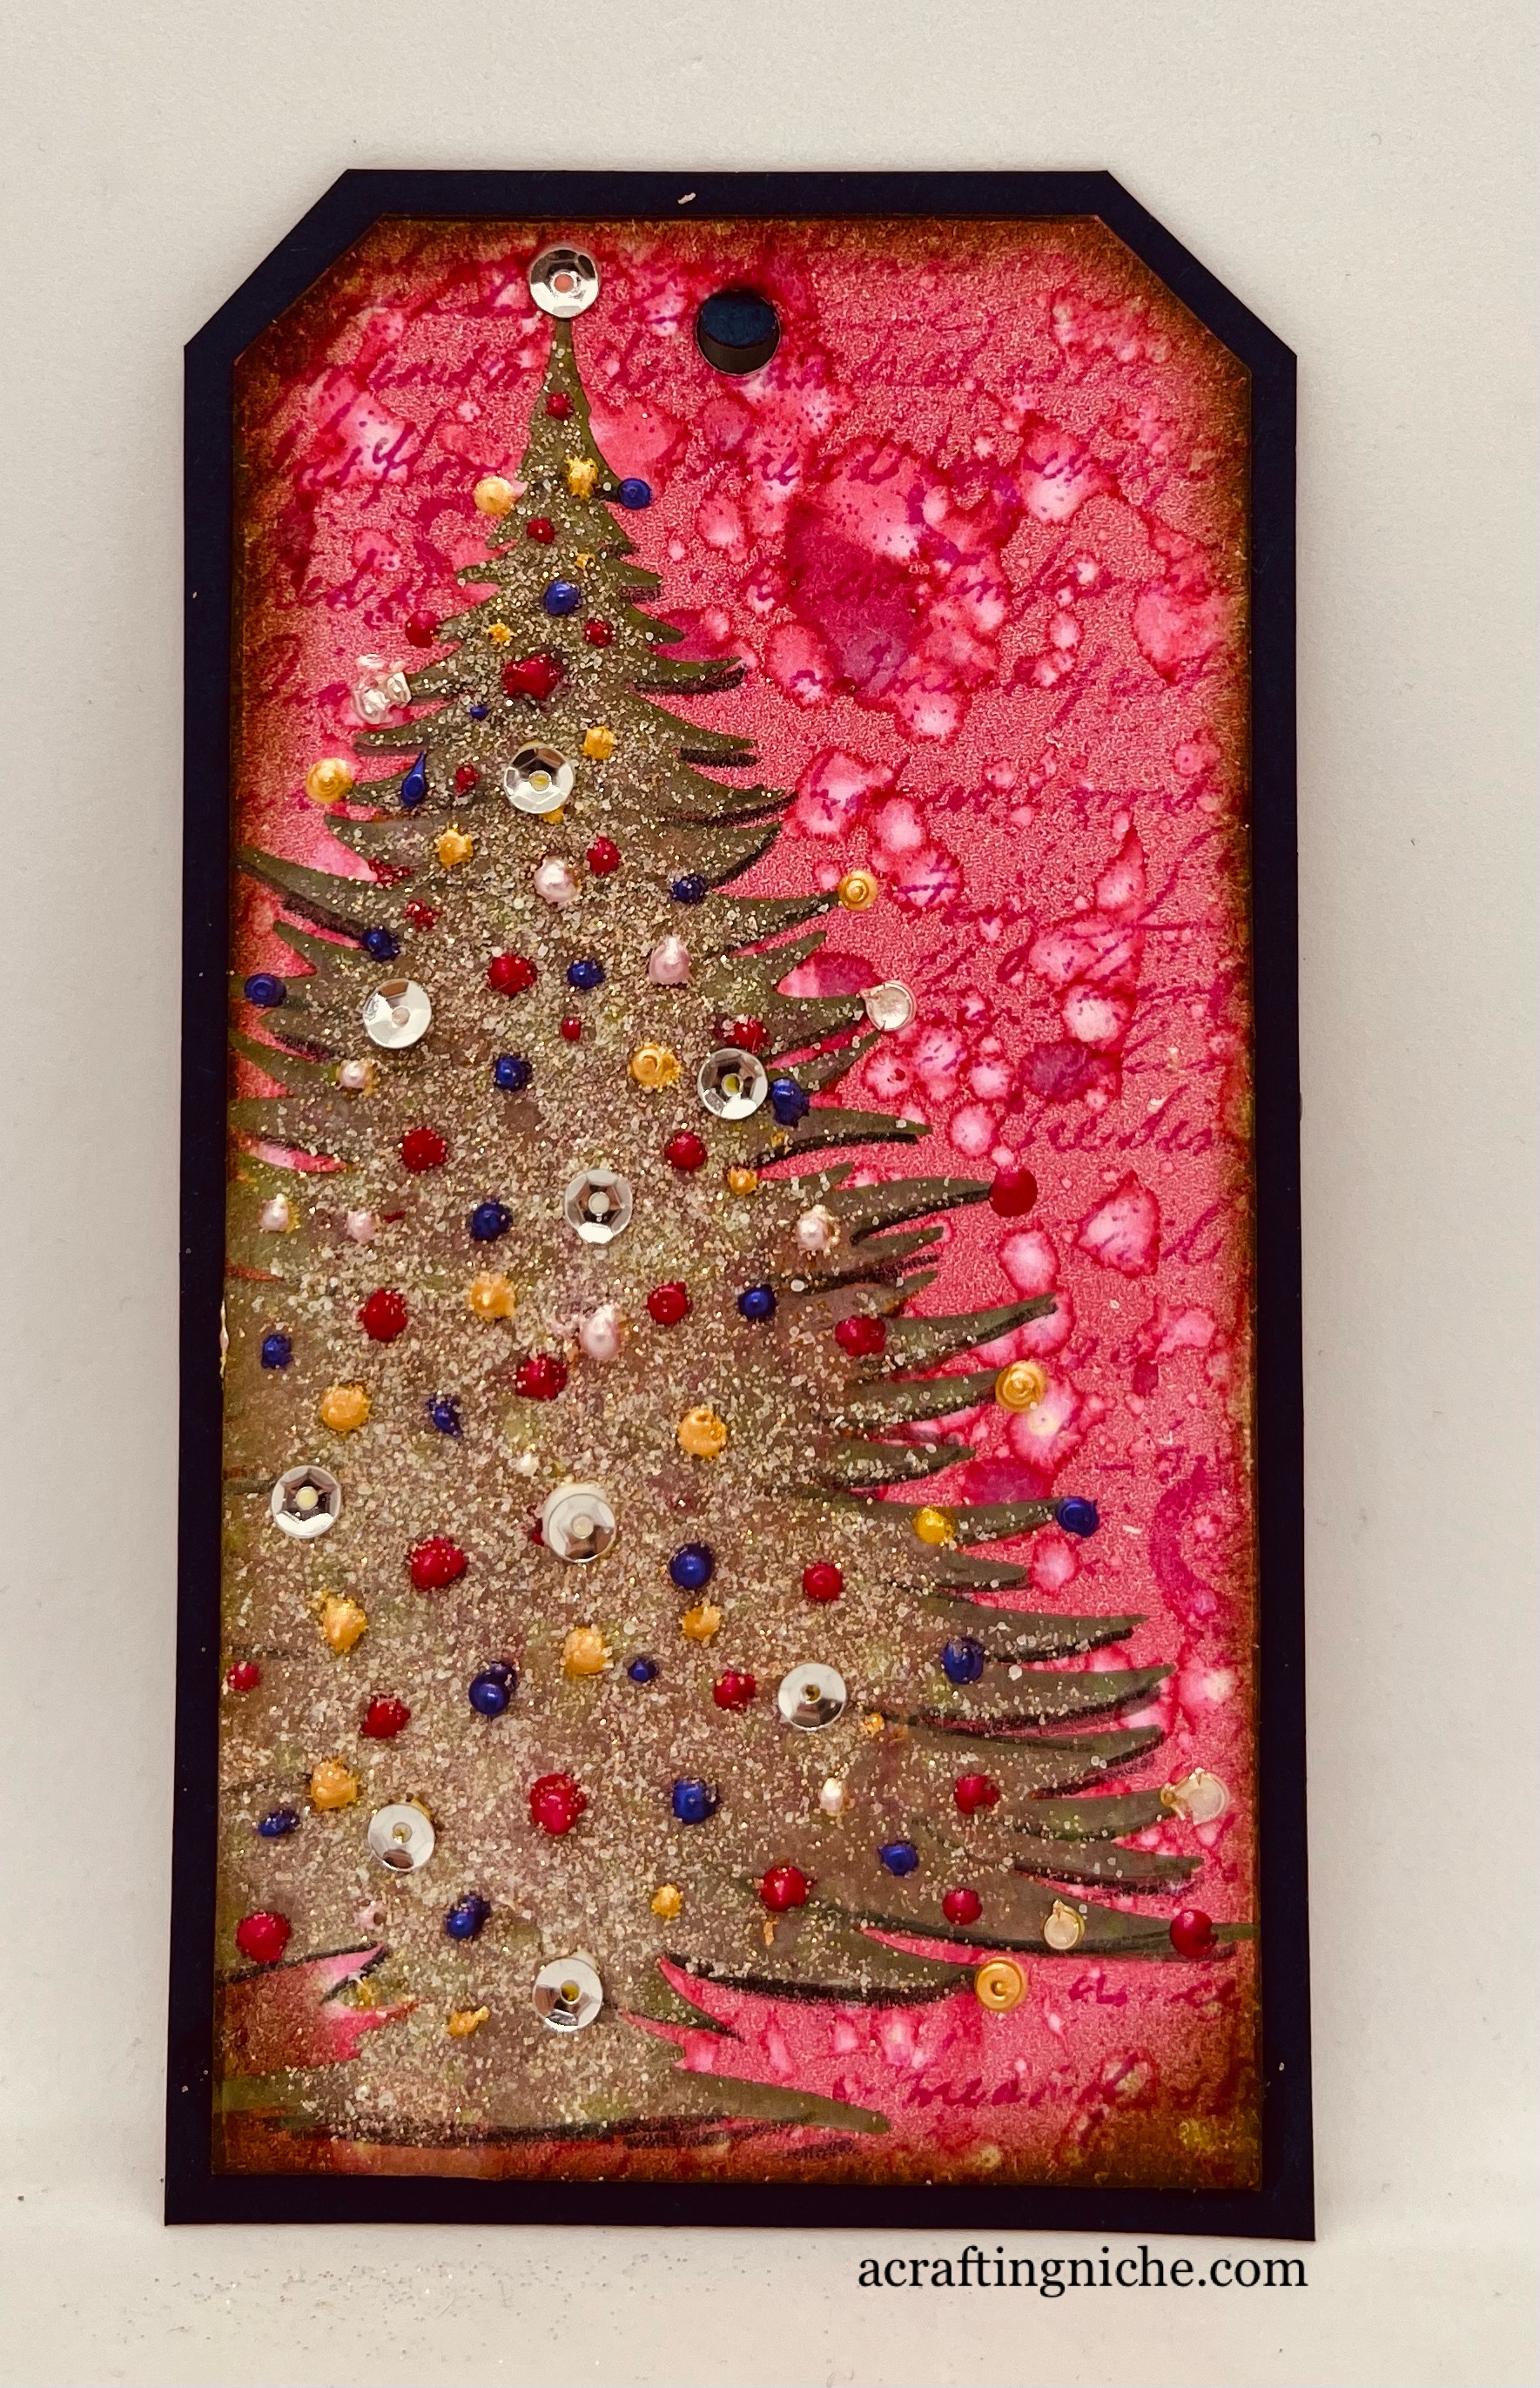
Day 2 of "24 Days of Tags 2022" with Karen Telfer


This is my Day 2 tag. Here's the link to Karen's demonstration. Using the gel plate, Element Inks, Brusho, Distress Oxide Inks and a Lavinia Stamps "Sticker Stencil" and the Lavinia Stamps "Background Script" stamp.


Here's a little vidoe so that you can see the glitter on the tree.

I followed Karen's instructions all the way to decorating the tree, when I went off piste by placing the stencil back in place, giving the tree a slight spritz of water then sprinkling some Irridescent Gold "SprinkleIt" over the area, then left to dry.  I then added sequins and dots of Liquid Pearls.