52 Week Mini Art Card/Tag Challenge

Showing posts with label Faber Castell Pastel Sticks. Show all posts

Saturday, 30 March 2024

Tiffany Johnson Creative #100daysartplay Challenge - Day 42


Today is Day 42 of the Tiffany Johnson Creative #100daysartplay Challenge.  This is the last day of charcoal / pastel week.

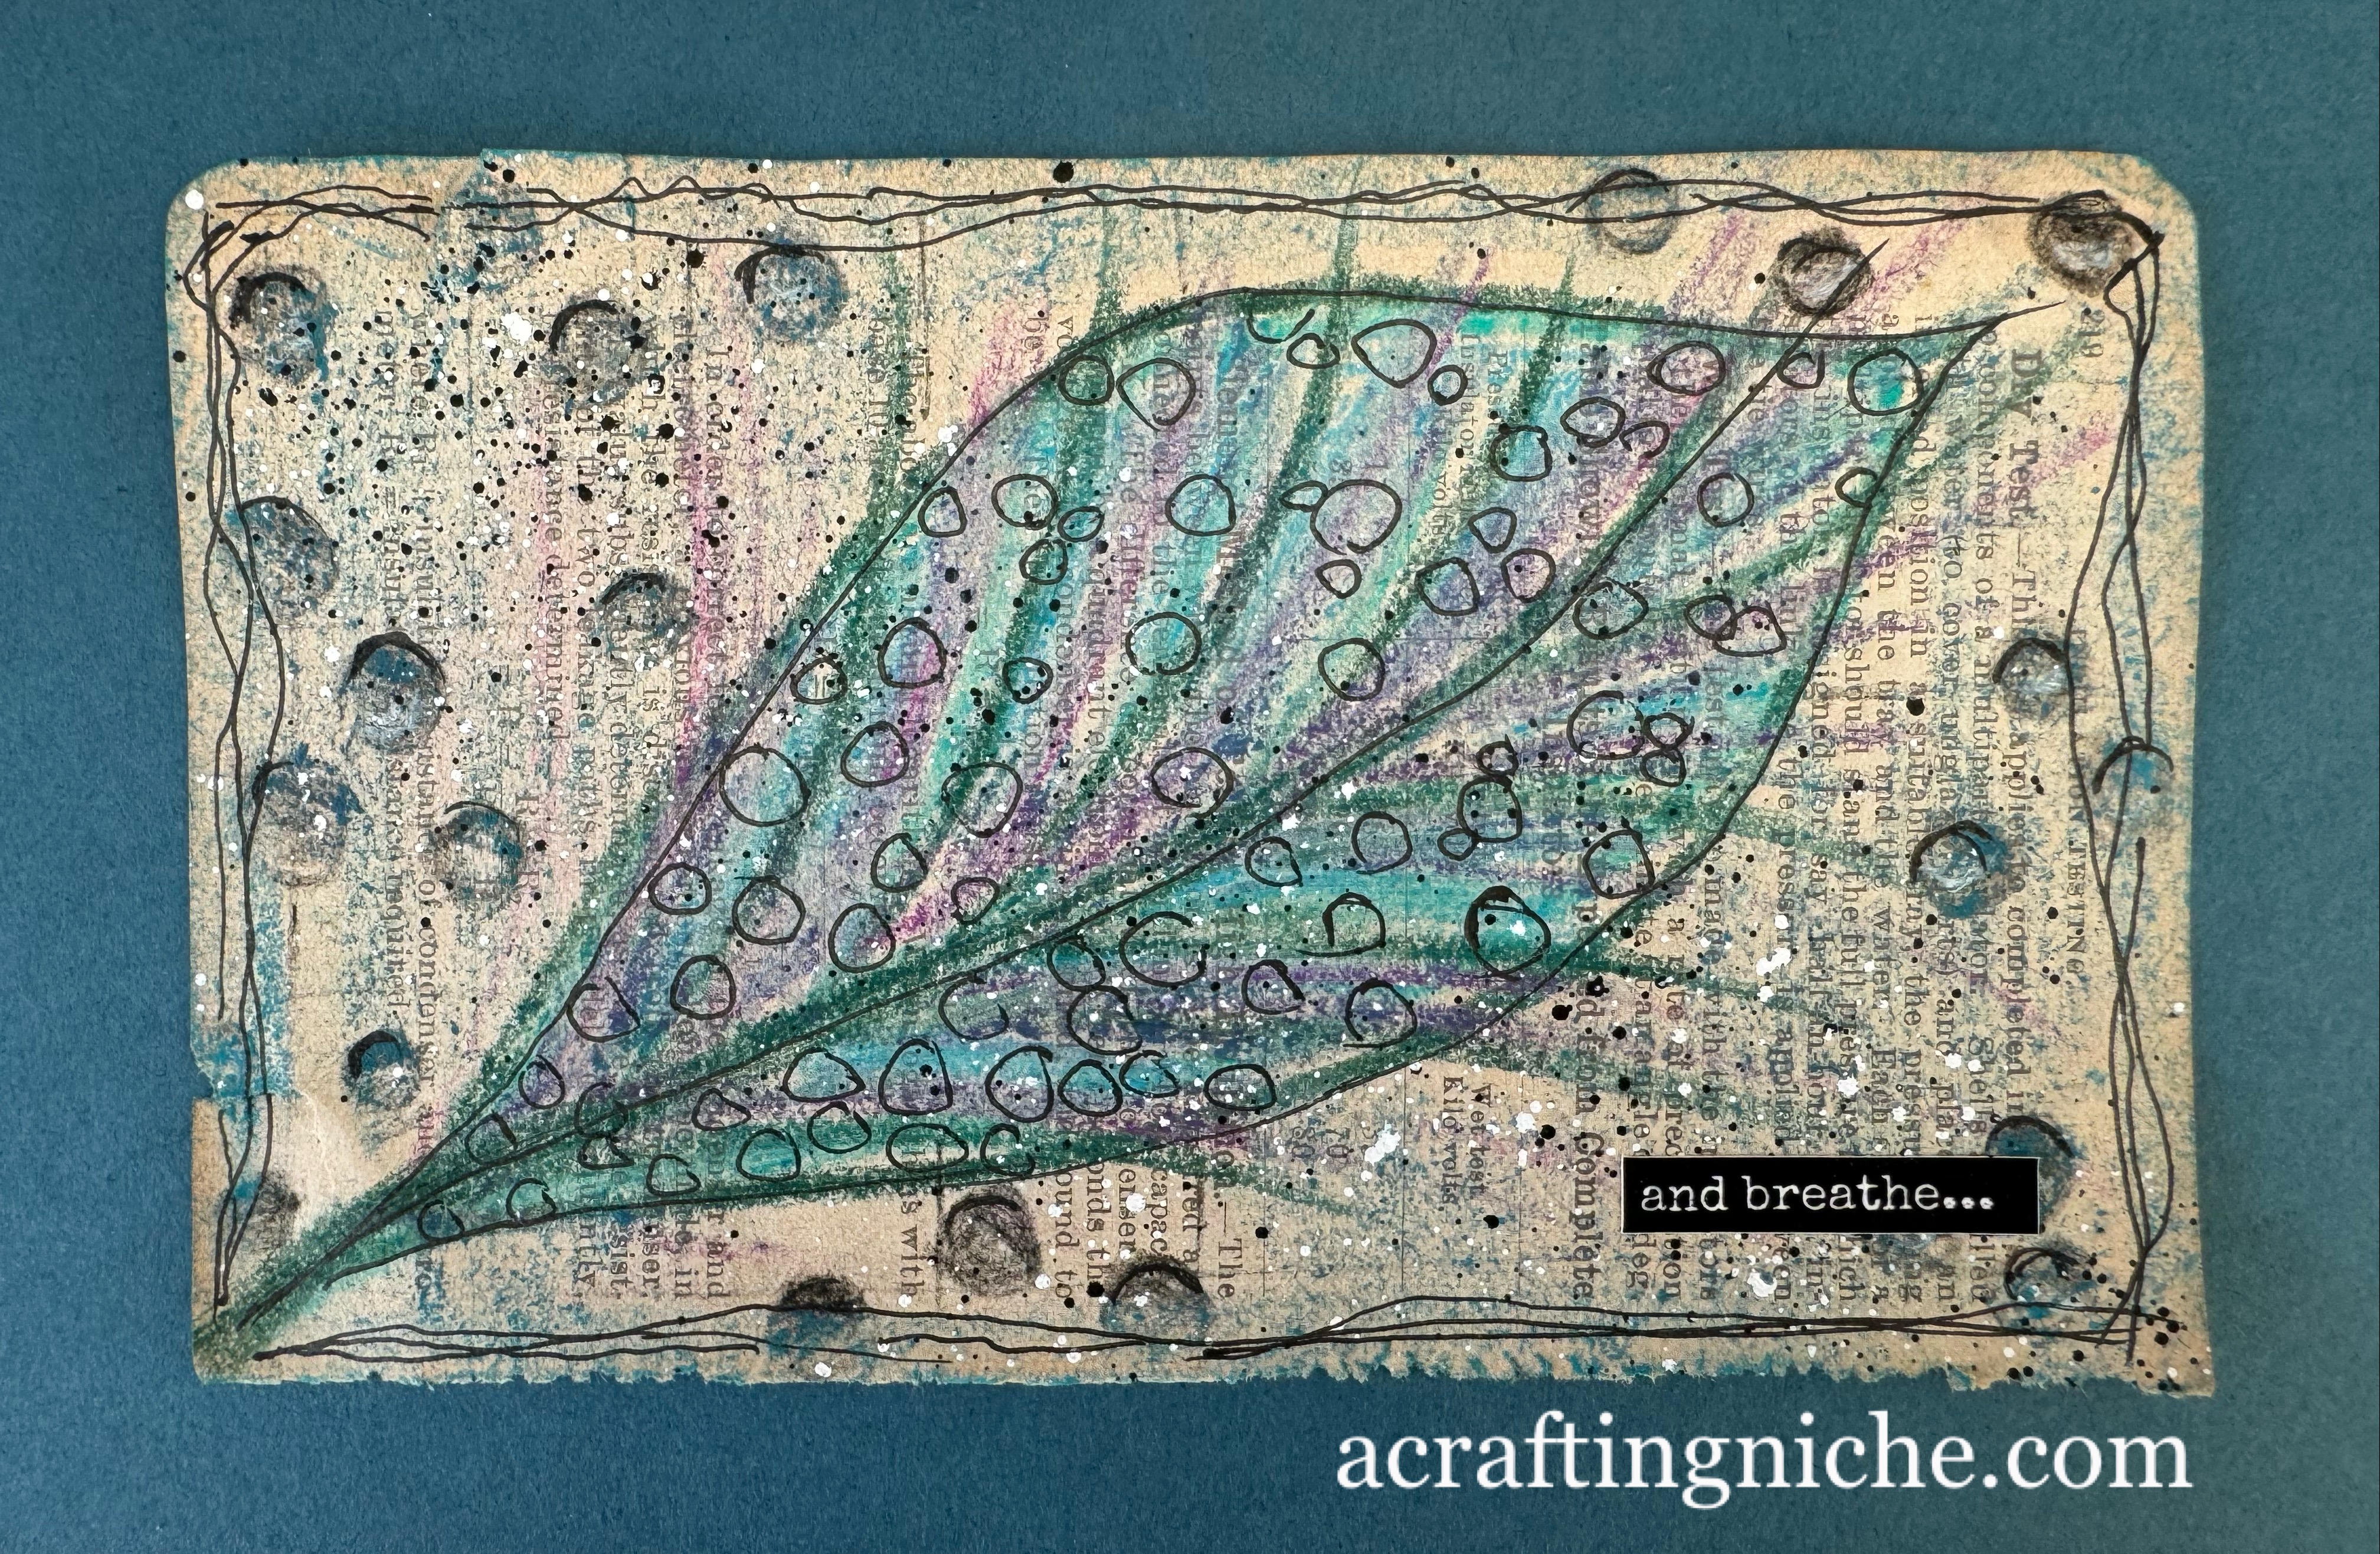
For the background, I have used lots of colours of Faber Castell "Soft Pastel Sticks", blending the colours lightly with my finger tip.  I spritzed the surface with hair spray to set the pastel on the surface rather than on me!

For the broad patterned lines, I used Versafine Clair "Nocture" black ink to stamp one of the Funky Fossil Designs "Doodle Borders".  Then I coloured in the edges in black.

I drew squiggly lines, dashes and lots of circles from the top left, drifting down to the bottom right hand corner, colouring them with a white gel pen, but the white was quite weak, which wasn't the look I was after, so I decided to cover them with Ranger White "Enamel Accents".  Finally adding a few touches of coloured Posca Pen across the surface and a Tim Holtz, Idea-ology "Big Chat" Word Sticker.


Friday, 29 March 2024

Tiffany Johnson Creative #100daysartplay Challenge - Day 41


Today is Day 41 of the Tiffany Johnson Creative #100daysartplay challenge.  This week is all about using pastels and charcoal.  For this piece I have used both.

Today took me totally out of my comfort zone again, getting messy with soft pastel sticks and charcoal pencils.  I really don't like getting messy and trying to control the dust is a nightmare,  somehow I managed to get some on my face!

I started by tearing a page out of an old book with foxing and yellowed pages.

I used Faber Castell Soft Pastel sticks to draw the leaf, using greens, blues, mauves and pink colours. I didn't spend much time on it, I just went for it.

I used a Derwent Charcoal pencil to draw the dots in the background.  Then splattered white and black Posca Pen paint across the surface of the page.

Using a black fine liner pen, I drew three squiggly lines around the page and then drew circles on the leaf area itself.  Finally, I added a word sticker saying "and breathe..." then spritzed the surface with hairspray to set the chalky finish.

Thursday, 11 May 2023

Lavinia Stamps "Tree of dreams" card (following a tutorial by Lisa Taggart).


After making some clean and simple cards, I've gone to the total other end by making this card, which is a take on a recent Lisa Taggart tutorial using the Lavinia Stamps "Tree of dreams".  You can see her tutorial here.

Basically, to start this piece you apply a selection of Elements Ink to a gel plate, spritzing with water before taking a print.  Then build up the colours by adding more ink and spritzing again.

Then using Versafine Clair "Nocturne" black ink, stamp the Lavina Stamps "Tree of Dreams". then apply more Element Inks building the depth of colour.

Extend the tree lower than the stamped image.  Then use pastels, coloured pencils, gel pens, Posca pens to create the rest of the image.  

The tutorial is very thorough and well worth a watch.